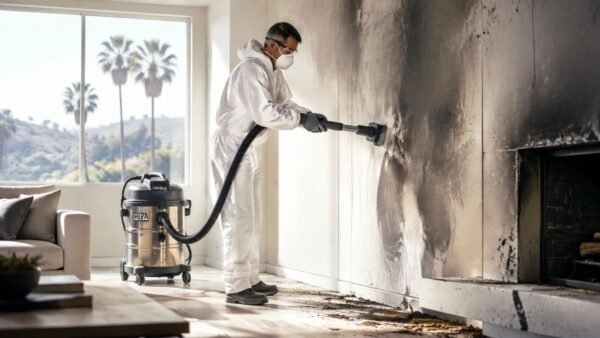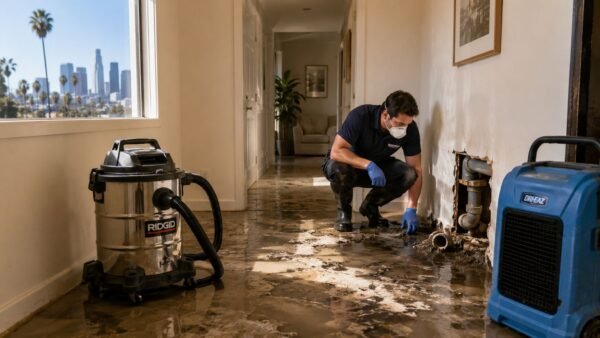

A dripping bathroom fan usually comes from condensation in the ductwork, a roof leak, or a plumbing issue from above, and the first thing to do is turn off the fan and shut off the matching circuit breaker so you're not dealing with water and live power at the same time. If the drip starts after a shower, during rain, or when an upstairs bathroom is in use, that timing usually tells you which problem you're dealing with.
You hear the drip, look up, and see water forming on the bathroom exhaust fan grille. Most homeowners in Los Angeles assume the fan itself failed. Usually, it didn't. The fan is often just the place where hidden moisture finally shows up.
In the field, this is one of those problems that gets misdiagnosed all the time. Someone insulates a duct when the underlying issue is a roof cap leak. Or they blame the roof when the actual source is a crushed attic duct dumping humid air into the ceiling cavity. If you want to stop water dripping from a bathroom exhaust fan permanently, you need to identify the path the water took before you start fixing parts.
That Annoying Drip What It Means and What to Do First
You finish a shower, flip off the light, and hear a steady tap hitting the floor or the edge of the toilet. Then you look up and see water collecting on the bathroom exhaust fan grille. In Los Angeles homes, that drip usually points to one of three sources: condensation, rain entry, or a plumbing leak above the ceiling. The fan is often just where the water shows itself.
Start with control, not guesses. Leave the fan off. Shut off the breaker for that bathroom circuit if water is reaching the grille, fan housing, or surrounding drywall. Set a towel or container under the drip and dry the floor so nobody slips.
Then pay attention to the pattern. The first question is not "How do I fix the fan?" It is "What was happening right before the drip started?" That answer usually saves time and prevents the wrong repair.
The three likely causes
In the homes I inspect, fan drips usually trace back to one of these:
- Condensation: Humid shower air cools inside the duct, at the roof cap, or on the metal fan housing, then runs back to the grille.
- Rain intrusion: Water gets past the roof vent cap, flashing, or damper and follows the duct or framing down to the fan opening.
- Plumbing leak: A supply line, drain, toilet seal, tub, or shower assembly above the bathroom leaks into the ceiling cavity.
Those three causes can look almost identical from below. That is why fan drips get misread so often. Homeowners replace the fan when the underlying problem is at the roof. Or they seal the roof cap when the actual source is an upstairs drain line.
A small drip can stay small for a while, then turn into stained drywall, swollen trim, insulation damage, or microbial growth inside the ceiling cavity. That is the same logic behind preventing costly water damage. The faster you identify the source, the less material you usually have to open, dry, and replace.
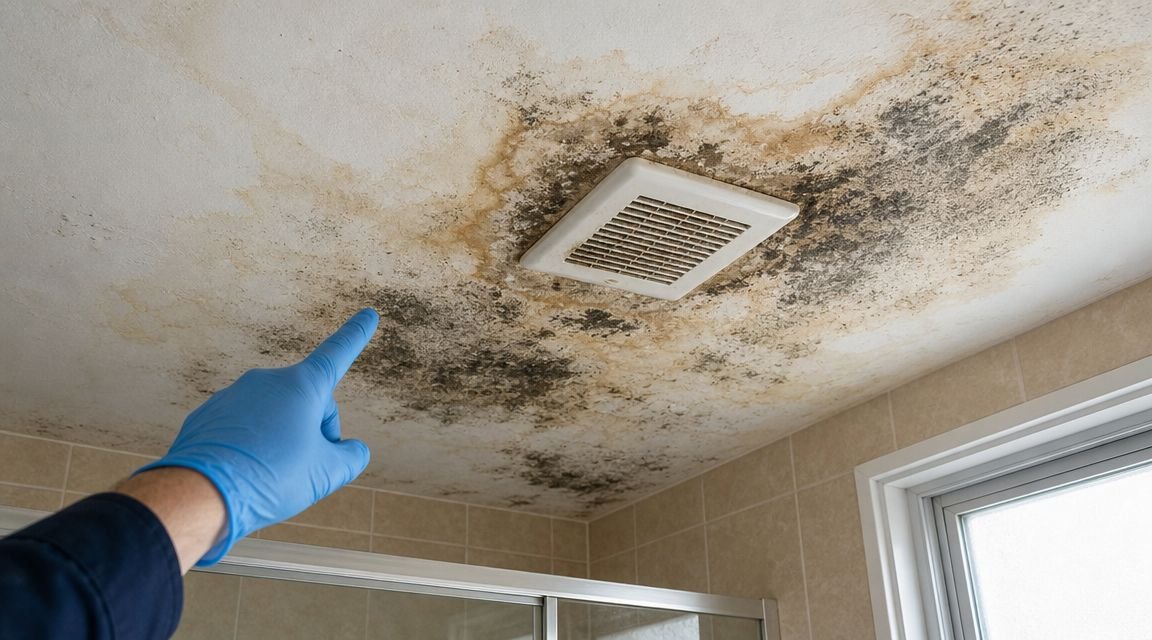
If the ceiling already feels soft, shows brown staining, or is wet beyond the fan opening, read up on what water mitigation involves before deciding this is still a simple repair. At that point, the job may no longer be about stopping a drip. It may be about drying hidden building materials before damage spreads.
Quick Diagnosis Is It Condensation Rain or a Pipe
Start from the floor. Don't grab a ladder yet. The fastest way to narrow this down is to compare the drip to what was happening in the house just before it started.
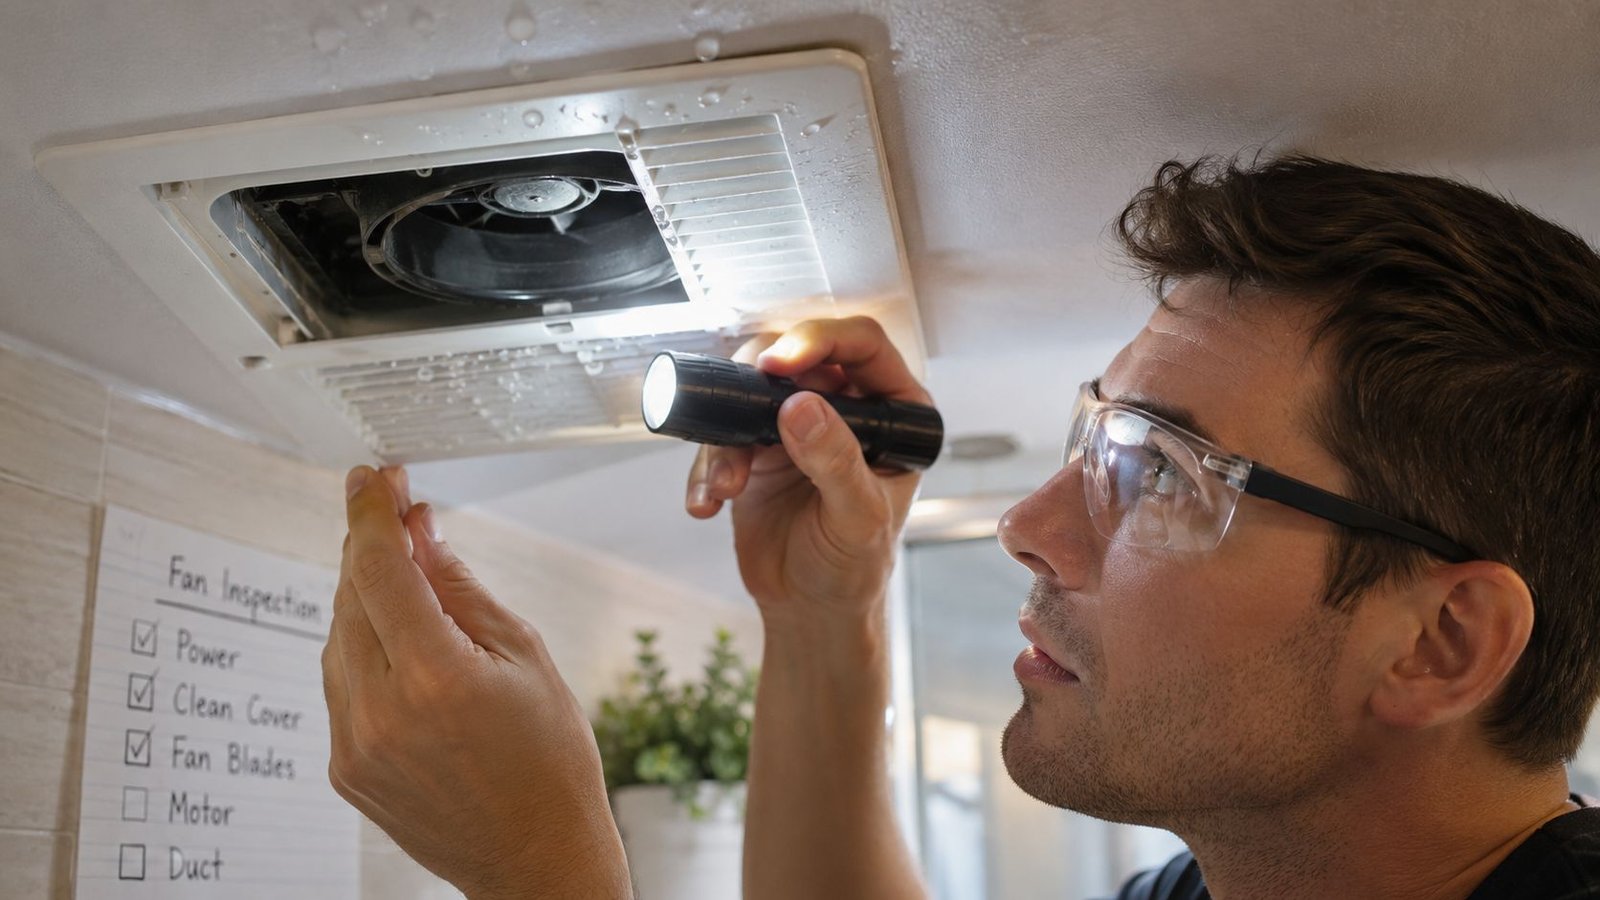
A fan drip in Burbank can have a different pattern than one in Sherman Oaks or Glendale, but the diagnostic logic stays the same. You're looking for correlation, not guesses.
Read the timing before you touch anything
The source of a drip can often be diagnosed by its timing. Dripping primarily during or after showers points to condensation from moist air hitting cold ductwork. Dripping only during a rainstorm suggests a problem with the roof vent flashing or a damaged backdraft damper. This distinction is crucial because applying a condensation fix to a roof leak will not solve the problem, as outlined by MoistureFlow's bathroom fan drip guide.
Use this triage list:
- After hot showers only: Think condensation first.
- Only during rain: Think roof vent cap, flashing, or exterior water entry.
- When an upstairs bathroom runs: Think plumbing leak from a drain, supply line, toilet, or shower assembly.
- All the time, with no pattern: You may have more than one issue, or water may be pooling above the ceiling and releasing slowly.
Three questions I'd ask on arrival
Did anyone just shower?
If yes, and the drip starts during or shortly after, humid air is probably condensing somewhere in the exhaust path.Is it raining, or did it just rain?
Even in Los Angeles, wind-driven rain can expose weak roof penetrations and bad vent caps.Is there a bathroom or plumbing fixture above this ceiling?
If there is, test correlation carefully. A fan opening often becomes the lowest visible release point for water traveling through framing cavities.
A related clue is whether you've also noticed condensation on the ceiling. If the room regularly fogs up, paint blisters, or moisture forms on nearby surfaces, weak exhaust performance becomes more likely.
Here's a short visual primer that helps homeowners picture the basic failure paths before inspecting further:
What not to assume
Don't assume the fan motor is bad just because the grille is wet. Don't assume a roof leak because the ceiling stain spreads outward. And don't assume “it's just steam” if the drywall is soft.
That last one matters in older Los Angeles homes, especially where prior work in attics or reroofing changed the vent path without anyone correcting the duct.
Your Step by Step Inspection Checklist
Start with control, not tools. Turn the fan switch off, keep the breaker off until you are ready to test airflow, and set a towel or small bucket under the drip point so you can watch where new water appears. That first pattern matters. A drip that starts only after showers points you one direction. A drip that shows up during rain or when an upstairs fixture runs points you somewhere else.
What You'll Need
Keep it simple and safe:
- Step ladder: High enough to reach the grille without stretching.
- Flashlight or headlamp: You need a clear look inside the housing and along any attic duct.
- Safety glasses: Dust, rust flakes, and insulation often drop as soon as the grille comes down.
- Gloves: Useful around sheet metal edges and attic materials.
- Phone camera: Take photos before you touch anything so you can compare wet patterns later.
If you manage rentals or several units, consistent documentation saves time and arguments. VerticalRent's property inspection resource is a practical template for recording stains, repeat moisture events, and access limitations the same way each time.
Inspecting from the Bathroom
Remove the grille carefully. Most grilles pull down a few inches, then release from spring clips. Once it is off, look past the visible drip and read the pattern. Rust on the fan housing, mineral trails, dark staining on one side, and peeling paint around the opening all point to different paths water can take.
Next, run a basic airflow check. Restore power, turn the fan on, and hold a sheet of toilet paper against the grille. If it barely clings or falls away, the fan may be running without moving enough air outside. That often lines up with condensation problems, especially when the bathroom gets foggy and the duct run is long, kinked, or poorly insulated.
Watch where the moisture sits. Water at the center of the fan usually suggests it formed in the duct or fan housing and dropped straight down. Water at one edge of the opening often means it traveled across the ceiling cavity before showing itself here. If the surrounding drywall is damp but the housing looks relatively clean, widen your suspicion to roof or plumbing pathways.
Inspecting from the Attic
If you have safe attic access, follow the duct from the fan to the roof or wall cap. Don't stop at the first visible section. A lot of wrong calls happen because someone checks the connection at the fan, sees it attached, and assumes the whole run is fine.
Look for the failure points that change your diagnosis:
- Disconnected duct sections: Moist air dumps into the attic instead of leaving the house.
- Crushed or sharply bent flex duct: Air slows down, moisture stays in the line, and water collects.
- Missing or thin insulation on the duct: Warm bathroom air hits a cold duct surface and condenses.
- Low spots in the run: Water pools there, then drains back toward the fan.
- Wet insulation, stained framing, or damp roof sheathing nearby: That shifts suspicion toward a roof leak or a broader moisture problem.
If staining is faint or the path is not obvious, thermal imaging for water leaks helps track cooler wet areas above the visible ceiling line before you start opening drywall.
Check the areas that fool homeowners
A fan opening is often just the exit point, not the source. Look around the fan, not only at it. Inspect the roof sheathing near the vent penetration, the underside of the roof deck above the bathroom, and any plumbing lines or traps in the same cavity. In Los Angeles homes, I also pay attention to past remodel work. Re-routed ducts, patched roof penetrations, and old bath additions create odd water paths that do not show up directly under the original defect.
One clean way to triage the cause is to match the inspection result to the trigger:
- Wet duct, pooled water in a sag, weak airflow, no roof staining: Condensation is the likely source.
- Dry duct, wet roof sheathing or staining near the vent cap, drip tied to storms: Rain intrusion is more likely.
- No attic moisture at the duct, but water appears when a fixture above is used: A plumbing leak moves to the top of the list.
That is the point of this checklist. Identify the likely source first, then fix the right problem.
Tiered DIY Fixes for Common Fan Drips
Once the cause is narrowed down, the repair usually gets simpler fast. In the field, the homeowner who saves time is the one who treats a condensation problem like a duct problem, a rain problem like a roof problem, and a fixture-related drip like plumbing until proven otherwise.
Start with the fix that matches your diagnosis. Do not start opening more ceiling until you have a reason.
If it's condensation
This is the most common DIY category because the repair is usually accessible and low risk. The goal is to keep humid air moving all the way outside before it cools and turns back into water.
Focus on the duct run itself:
- Insulate the full duct run in unconditioned space: Partial wraps leave cold sections where moisture still forms.
- Remove sags and low spots: Support flexible duct so water cannot pool and drain back toward the fan housing.
- Shorten sharp bends where you can: Straighter runs move air better and hold less moisture.
- Confirm the duct terminates outdoors: If it dumps into the attic, the moisture problem just shifts location.
- Replace crushed or torn flex duct: Damaged duct slows airflow and traps moisture.
If the bathroom stays damp after showers, correct the room conditions too. Run the fan long enough to clear humidity, keep the grille clean, and leave the door open afterward so replacement air can enter the room. If recurring humidity has already become a bigger issue, this guide on how to prevent mold growth in the bathroom helps connect the fan drip to the next problem homeowners usually face.
If the duct is loose or disconnected
This repair is often straightforward, but do it correctly so you are not revisiting it in six months.
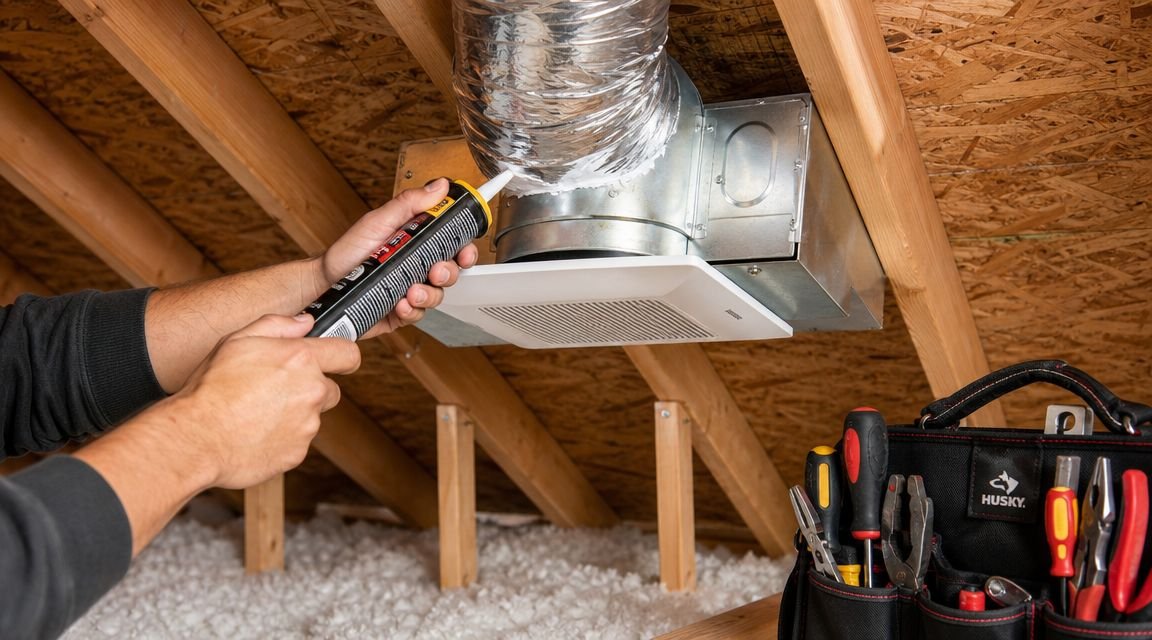
Reconnect the duct with a proper mechanical fit. Secure it with a clamp where needed, then seal the joint with foil tape rated for ductwork. Cloth duct tape fails in this environment. Before you close up, support the duct so its own weight is not pulling on the connection.
Check the fan housing too. I often find the branch duct attached loosely at the fan collar, while the rest of the run looks fine from a distance.
If airflow is weak
Weak airflow keeps moisture in the room and inside the duct longer than it should. Sometimes the fix is basic maintenance. Sometimes it tells you the fan is undersized, clogged, or fighting too much duct resistance.
Work through the easy corrections first:
- Clean the fan grille and housing
- Vacuum dust from the blower assembly if the manufacturer allows it
- Make sure the exterior vent flap opens freely
- Replace duct runs with excessive bends or compression
- Use the fan during every shower and leave it on afterward
A practical rule is simple. If the mirror stays fogged and the room still feels damp well after bathing, the system is not clearing moisture fast enough.
If the drip points to plumbing instead
A plumbing-related drip is a different lane. Tighten an accessible trap or replace a worn supply connection only if the leak point is visible and isolated. If water appears only when the shower, toilet, or sink above is used, skip the duct tweaks and follow the plumbing path.
A good stopping point for DIY
DIY makes sense when you have one clear cause and one reachable repair. It stops making sense when the fan is only the place where water shows up.
If the duct is dry, the fan connection is sound, and the drip still appears during rain or after fixture use, the repair is no longer about the fan itself.
When to Stop and Call a Restoration Pro in Los Angeles
Some fan drips are straightforward. Some are the first visible sign of a hidden moisture problem that has already spread beyond the bathroom.
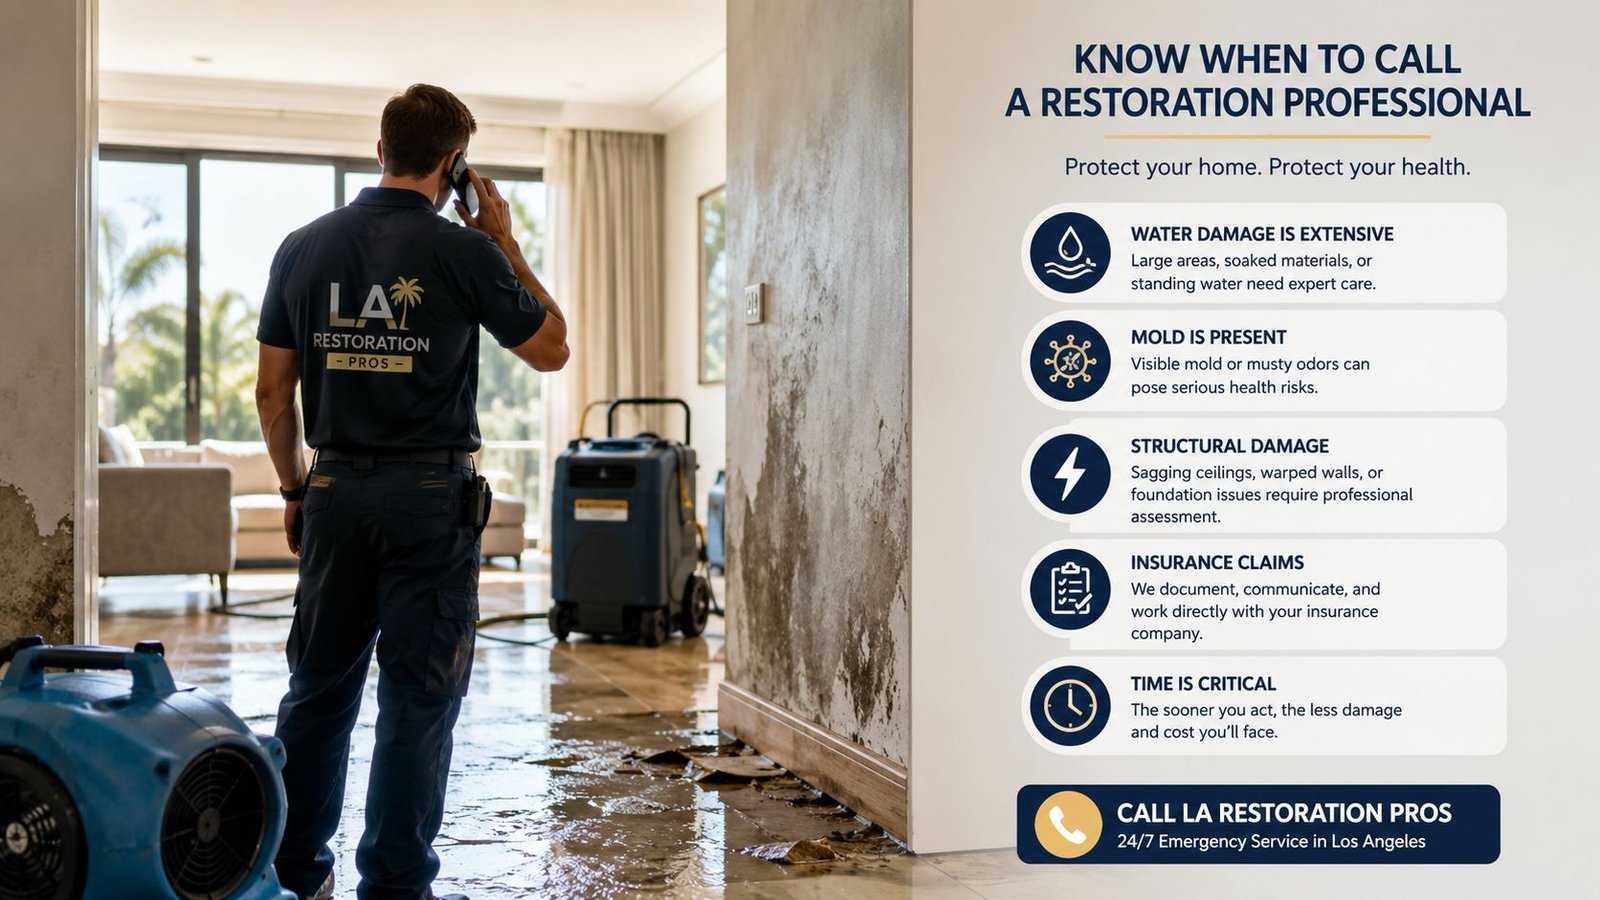
In our experience restoring homes in Sherman Oaks, Glendale, and Burbank, a small drip at the exhaust fan often turns out to be the lowest exit point for water that has moved across framing, insulation, or the top side of drywall. That's why the stain around the fan sometimes looks minor while the cavity above is much worse.
Red flags that mean stop troubleshooting
Call for professional help if you notice any of these:
- Sagging drywall: The ceiling is holding water weight.
- Spreading stains: Moisture is still active or has migrated.
- Dark spotting or musty odor: Possible mold growth or prolonged dampness.
- Dripping with no clear pattern: The source hasn't been isolated.
- Wet insulation in the attic: Drying and contamination become bigger concerns.
- Water near wiring or fixtures: Electrical safety comes first.
Why delay makes the job bigger
A bathroom fan leak isn't just a bathroom issue if water reaches insulation, framing, or adjacent rooms. In older Los Angeles housing stock, patched-over ceiling repairs, modified vent runs, and previous roof work can hide the true entry point. By the time the fan starts dripping, the structure may already be trapping moisture.
If you're at the point where the source is uncertain, the ceiling feels soft, or you need moisture mapping and drying rather than another guess, it makes sense to bring in a local team that handles property restoration near you.
Frequently Asked Questions About Leaky Bathroom Fans
How can I prevent my bathroom fan from dripping in the future
For long-term prevention, especially in colder conditions, Panasonic's technical guidance recommends insulated 4-inch ducting, running the fan for at least 30 minutes after a shower, and using moisture-sensing controls that keep the fan operating until humidity drops. Panasonic also states that 4-inch ducting, done correctly, satisfies 99% of residential airflow and ducting requirements, which shows how common standard-sized residential systems are when installed properly, in their article on how to prevent dripping vent fans in cold weather.
A practical prevention routine looks like this:
- Use the fan every shower
- Let it keep running afterward
- Clean the grille so airflow isn't choked
- Inspect the exterior termination periodically
- Fix loose or uninsulated duct sections before winter or heavy rain
Good ventilation also helps prevent mould with proper ventilation because the fan's job isn't just comfort. It's moisture control.
Is a dripping exhaust fan covered by homeowners insurance
Sometimes. Coverage often depends on what caused the water, whether the damage was sudden, and whether there's resulting interior damage. A roof leak, long-term maintenance issue, and accidental plumbing leak can all be handled differently by the carrier.
The safest move is to document what you see right away:
- Take photos of the drip and stains
- Note weather conditions and shower use
- Save any repair estimates or inspection notes
- Don't throw away damaged materials if an adjuster may need to see them
This overview of whether homeowners insurance covers water damage can help you sort out what to ask before filing.
How much does it cost to fix a dripping bathroom fan
It depends on the failure path. Reconnecting a loose duct is very different from repairing roof flashing, opening a wet ceiling, or drying hidden cavity moisture. The fan itself may not need replacement at all.
What drives cost is usually not the drip. It's the source, the extent of hidden moisture, and whether materials like insulation or drywall have to be removed and dried or replaced. If you want a real number, the home needs an inspection first.
If you've got water dripping from a bathroom exhaust fan in Los Angeles, don't guess and don't wait for the stain to spread. Onsite Pro Restoration can inspect the source, document the damage, and help you move from containment to real repair. Call 818-336-1800 for a free inspection.