If you're trying to figure out how to wash soot off walls, the most important thing to learn is what not to do. Your first instinct is probably to grab a wet rag and start scrubbing. Stop right there. That's the single biggest mistake you can make, and it will turn a manageable cleanup into a permanent stain. After a house fire or even a minor smoke event in your Los Angeles home, tackling soot improperly can drive the oily residue deeper into your walls, making professional restoration more complex and costly.
Dealing with Fire or Smoke Damage? Don't risk making it worse. Contact us 24/7 for a free assessment and let our IICRC-certified team handle the cleanup safely.
Why You Can’t Just Scrub Soot Off Your Walls
Soot isn't like regular dust. It’s a greasy, oily byproduct of incomplete combustion, which means it actively repels water. When you introduce liquid too early, you don’t lift the soot off the wall—you just smear it around. Worse, you drive those oily particles deep into the pores of your drywall or plaster.
The result is a much bigger, darker stain that’s almost impossible to remove. It’s like trying to clean up a grease spill in your Sherman Oaks kitchen with a wet paper towel; all you do is spread the mess and make it permanent.
The Science Behind Soot Stains
There are a couple of things working against you here. First, soot is acidic. Left on surfaces, it can start corroding metals and etching into painted drywall within hours.
Second, the particles are microscopic—sometimes as small as 0.1–1 micron. This allows them to get a deep grip in the tiny textures of your paint and joint compound. That’s why a simple soap-and-water approach doesn't just fail; it actually makes the damage worse.
This greasy, acidic nature is exactly why restoration pros like us use a very specific dry-to-wet cleaning method. The goal is to lift all the loose, oily soot off the surface before a single drop of liquid cleaner touches the wall.
Key Takeaway: Always, always start with a dry cleaning method. Hitting soot with water first is the fast track to setting the stain for good and potentially needing to repaint the entire room.
This whole process takes patience and the right supplies. If you jump straight to the wet part, you’re essentially grinding that oily residue into your walls. And the consequences aren’t just cosmetic. Improperly cleaned soot leaves behind nasty odors and harmful particulates that tank your home's air quality. Knowing what to do after a house fire helps you tackle these first steps safely and effectively.
Gathering Your Soot Removal Toolkit
Before you even think about touching a soot-stained wall, you have to get your gear in order. Trust me on this one. Trying to clean up soot with the wrong tools won't just fail—it can be downright hazardous and cause permanent damage to your walls. Success here is all about preparation.
Your first priority has to be safety. Soot isn't just dirty; those tiny particles are often toxic and can cause serious respiratory issues if you breathe them in. Protecting yourself isn't optional, it's the first step.
Essential Personal Protective Equipment (PPE)
Start by gathering these non-negotiable safety items. Don't even start the cleanup until you have them on.
- N95 or P100 Respirator: This is non-negotiable. A simple dust mask you'd use for sanding won't cut it. You need a respirator that can filter out the microscopic, harmful particles found in soot.
- Safety Goggles: You need to protect your eyes from airborne particles and any cleaning solution that might splash. Full-seal goggles are best.
- Chemical-Resistant Gloves: Nitrile or heavy-duty rubber gloves are what you're looking for. They'll protect your skin from both the grimy soot and the powerful cleaners you'll be using.
Once you’re properly geared up, you can turn your attention to the cleaning supplies. Using the right tools in the right order is the secret to getting a clean, streak-free finish without making a bigger mess.
Core Cleaning Supplies for Washing Soot Off Walls
This is not the time for your everyday, all-purpose household sprays. Soot is an oily, stubborn residue that requires a specific arsenal designed to lift it without smearing.
Professional Tip: Stay away from any standard household cleaners that have ammonia or bleach. Mixing these with certain soot residues can create toxic gases or, worse, chemically set the stain right into the paint. It's a mistake you only make once.
Your cleaning kit should include these key items:
- HEPA-Filter Vacuum: A vacuum with a HEPA (High-Efficiency Particulate Air) filter is your first line of attack. It’s built to trap those ultra-fine soot particles without just blowing them back into the room. Use a soft brush attachment and a gentle touch to lift the loose soot off the surface. For bigger jobs where the air quality is a real concern, pros bring in heavy-duty filtration systems; looking into an air scrubber rental can make a huge difference in keeping your indoor air clean during the process.
- Dry Cleaning Sponges: These are probably the most important tool you'll use. Sometimes called chemical sponges, they’re made of vulcanized rubber and are used completely dry. They work by absorbing and lifting the oily soot from the wall's surface without using a single drop of water.
- Trisodium Phosphate (TSP) Alternative: When you get to the wet-cleaning stage, you'll need a powerful degreaser. While traditional TSP is effective, it’s also pretty harsh. Modern, TSP-free alternatives deliver excellent cleaning power with fewer safety and environmental worries.
- Buckets and Clean Rags: It sounds simple, but you need at least two buckets—one for your cleaning solution and another for clean rinse water. Having plenty of soft, clean cloths or sponges is also critical to avoid cross-contamination.
As you assemble your supplies, it's worth thinking beyond just cleaning power. Taking a moment for understanding safe cleaning product ingredients can give you valuable insight for any deep-cleaning project around your home, ensuring the products you use are effective without being unnecessarily hazardous.
Soot Cleaning Supplies Checklist: DIY vs. Professional Grade
When tackling soot, the tools you use make all the difference. While DIY methods can handle very minor situations, professional-grade equipment is designed for faster, safer, and more thorough results. Here’s a quick comparison of what you might have at home versus what a restoration pro brings to the site.
| Tool/Supply | DIY-Friendly Option | Professional Standard | Purpose |
|---|---|---|---|
| Air Filtration | Open windows, box fans | HEPA Air Scrubber | Captures airborne soot particles to improve safety and prevent re-contamination. |
| Initial Soot Removal | HEPA-filter vacuum | Commercial HEPA vacuum with specialized attachments | Lifts loose surface soot without spreading it into the air. |
| Dry Cleaning | Dry cleaning sponges | Bulk chemical sponges | Absorbs oily soot residue from surfaces without water or smearing. |
| Wet Cleaning Agent | TSP Alternative (degreaser) | IICRC-approved degreasing agents | Breaks down stubborn, oily soot stains for final wall washing. |
| Personal Safety | N95 mask, basic goggles | P100 full-face respirator, Tyvek suit | Provides comprehensive protection from inhaling toxic particles and skin contact. |
This checklist shows why professional intervention is often necessary for anything beyond a small, contained area. The right equipment not only cleans more effectively but also ensures the safety of everyone in the home.
Your Dry-To-Wet Cleaning Process for Painted Walls
Now that you've got your tools and safety gear, it’s time to start the actual cleanup. This isn't a race; patience and following the right sequence are everything. We're going to walk through the same methodical dry-to-wet approach the pros use, which is designed to lift soot off the wall, not grind it further in.
Prepare the Room for Cleanup
Before you even think about touching a wall, you have to contain the mess. Soot particles are incredibly fine and will get absolutely everywhere if you're not careful. The best way to think about it is to treat your work area like a contamination zone and isolate it.
- Start by laying down plastic sheeting or drop cloths to protect your floors. Use painter's tape to seal the edges tight so soot can't sneak underneath.
- Cover any furniture left in the room with plastic. If you can, move smaller items out of the room completely.
- Crucially, turn off your HVAC system. This prevents airborne soot particles from getting sucked into your ductwork and spread throughout the house. Seal the vents with plastic and tape.
This prep work might feel tedious, but trust me, it will save you from a much bigger cleaning job later. A few extra minutes here prevents hours of headaches down the road.
The infographic below gives you a quick visual of the three basic stages for a successful soot removal project.
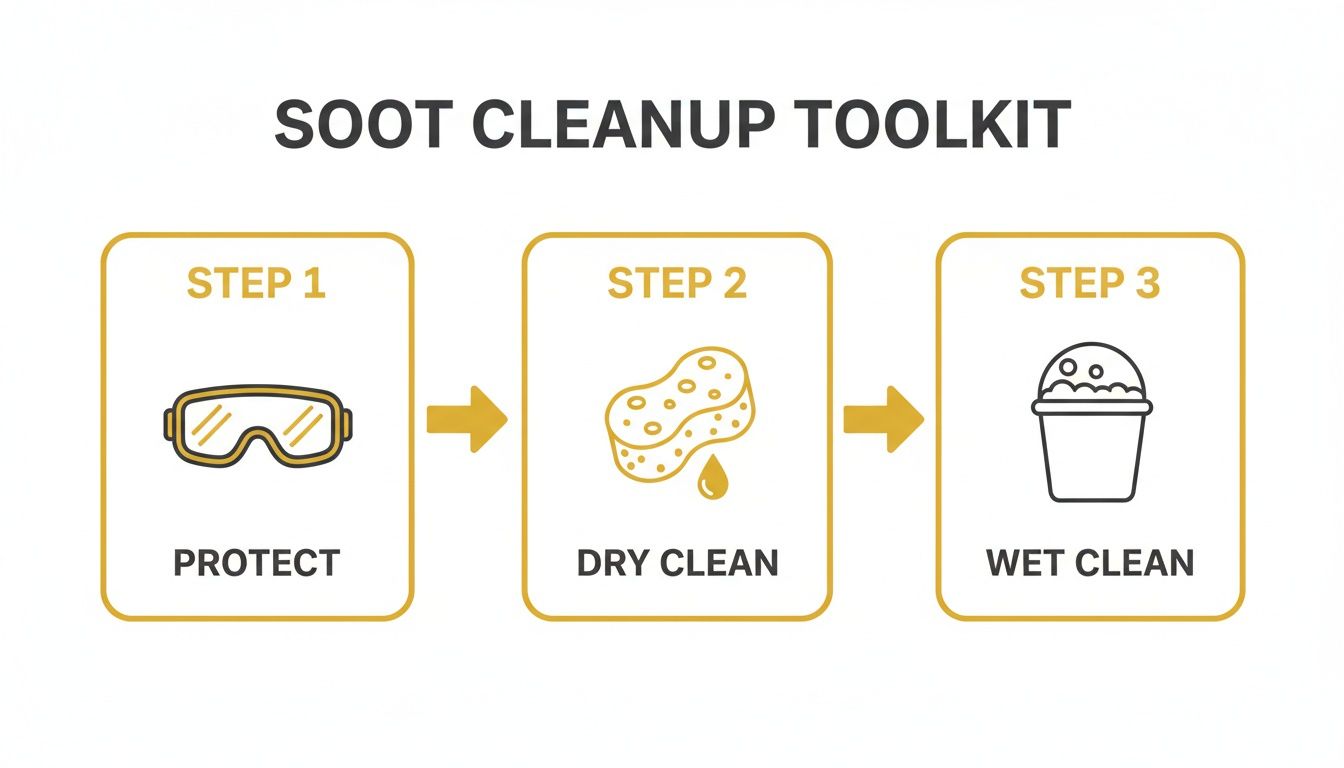
As you can see, the dry cleaning phase is a non-negotiable first step before any liquid touches that wall.
The Crucial Dry Cleaning Phase
This is where the real work begins. Your goal here is to remove as much of that loose, oily soot as you possibly can before you introduce any moisture. This step is the single most important part of learning how to wash soot off walls the right way.
First, grab your HEPA vacuum with a soft brush attachment. Gently hover the brush just over the wall’s surface to pull away the loosest layer of soot. Do not press the brush against the wall. Pushing it into the surface will just scratch the paint and smear the soot around. Always work from the top of the wall down.
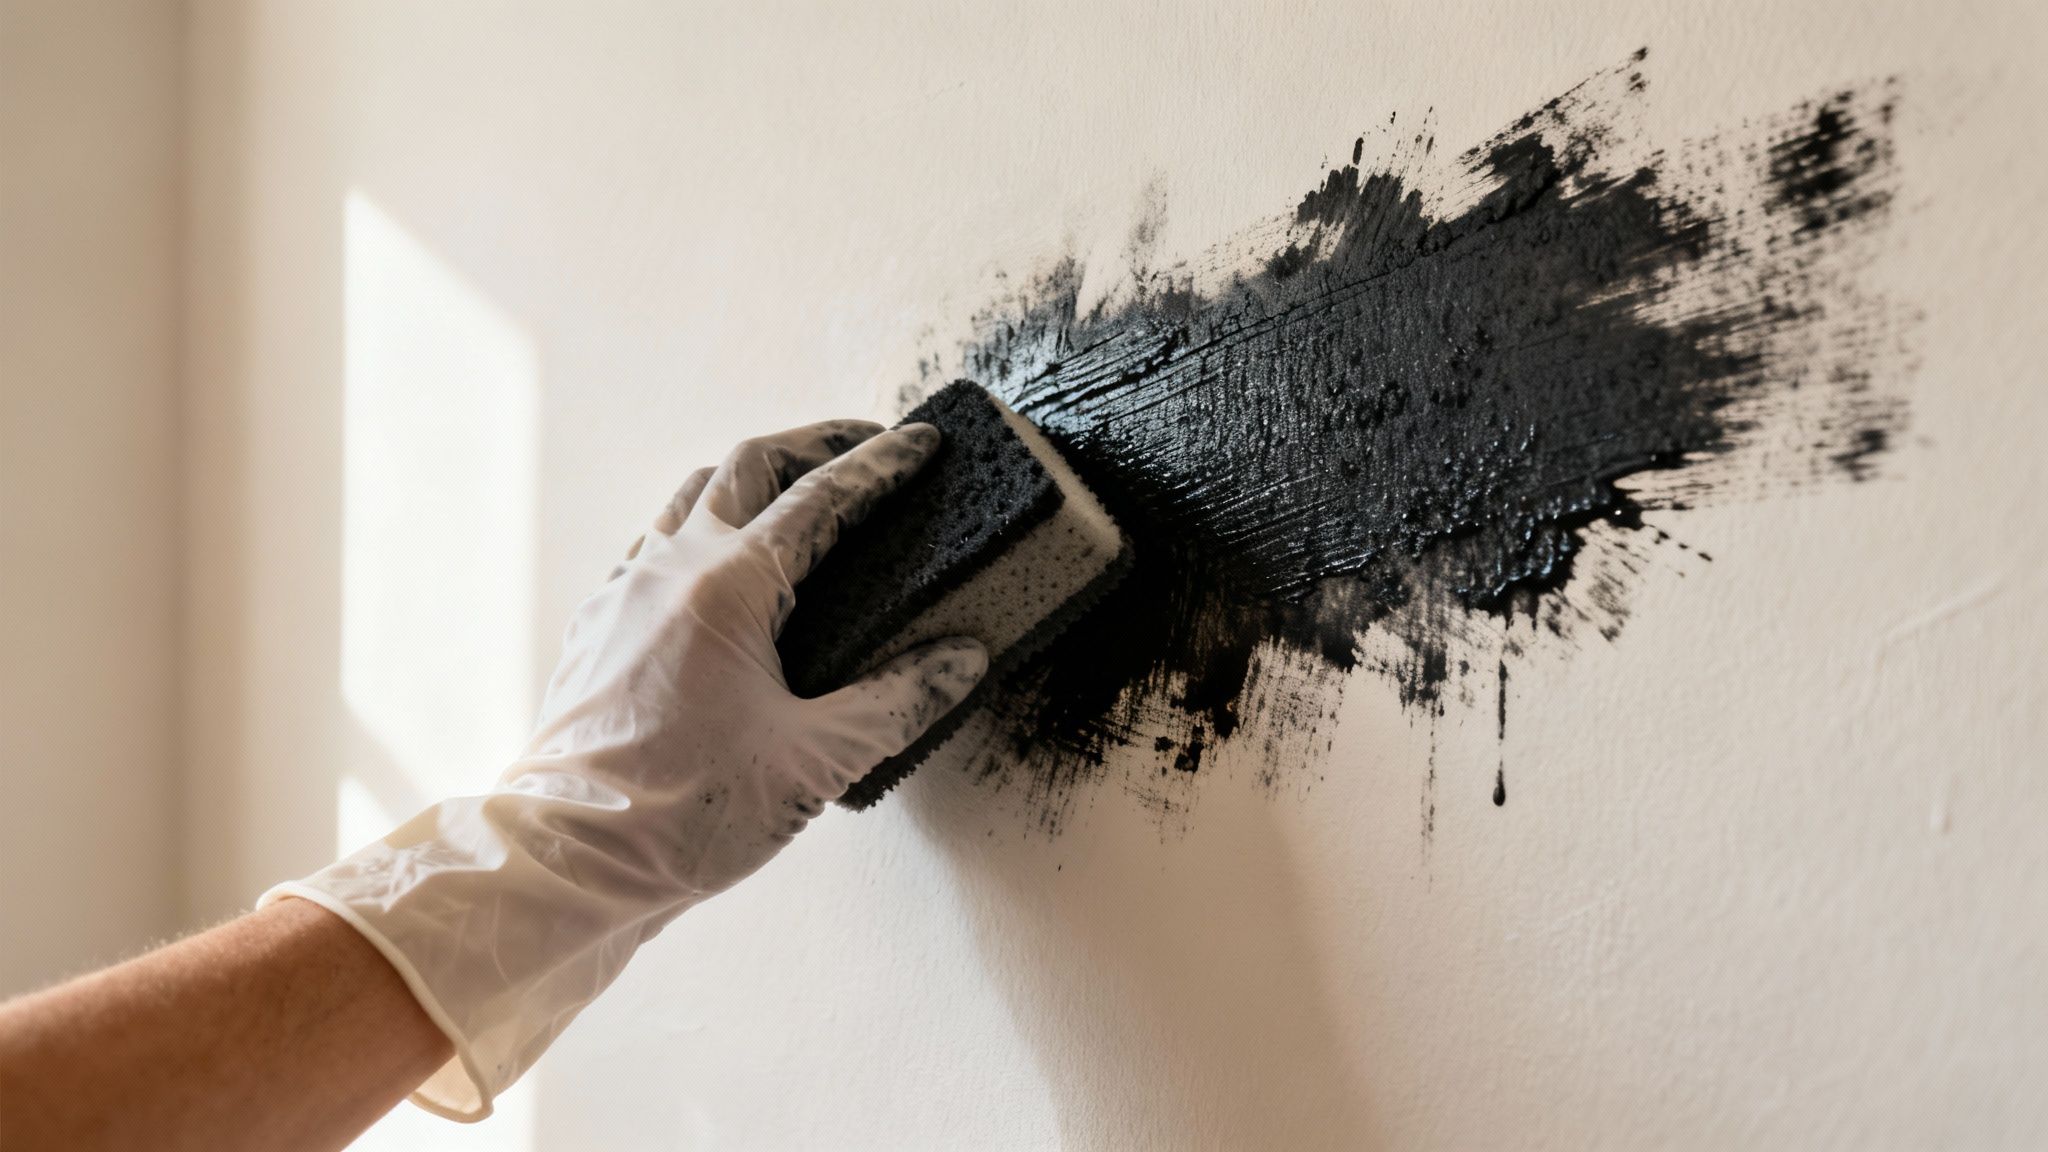
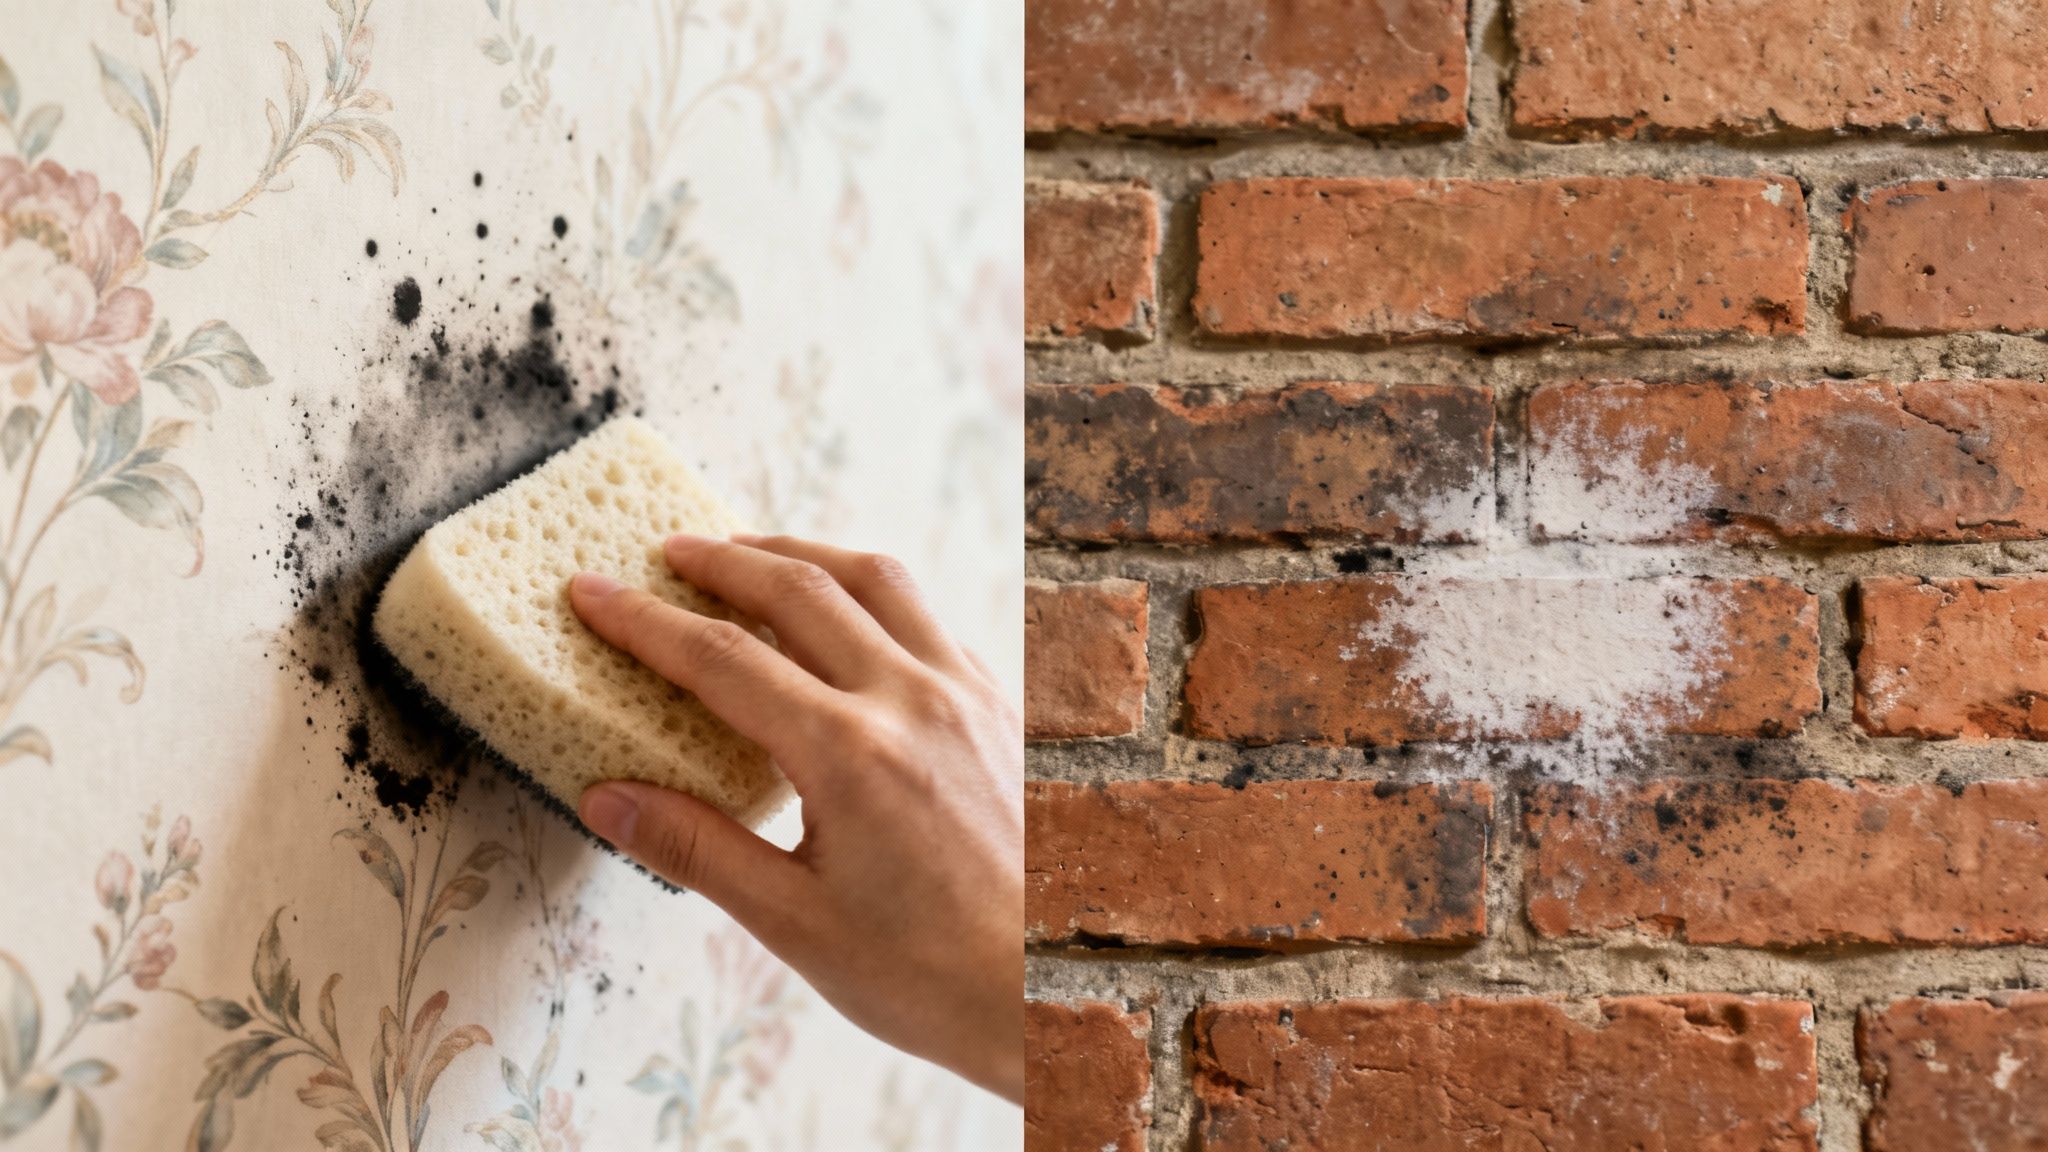
Next up is your dry cleaning sponge. This isn't your average kitchen sponge; it's made of vulcanized rubber specifically designed to grab and hold onto oily residues.
Technique Tip: Use the dry cleaning sponge with straight, slightly overlapping downward strokes. You want to use gentle, even pressure—don't scrub. As one side of the sponge turns black with soot, flip it over to a clean side. Once all sides are dirty, carefully use a utility knife to slice off the soiled layer, revealing a fresh surface underneath.
You'll be shocked at how much soot these sponges lift off. Keep going until the sponge stops picking up significant amounts of black residue. Only then are you ready to move on.
The Final Wet Cleaning Phase
With the bulk of the greasy soot gone, you can now tackle any leftover stains with a cleaning solution. The key here is to work from the bottom up.
Why start at the bottom? If you wash from the top down, dirty water will create clean streaks as it runs down the wall, and those streaks are nearly impossible to get rid of later. By starting at the bottom, any drips will simply run over a still-dirty area, preventing streaking.
Mix your TSP alternative or a good degreasing agent with warm water, following the manufacturer’s instructions.
- Dip a clean sponge or cloth into your solution and wring it out completely. You want the sponge to be damp, not dripping wet.
- Gently wash a small, manageable section of the wall, using a light circular motion.
- Immediately after, rinse that same area with a different sponge and a bucket of clean water. Again, make sure this sponge is wrung out well to avoid over-saturating the drywall.
- Finally, pat the area dry with a clean, soft towel before you move up to the next section.
This careful, step-by-step process is what ensures a uniform, streak-free finish. While soot demands a specific approach, understanding general wall cleaning techniques can help you maintain your home’s surfaces long after this job is done. And remember, lingering odors often need more than just surface cleaning; our guide on the best way to get smoke out of a house offers deeper insights for tackling those persistent smells.
Cleaning Soot from Tricky Surfaces and Stubborn Stains
Not all walls are created equal. The dry-to-wet cleaning process that works wonders on modern semi-gloss paint can completely ruin delicate wallpaper or a historic plaster finish. When you run into these trickier surfaces, you have to shift your technique and bring a lot more patience to the job.
Think about it: a home in a historic Burbank neighborhood with original lath and plaster walls is far more porous and fragile than a new build in Sherman Oaks. If you introduce too much moisture, you risk causing that old plaster to swell, bubble, or even crumble. You have to adapt your approach to the material right in front of you.
Handling Fragile and Textured Surfaces
When you’re dealing with delicate materials, the "dry" phase of your cleaning becomes absolutely critical. In some situations, it’s the only part of the process you should even attempt.
- Wallpaper: Stop right there. Never use water or liquid cleaners on most wallpapers. The moisture will attack the adhesive, causing the paper to peel, bubble, or tear. Your entire strategy here should be a HEPA vacuum and dry cleaning sponges. Use extremely gentle, downward strokes only to lift the soot off the surface.
- Textured Ceilings: That "popcorn" or knockdown texture is a soot magnet, and scrubbing it is impossible. Your best friends are a HEPA vacuum with a soft brush attachment (hovered just off the surface) followed by very careful dabbing with a dry cleaning sponge.
- Porous Brick or Stone: Natural surfaces around a fireplace, like brick or stone, are incredibly porous. Start with a stiff-bristled brush (not wire!) and a HEPA vacuum to knock off all the loose soot. If stains are still there, you might need a specialized masonry cleaner, but you absolutely must test it in a hidden spot first.
The rule of thumb for delicate surfaces is simple: less is more. Always start with the driest, most gentle method you can. You can always escalate your approach, but you can’t undo damage from being too aggressive from the start.
Attacking Stubborn Soot Stains
So what happens when you’ve followed the dry-to-wet process perfectly, but a faint, shadowy stain just won't budge? This is common when soot has had time to penetrate deep into the paint’s pores. This is where you might need to bring in a stronger degreasing agent than your initial TSP alternative.
But there’s a hard limit here. If a second, more targeted wet cleaning doesn’t lift the stain, stop. Pushing it further with more scrubbing will only chew through the paint's finish, making things worse. At this point, you're no longer cleaning; you're prepping for a different solution entirely.
The professional move is to pivot to a stain-blocking primer. A high-quality, shellac-based primer is engineered to do one thing: seal in stubborn stains and odors. It creates a barrier that prevents them from bleeding through your new topcoat of paint. After priming, you can repaint the wall for a flawless finish.
Sometimes, hidden moisture is the real culprit behind persistent stains. Knowing how to read moisture meter readings can help you figure out if there are underlying issues that are preventing the surface from coming clean.
When to Call a Professional Restoration Team in Los Angeles
Sometimes, a DIY approach to cleaning soot isn't just ineffective—it can be downright dangerous. While minor incidents, like a puff of smoke from a blown-out candle, are often manageable, you’ve got to recognize the red flags that signal a problem is too big to handle alone.
Making the right call protects your property value and, more importantly, your family’s health. If the soot came from a significant house fire in your Los Angeles home, for example, the contamination is almost certainly more widespread than you can see.
Signs the Soot Damage Requires Professional Help
If you're on the fence, look for these tell-tale signs that it’s time to call in the experts. Ignoring them can lead to lingering health hazards and permanent damage to your home.
- Widespread Contamination: If soot has stained more than one small room, it’s a sign that microscopic particles have likely spread through your HVAC system. Cleaning the walls won't fix the problem if your air ducts are just going to blow soot right back into the rooms.
- A Persistent Smoky Odor: That lingering smell of smoke is more than just an annoyance. It’s a clear indicator that soot particles are still embedded deep within porous materials like drywall, carpeting, and insulation where a sponge just can't reach.
- Soot from an Actual Fire: Any soot from a real fire, even a small kitchen flare-up, is chemically different from candle soot. It’s often mixed with the toxic, acidic residue from burned plastics and synthetic materials, making it far more hazardous.
- Structural Materials Are Charred: If you see any charring on drywall, baseboards, or framing, there is underlying structural damage that absolutely needs a professional assessment. Cleaning is no longer the main issue; safety is.
Crucial Insight: The overwhelming majority of insurance claims for fire damage require professional documentation. A certified team like Onsite Pro Restoration not only cleans the damage but also meticulously documents every step, giving your insurer the proof needed for a successful claim.
The Insurance and Cost Factor
Here's something most homeowners don't realize: attempting a large-scale DIY cleanup can sometimes jeopardize your insurance coverage. Insurers prefer working with certified professionals who follow industry-standard protocols because it ensures the job is done right. Trying to save a few bucks with a DIY approach could end up costing you your entire claim.
The costs associated with professional soot cleanup also highlight the scale of the work involved. A recent cost analysis for fire-damage projects found that even minor jobs often range from $3,000 to $10,000.
With cleaning and mitigation alone averaging $4–$7 per square foot, it’s easy to see how a moderately affected home can quickly rack up costs best handled through an insurance claim. You can learn more about the costs of fire damage restoration from industry reports.
Ultimately, knowing when to put down the sponge and pick up the phone is a key part of learning how to wash soot off walls safely. For complex situations involving your HVAC system, stubborn odors, or insurance claims, the expertise of a certified restoration professional isn't just a convenience—it's a necessity for getting your home back to a safe, healthy condition.
FAQs: How to Wash Soot Off Walls in Your Home
Q: Can I just paint over soot stains on my walls?
A: No, you should never paint directly over soot. The oily residue and smoky odor will bleed through new paint quickly. You must first clean the surface thoroughly using a dry-to-wet method. Then, seal any remaining stains with a shellac-based, stain-blocking primer before repainting.
Q: What is the difference between a dry cleaning sponge and a regular sponge?
A: A regular sponge is designed for wet use and will smear oily soot, making the stain worse. A dry cleaning sponge (or chemical sponge) is made of vulcanized rubber and used completely dry. Its unique texture absorbs and lifts greasy soot particles off the surface without smearing, making it the essential first step in the cleanup process.
Q: Is the lingering smell of smoke after a fire harmful?
A: Yes. A persistent smoke odor indicates that microscopic soot particles, which can contain toxic and acidic compounds, are still embedded in porous materials like drywall, carpet, and upholstery. These particles pose a respiratory health risk, especially for children, the elderly, and individuals with asthma.
Q: How do I prevent soot buildup on my walls in the future?
A: To prevent soot, have your chimney professionally swept annually, always trim candle wicks to ¼ inch, and use your kitchen’s range hood fan every time you cook. Regularly changing your HVAC system's air filter will also help capture airborne particles before they can settle and stain your walls.
If the soot damage in your Los Angeles home feels too big to handle on your own, don't risk making it worse. Onsite Pro Restoration provides IICRC-certified fire and smoke damage cleanup to safely and completely restore your property. Contact us 24/7 for a free assessment.