Spotting mold in your attic can be a gut-wrenching moment for any homeowner in Los Angeles, but it's a far more common problem than most people realize. The good news is that its causes are almost always clear and identifiable. At its core, attic mold removal begins with understanding one simple fact: mold is a direct result of moisture.
Whether that moisture comes from a sneaky roof leak after a rare winter storm, poor ventilation in a Sherman Oaks ranch home, or heavy condensation from coastal fog in Santa Monica, understanding the root cause is the first and most critical step. This guide will walk you through not just removing the mold, but making sure it never comes back.
Ready to tackle the problem now? For a professional assessment of your attic, contact us 24/7 for a free inspection.
The Hidden Dangers of Attic Mold
Finding mold up there feels like a huge problem, but it helps to think of it as a symptom of a larger, fixable issue. Mold spores are literally everywhere, all the time. They’re harmless until they find two things: a food source (like the wood rafters and plywood sheathing in your attic) and moisture.
Your attic provides plenty of food. The real question you need to answer is: where is the water coming from? The answer nearly always boils down to one of three culprits, each creating the perfect storm for mold to take hold and spread.
The Three Main Causes of Attic Mold
-
Excessive Moisture and Humidity: Warm, humid air from everyday activities like showering and cooking naturally rises from your living space into the attic. If your attic isn't breathing properly, that moist air gets trapped. When it makes contact with the cooler surface of the roof sheathing, condensation forms—just like droplets on a cold glass of water. This steady supply of dampness is a green light for mold growth.
-
Poor Ventilation: An attic needs to breathe. A well-designed system uses soffit vents (for intake) and ridge or gable vents (for exhaust) to keep air circulating. This constant airflow is designed to push warm, moist air out while pulling in cooler, drier air, keeping humidity levels stable. Blocked vents or an undersized system effectively turns your attic into a stagnant, damp box where mold can thrive.
-
Roof Leaks and Water Intrusion: This one is more obvious but can be tricky to spot. Even a tiny, slow leak from a damaged shingle, compromised flashing around a chimney, or a cracked pipe boot can introduce a persistent stream of water. That water soaks right into the wood and insulation, creating a concentrated hotspot for aggressive mold colonies.
A very common partner-in-crime here is poor or insufficient attic insulation, which makes all these moisture issues worse. If insulation is installed incorrectly, it can easily block soffit vents, choking off airflow and trapping moisture right against the wood sheathing.
Key Takeaway: Attic mold doesn't just happen randomly. It's a direct consequence of a moisture problem. Your most important job is to figure out if the source is a leak, condensation from bad ventilation, or general high humidity. That's the only way to create a permanent solution.
How to Tell If You Need Professional Attic Mold Removal
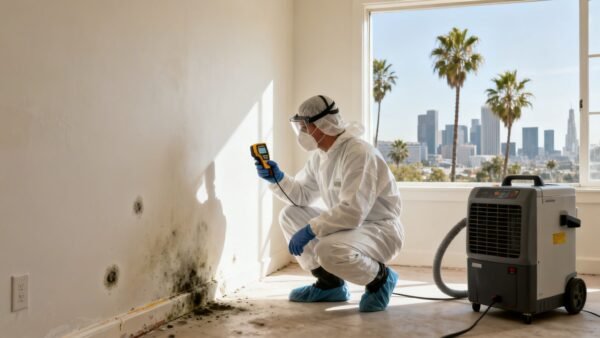
Before you can even think about attic mold removal, you have to know what you’re up against. A thorough inspection isn't just a good idea—it's non-negotiable. But you have to do it safely. Barging in and disturbing mold colonies without the right precautions can send a cloud of spores through your entire home. That's how a contained attic problem becomes a whole-house nightmare.
First things first: gear up. This isn’t the time to cut corners. You absolutely need:
- An N95 Respirator: Protects your lungs from breathing in microscopic mold spores.
- Safety Goggles: Make sure they're non-vented. Spores can and will get in through the sides.
- Gloves: Simple disposable gloves are fine; they keep mold off your skin.
Once you’re protected, grab a high-powered flashlight. It's time to play detective.
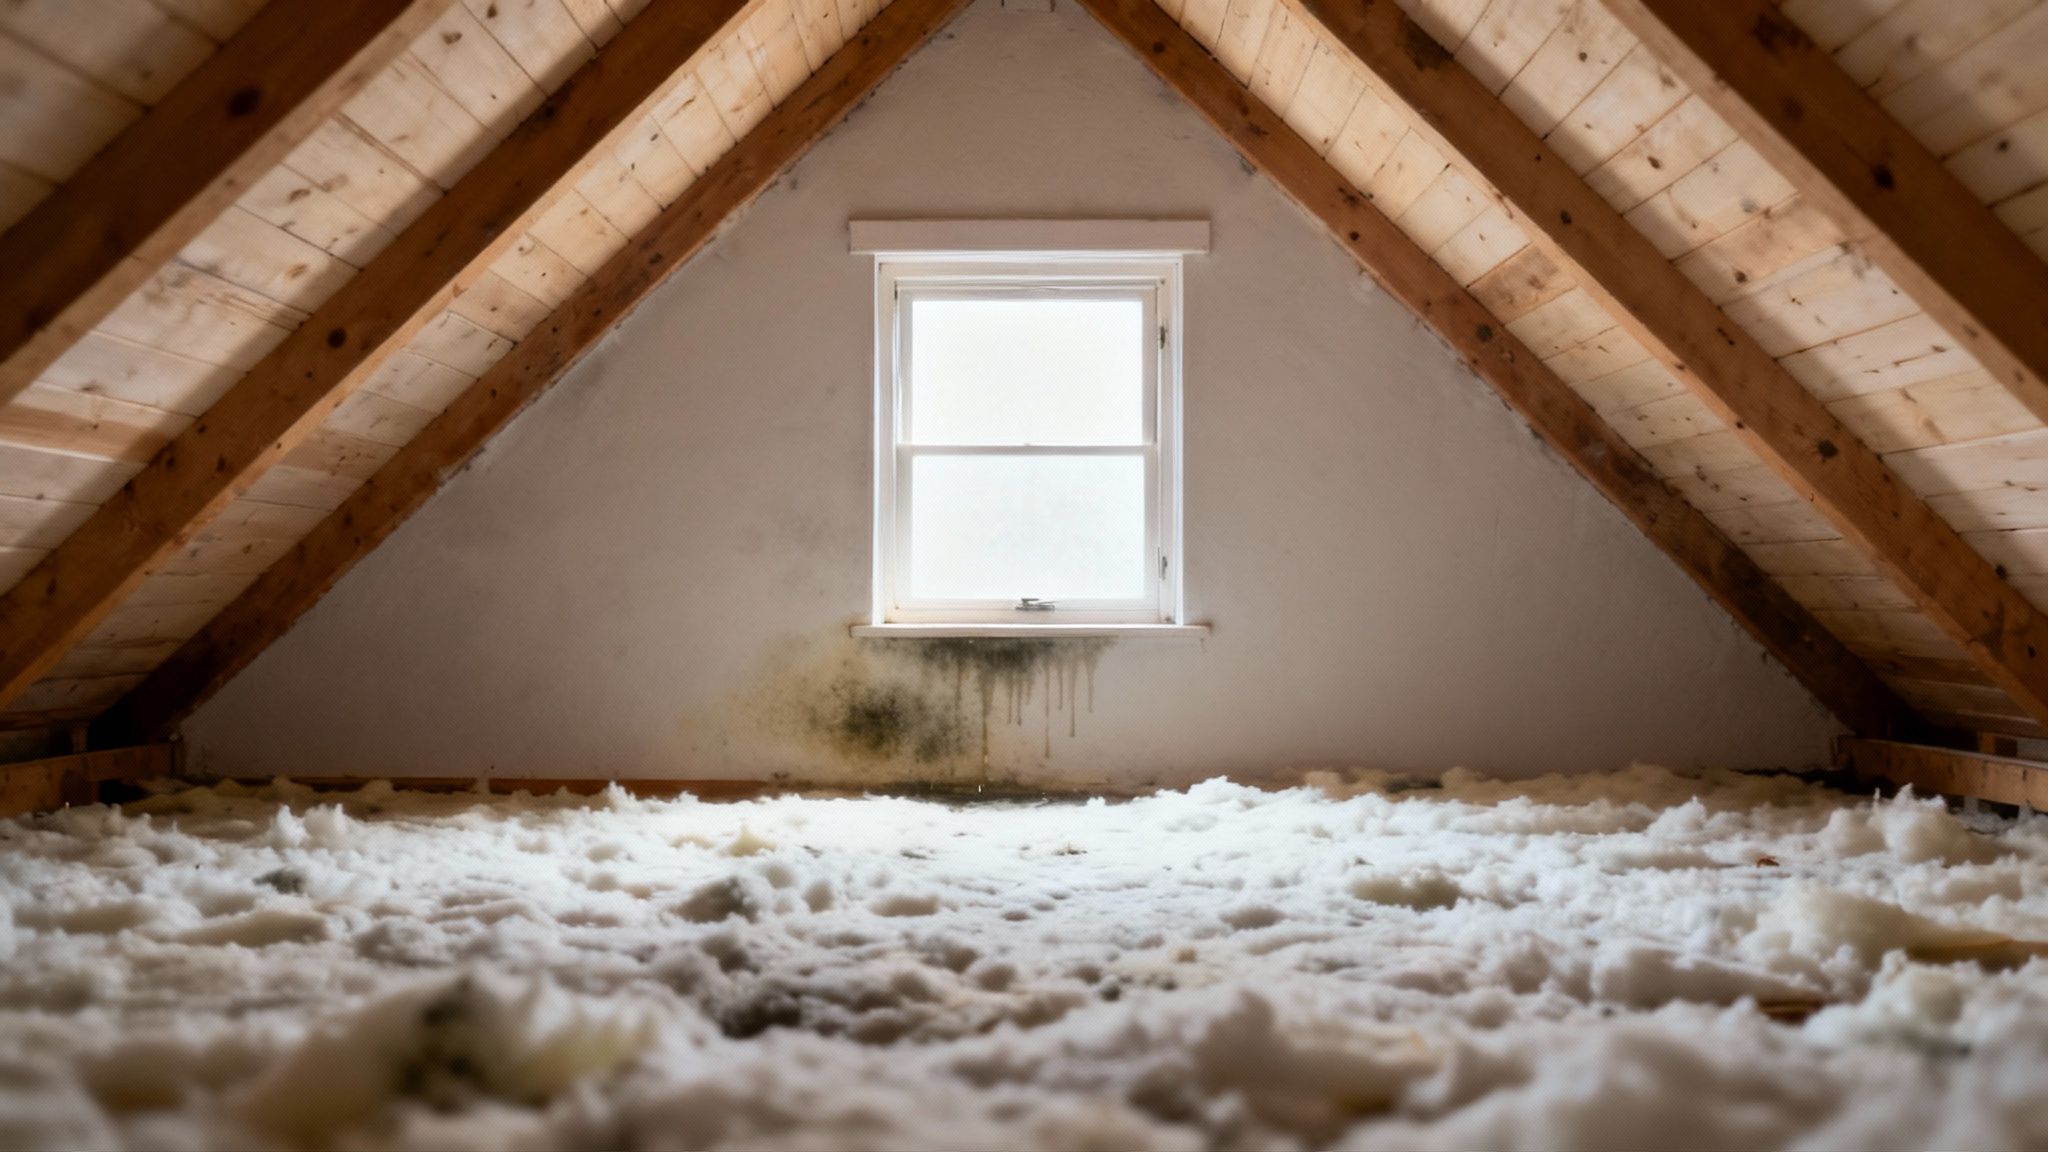
What to Look for During Your Inspection
You need to be methodical. Start right at the attic hatch and work your way around the edges, carefully scanning the underside of the roof deck (the sheathing), the rafters, and the insulation. Don't just hunt for black splotches; mold comes in all sorts of colors, including green, white, and even orange.
Keep an eye out for these subtle but critical signs:
- Musty Odors: Your nose is often the best tool you have. If the air has that distinct damp, earthy smell, you can bet mold is growing somewhere.
- Water Stains or Discoloration: Look for dark streaks or rings on the wood. These are tell-tale signs of a past or present water leak, which is exactly what mold needs to get started.
- Damp or Matted Insulation: With your gloves on, touch the insulation in a few spots. If it feels wet or looks compressed and matted down, it’s holding moisture—and likely hiding mold colonies underneath.
- Frost on Roof Sheathing (in Winter): On a cold Los Angeles morning, seeing frost on the inside of your roof deck is a huge red flag. It means warm, moist air from your home is condensing and freezing there. When it thaws, you've got a perfect recipe for mold.
It’s also important to tell the difference between active mold growth and old stains. Active mold often looks fuzzy, velvety, or slimy. Old stains are usually flat and soaked into the wood. But even "inactive" mold is an allergen and proves you had a moisture problem that could easily come back.
Pro Tip: Take a screwdriver and gently press the tip against a stained section of wood. If it feels soft or crumbly, you’ve got wood rot. This is a sign of long-term moisture exposure and almost always goes hand-in-hand with a serious mold issue.
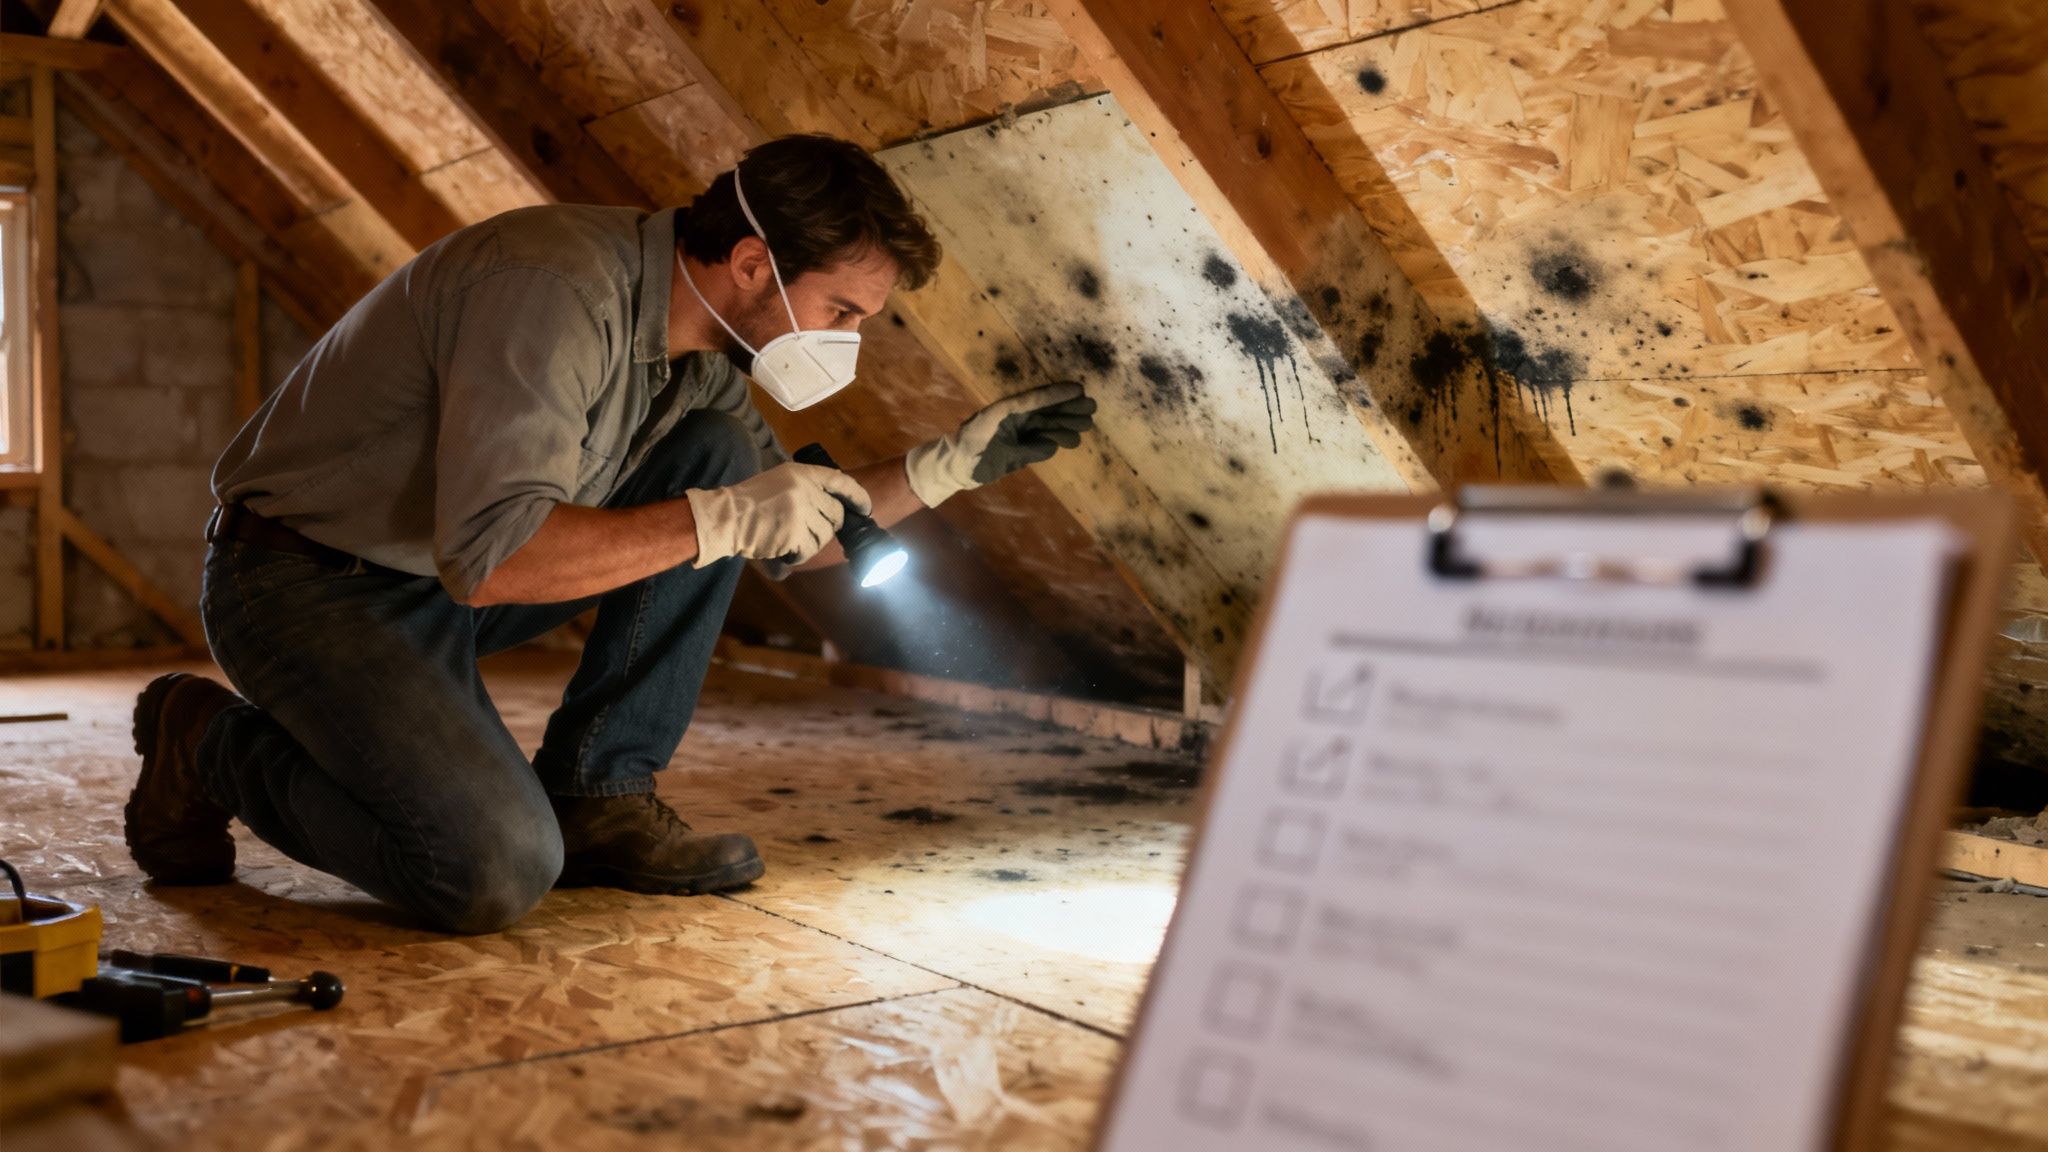
When to Call for a Professional Assessment
A DIY check gives you a starting point, but some situations demand a professional eye. There's a reason attic mold removal is a booming business. The global mold remediation market was valued at around USD 1.5 billion in 2024 and is expected to climb to USD 2.02 billion by 2032. Attics are a huge part of that, mostly because slow roof leaks create the perfect hidden environment for mold to thrive. You can read more about these industry trends to understand why this is such a common problem.
If your inspection turns up widespread growth (more than 10 square feet), signs of major water damage, or a musty smell that hits you the moment you open the hatch, it’s time to stop. Put the flashlight down and call a professional.
They have specialized tools like moisture meters and air quality testing equipment to find the source and uncover hidden problems you can't see. To get a better idea of what a pro brings to the table, check out our guide to professional mold inspection services.
DIY Removal vs. Hiring a Professional
Deciding whether to tackle attic mold yourself or call in the pros is probably the most important call you'll make. Get it wrong, and you could be looking at wasted time, more property damage, and even serious health risks. The right answer really boils down to the scale and type of mold you're dealing with.
Honestly, a small, isolated patch of surface mold—we're talking less than 10 square feet—on something non-porous might be a manageable DIY job. If you can clearly see the mold is just on the surface of the wood sheathing and hasn't sunk in deep, a homeowner with the right safety gear and a solid plan can often handle it.
But that's a very specific, best-case scenario. The moment other factors enter the picture, the scale tips heavily toward calling a professional.
When DIY Is Off the Table
Some situations are just non-negotiable. Trying to fix these on your own is not only ineffective but flat-out dangerous. You could end up spreading millions of mold spores through your HVAC system and into every room of your house.
It's time to hire an expert if you see any of this:
- Widespread Growth: If the mold covers more than a small 10-square-foot patch, it’s a clear sign of a significant, ongoing moisture problem. A simple scrub-down isn't going to fix the root cause.
- Contaminated Water Source: Mold from a sewer backup or floodwater is a biohazard. This requires technicians trained specifically in handling contaminated materials. Don't touch it.
- Hidden Mold: You can smell that strong, musty odor, but you only see a few small spots? That's a classic sign that mold is growing where you can't see it—behind walls, under insulation, or deep inside porous materials.
- Health Sensitivities: If anyone in your home has asthma, allergies, a compromised immune system, or is very young or elderly, don't even think about a DIY cleanup. The risk of exposing them to airborne spores is just too high.
The True Value of Professional Remediation
Hiring certified mold removal contractors is about so much more than just wiping away visible spots. These pros bring a scientific approach and specialized gear that you simply can't replicate with a trip to the hardware store. Their entire process is built to remove the mold and make sure it doesn't come back.
The average cost for residential mold remediation hovers around $2,366. For an attic, it often falls between $1,000 and $4,000 because of the difficult access and the need to fix underlying issues like hidden roof leaks. You can discover more insights about the growing mold remediation market to see why a professional approach is the industry standard.
Here’s what the pros deliver that a weekend project can't:
- Proper Containment: Technicians will completely seal off the attic from the rest of your house using heavy plastic sheeting and negative air pressure machines. This is a critical step that prevents cross-contamination, ensuring spores knocked loose during removal don't end up in your living room.
- HEPA Filtration: They use industrial-grade air scrubbers with HEPA filters that capture microscopic, airborne spores. This cleans the air down to safe levels, which is something a shop vac could never do.
- Source Identification: A huge part of their job is finding out why the mold grew in the first place. They use tools like moisture meters and thermal imaging cameras to pinpoint the exact source of the water intrusion. If you don't fix the leak, the mold is guaranteed to return.
- Safe and Effective Removal: Professionals use EPA-approved biocides and advanced techniques like soda blasting or dry ice blasting. These methods kill and strip mold from porous materials like wood framing without causing more damage.
To help you weigh your options, here’s a quick comparison of what to expect from each approach.
DIY vs. Professional Attic Mold Removal
| Factor | DIY Approach | Professional Remediation |
|---|---|---|
| Scope | Best for small, visible areas (<10 sq. ft.) on non-porous surfaces. | Necessary for large infestations (>10 sq. ft.), hidden mold, or contamination. |
| Safety | Relies on store-bought PPE (N95 mask, goggles). Risk of cross-contamination is high. | Uses full-face respirators, containment zones, and negative air machines to protect the home. |
| Effectiveness | Surface cleaning may leave behind mold roots (hyphae) in porous wood. High chance of recurrence. | Employs techniques like media blasting and EPA-approved biocides for deep removal. Addresses the moisture source. |
| Equipment | Household cleaners, scrub brushes, and maybe a wet/dry vac. | Industrial-grade air scrubbers, HEPA vacuums, dehumidifiers, moisture meters, and thermal cameras. |
| Cost | Lower upfront cost for supplies ($50 – $200). Potential for much higher costs if the problem worsens. | Higher initial investment ($1,000 – $4,000+), but provides a long-term solution and peace of mind. |
| Time & Effort | Requires significant personal time for research, prep, cleaning, and disposal. | Technicians handle the entire process from assessment to clearance, usually within a few days. |
Ultimately, choosing between DIY and a professional comes down to assessing the risk. A tiny, simple job might be within your reach, but for anything more complex, the safety, thoroughness, and long-term peace of mind you get from a certified team are well worth the investment.
A Practical Guide to Removing Small Mold Patches
So, your inspection turned up a small, contained patch of mold—something under 10 square feet. You might be thinking you can handle this yourself, and you might be right. But this is one of those jobs where cutting corners can backfire, big time. A sloppy attic mold removal attempt can fling spores all over your house, turning a tiny problem into a full-blown contamination nightmare. Safety isn't just a suggestion here; it's everything.
Before you even grab a scrub brush, your first mission is to completely isolate the attic from the rest of your home. Those spores are microscopic, and they'll happily hitch a ride on the slightest draft.
Setting Up a Safe Work Zone
The goal here is to create a sealed-off bubble. Professionals call this containment, and it's a non-negotiable step to prevent cross-contamination.
- Seal HVAC Vents: First, kill the power to your home's HVAC system at the thermostat. Then, get some plastic sheeting and painter's tape and seal off any air vents in or near your attic access.
- Create an Airlock: Use heavy-duty plastic sheeting to completely seal the attic entryway. If you have the space, it's a great idea to hang a second sheet a few feet away. This creates a small "airlock" that acts as a buffer between the dirty zone and your clean living space.
This simple setup is your best defense against spores migrating downstairs while you're working.
Essential Personal Protective Equipment
I can't stress this enough: do not skip this part. The right personal protective equipment (PPE) is the only thing standing between you and a lungful of mold spores.
- N95 or P100 Respirator: This is mandatory. A simple dust mask you'd use for sanding won't cut it. Your lungs will thank you.
- Non-Vented Goggles: You need to protect your eyes from both airborne spores and any cleaning solutions that might splash.
- Disposable Coveralls with Hood: These stop spores from clinging to your clothes, which you'd otherwise track through the house.
- Rubber Gloves: Get a sturdy pair that pulls up over the cuffs of your coveralls to create a solid seal.
Once you're geared up like a pro, you can get your cleaning supplies ready.
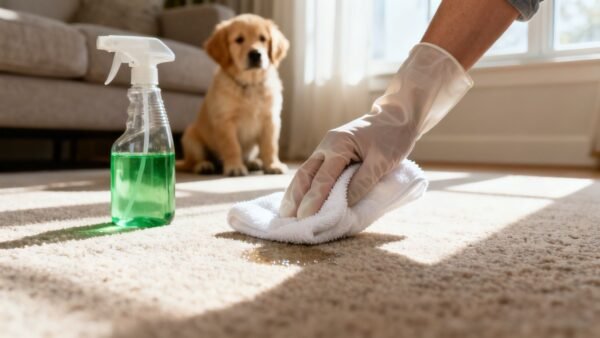
The Right Tools and Cleaning Solutions
A lot of people reach for bleach, but on porous surfaces like wood, it's often the wrong tool for the job. Bleach can kill the surface mold, sure, but it rarely gets down to the "roots" (the hyphae) embedded in the wood. We have a whole article that dives deeper into why bleach isn't the best choice for black mold.
A better approach is often simpler: a bucket of water mixed with a good household detergent. The real magic isn't in the chemical; it's in the physical scrubbing and removal. All you really need is a stiff-bristled brush and two buckets—one for your cleaning solution and another for clean rinse water.
This infographic breaks down the decision-making process for attic mold.
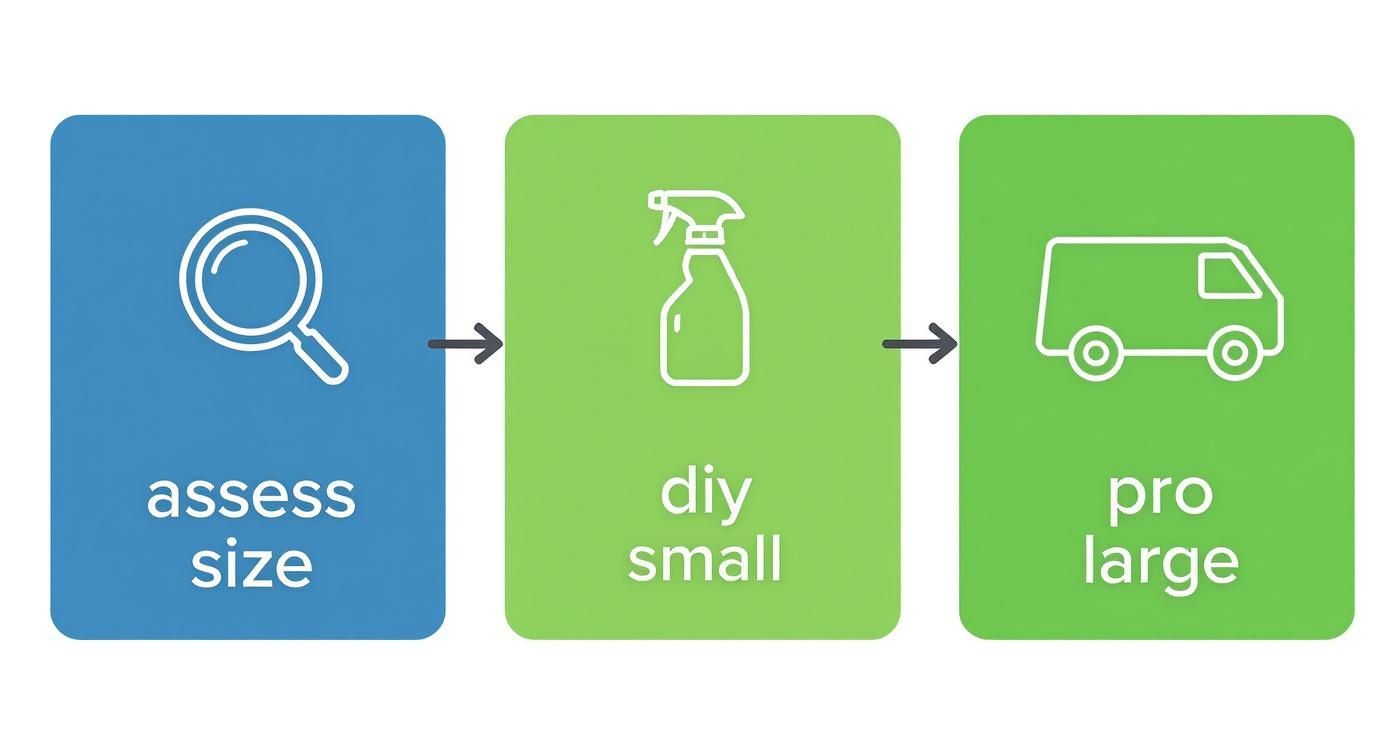
As the guide shows, the size of the mold growth is really the first and most important factor in deciding whether to tackle it yourself or call in a certified professional.
The Removal and Cleanup Process
With your containment up and your PPE on, you can finally start cleaning. Before you scrub, lightly mist the moldy spots with a spray bottle of plain water. This simple trick helps weigh down the spores so they don't immediately puff into the air when you disturb them.
Dip your brush in the detergent solution and start scrubbing the affected areas with firm pressure. It’s best to work in small, manageable sections. Rinse your brush often in the clean water bucket to avoid just smearing the mold from one spot to another.
Crucial Final Step: Once the visible mold is scrubbed away, the area has to get bone-dry, and fast. Set up fans and a dehumidifier to aggressively pull every last bit of moisture out of the wood and air. Mold can start to regrow in as little as 24-48 hours if things stay damp.
Lastly, be meticulous with your cleanup. Carefully place all contaminated items—your rags, brushes, the plastic sheeting, and your disposable coveralls—into heavy-duty trash bags. Seal them up tightly inside the attic before you carry them out. This prevents a final puff of spores from escaping into your home.
How to Prevent Attic Mold from Coming Back
You’ve done the hard work of an attic mold removal, and that’s a huge win. But the job isn't over yet. The final, and arguably most important, step is making sure those fuzzy black spots never get a chance to come back.
This isn't about a one-time fix; it's about shifting your mindset to long-term prevention. It all boils down to making your attic an environment where mold simply can't thrive. That means taking control of the three things that gave it a foothold in the first place: moisture, ventilation, and temperature.
Control Every Source of Moisture
Moisture is mold’s lifeblood, so your number one job is to cut off its supply completely. This requires looking at your home from all angles—inside and out—to hunt down any potential water sources.
Get started with the usual suspects:
- Exhaust Vents: Double-check that your bathroom fans, kitchen hood, and dryer vent are all ducted straight outside. They should never terminate inside the attic. Pumping warm, moist air into a closed-off attic is like rolling out the red carpet for mold.
- Air Leaks: Seal up any gaps you find around light fixtures, plumbing stacks, and the attic hatch itself. Use weatherstripping or caulk to close them off. Even tiny openings allow warm, humid air from your living space to sneak into the cooler attic, where it immediately condenses into water droplets.
- Roof Integrity: A healthy roof is a dry roof. Beyond just ventilation, good proactive roof leak prevention is essential. Get in the habit of inspecting your roof for any damaged shingles, cracked flashing around the chimney, or worn-out pipe boots. A small, slow leak can go undetected for months, quietly saturating the wood sheathing and setting the stage for a major mold problem.
Improve Your Attic’s Airflow
A stuffy, stagnant attic is a damp attic. Proper ventilation is all about creating a constant, gentle flow of air. The system is designed to pull in cool, dry air from the soffit vents (at the lower edges of your roof) and push warm, moist air out through ridge or gable vents at the top.
Key Insight: I’ve seen countless homeowners accidentally block their soffit vents while adding insulation. This is a critical mistake. Always use baffles to create a clear channel so these intake vents can breathe. Without good intake, your exhaust vents are basically useless.
This isn’t just a local problem; it's a global one. The demand for mold remediation is on the rise everywhere. Europe's market, for instance, is projected to grow at a CAGR of 5.1% through 2030 because its varied climates create perfect mold conditions. Over in the Asia-Pacific region, they accounted for about 29.1% of the global market in 2023. It just goes to show that managing indoor moisture is a universal challenge, and attic ventilation is a cornerstone of keeping homes healthy.
Maintain Consistent Temperatures and Humidity
Finally, think about the overall climate in your attic and how it interacts with the rest of your house. Properly insulating the attic floor does more than save on energy bills; it keeps your conditioned air where it belongs. This prevents the extreme temperature swings between your living space and the attic that lead directly to condensation.
In areas that are just naturally humid, you might need to go a step further than passive ventilation. For homes with stubborn dampness, exploring solutions like crawl space dehumidification can offer some great insights. The principles of moisture control are the same whether you're dealing with a crawl space or an attic.
By tackling moisture, airflow, and temperature together, you build a powerful defense that will keep your attic dry and mold-free for years to come.
Schedule a Free Attic Mold Inspection
Does Black Mold in an Attic Always Mean It's Toxic?
Not always, no. While certain black-colored molds, like Stachybotrys chartarum, are known for producing mycotoxins, plenty of other harmless molds look black, too. You just can't tell by looking. The only way to be 100% certain is to have a sample analyzed by a professional lab. But here’s the bottom line: all mold, regardless of color or type, needs to be removed. It's a potent allergen that can trigger health problems and cause real structural damage to your home.
Can I Just Paint Over Mold in My Attic?
Absolutely not. This is one of the most common and damaging mistakes a homeowner can make. Slapping a coat of paint over mold only hides the problem—it doesn't kill it or make it go away. Worse, you're actually trapping moisture against the wood. This creates the perfect environment for the mold to thrive, continuing to eat away at your home's structure underneath that fresh coat of paint. Treating mold is a removal process, not a cover-up job.
How Much Does Professional Attic Mold Removal Cost?
The cost of professional remediation can swing quite a bit. It really depends on the size of your attic, how severe the mold growth is, and whether the space is difficult to access. For a relatively small, straightforward job in an accessible attic, you might be looking at a cost between $1,000 and $4,000. On the other hand, if you have a massive infestation that requires tearing out and replacing all the insulation or repairing structural wood, the price can easily jump past $7,000. Your best bet is always to get a few quotes from certified and insured professionals.
Will Homeowners Insurance Cover Attic Mold Removal?
This is a tricky one. Coverage really boils down to your specific policy and what caused the mold in the first place. If the mold is the direct result of a "covered peril"—think a pipe suddenly bursting or a storm ripping a hole in your roof—you have a good chance of being covered. Unfortunately, mold caused by gradual issues like slow leaks, chronic high humidity, or just poor maintenance is almost always excluded from standard insurance policies. You really have to read your policy documents closely and talk to your agent to know for sure where you stand.
Don't let attic mold compromise your home's structure or your family's health. The IICRC-certified technicians at Onsite Pro Restoration have the expertise to safely eliminate mold and restore your peace of mind. For a free, no-obligation assessment of your attic, contact us 24/7 or call (818) 336-1800 now.