A thermal imaging inspection uses an infrared camera to detect temperature differences on surfaces, revealing hidden issues like water leaks, insulation gaps, or electrical faults that are invisible to the naked eye. For the most accurate building scan, the temperature difference between indoors and outdoors should reach at least 20°F.
If you're staring at a faint ceiling stain, a musty smell in a hallway, or a wall that just feels “off,” that's usually the moment this technology becomes useful. In Los Angeles homes, especially in older properties around Sherman Oaks, Glendale, and Burbank, hidden damage often starts subtly. By the time you can see it with your eyes, the problem has usually spread.
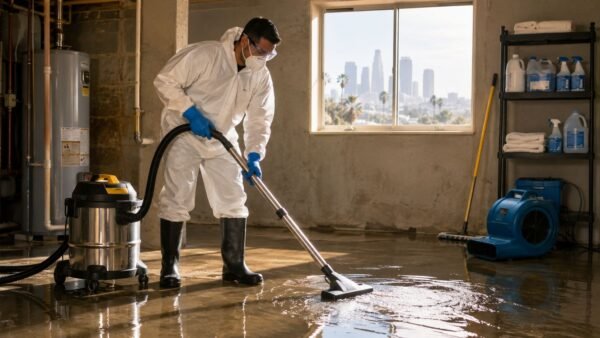
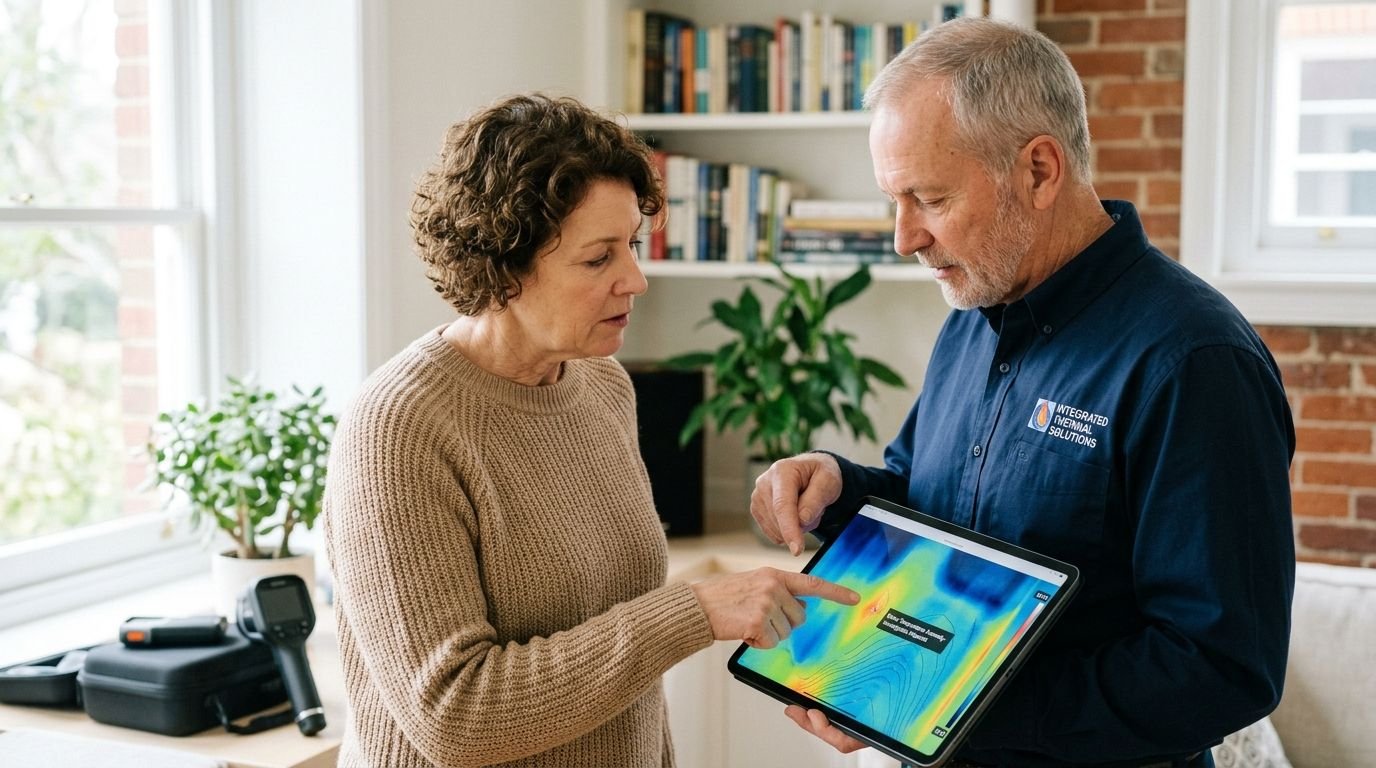
A good thermal imaging inspection gives you a non-destructive first look. Instead of opening walls blindly, a technician can scan for abnormal heat or cold patterns, narrow down likely problem areas, and decide what needs confirmation with other tools. That saves time, limits unnecessary tear-out, and creates cleaner documentation when you need to explain the issue to an insurance adjuster.
SEO title tag: Thermal Imaging Inspection Los Angeles Experts
Meta description: Thermal imaging inspection in Los Angeles helps detect hidden leaks, mold, insulation gaps, and electrical hotspots before damage spreads.
Schema opportunity: FAQ, LocalBusiness
What Is a Thermal Imaging Inspection
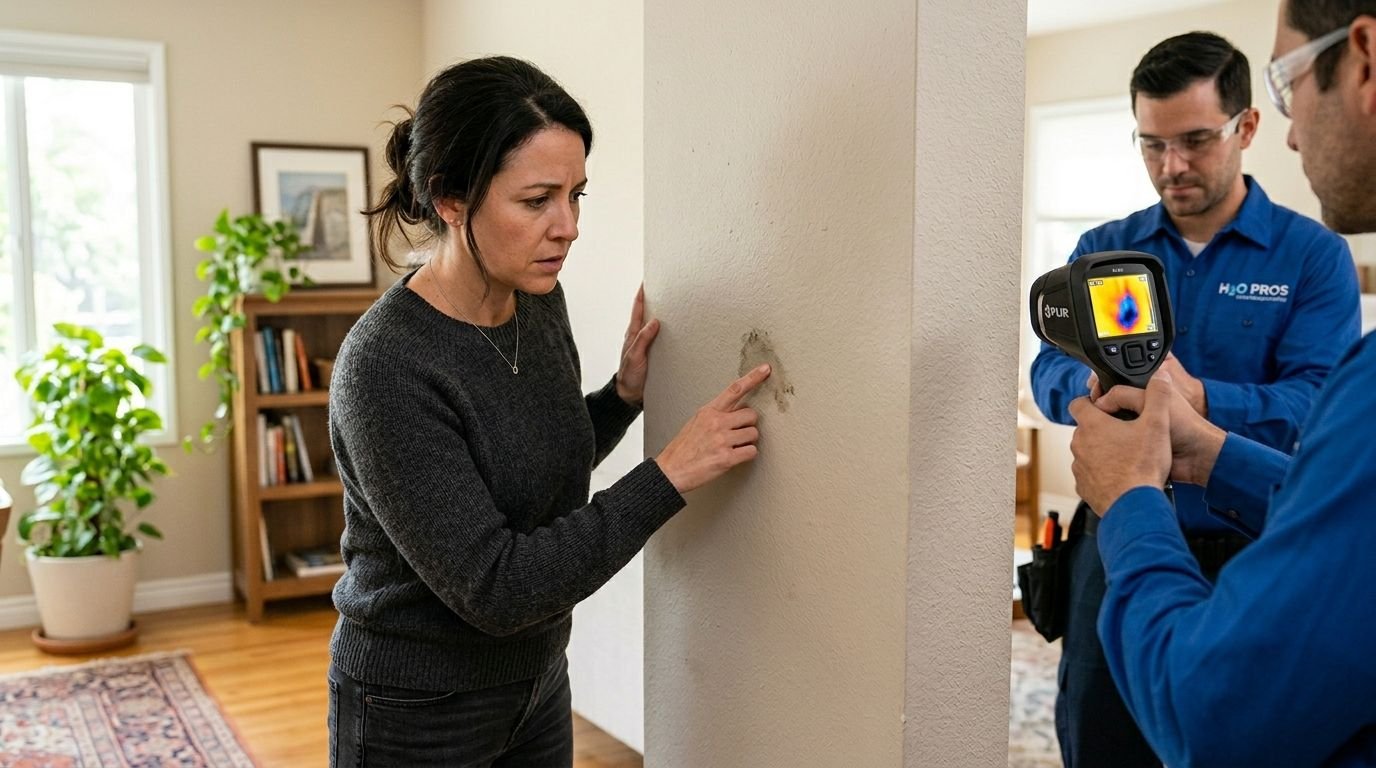
You notice a damp spot near a window, but the drywall still looks mostly intact. Or maybe there's a persistent odor in a bedroom closet and no visible leak. A thermal imaging inspection is often the smartest first step because it helps locate unusual temperature patterns without cutting into finished surfaces.
In simple terms, the camera reads surface temperatures and turns them into a visual map. Colder or warmer areas can point to hidden moisture, missing insulation, air leaks, overloaded electrical components, or HVAC performance problems. If you want a basic primer before going deeper, this guide on what thermal imaging is covers the fundamentals.
What the camera actually detects
It doesn't see through walls like X-ray equipment. It reads surface temperature differences. That distinction matters because the image is only the beginning of the diagnosis.
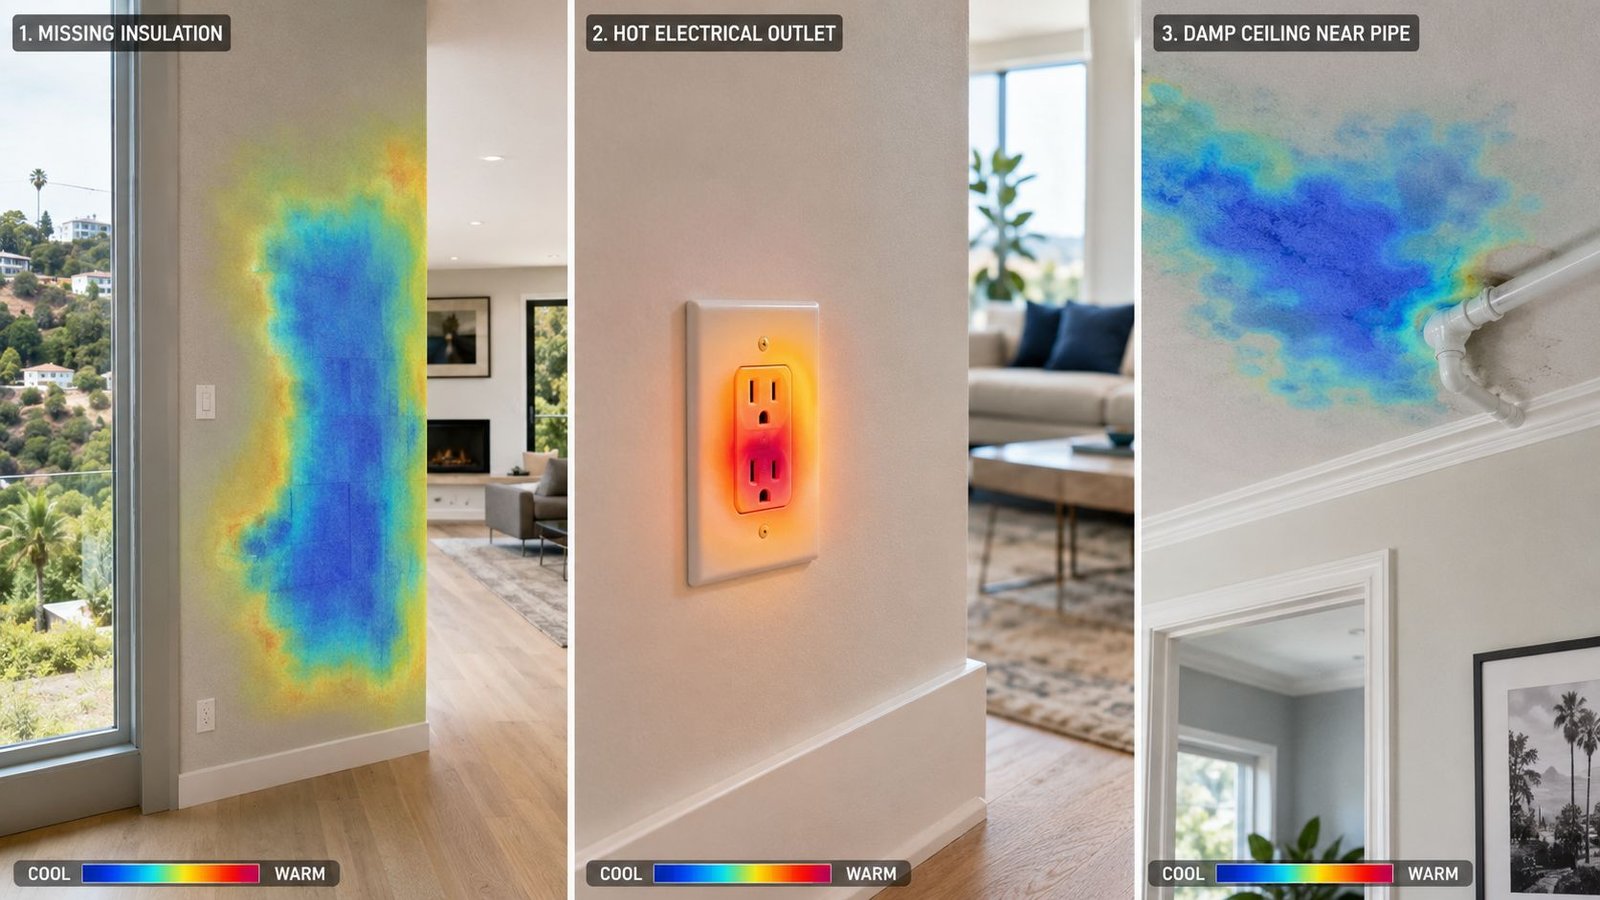
A wet wall can appear cooler than surrounding drywall. A loose electrical connection can show up as a warmer spot. An insulation void may create a shape or band that looks out of place compared with the rest of the room.
Practical rule: Treat the thermal image as a map of where to investigate next, not as the final answer by itself.
Why homeowners use it
For homeowners, the value is speed and clarity. You can check a suspicious area before a small issue becomes structural drying, mold remediation, or panel replacement.
For property managers, it helps prioritize action. For insurance documentation, it creates a visual record that supports the story of the loss, especially when the damage is still hidden behind paint, drywall, cabinets, or flooring.
How Thermal Science Reveals Hidden Damage
Think of infrared scanning as a weather map for your house. A normal wall should have a fairly consistent pattern. When a roof leak, pipe leak, missing insulation bay, or overheated breaker changes that pattern, the camera highlights the difference.
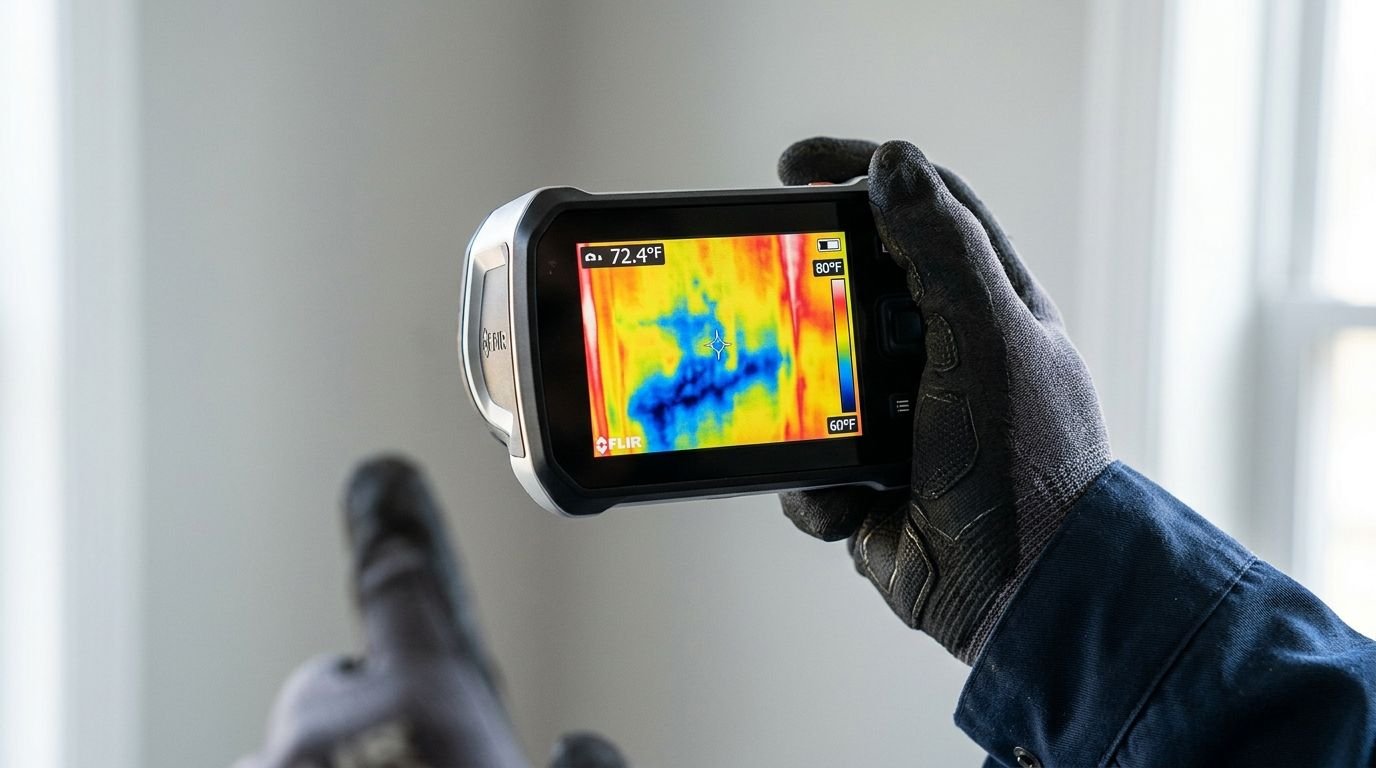
Every surface emits infrared energy. The camera translates that energy into a color palette or grayscale image that lets the technician compare one area against another. In water damage work, I look less at the colors themselves and more at the pattern, shape, edge definition, and how that pattern relates to likely building pathways such as plumbing runs, flashing lines, roof transitions, or exterior wall penetrations.
Why temperature difference matters
The scan works best when the house gives the camera enough contrast to read. The U.S. Department of Energy's guidance on thermographic inspections notes that the most accurate scans occur when there's at least a 20°F temperature difference between the building's interior and exterior.
That's one reason a scan at the wrong time of day can be less useful. In Los Angeles, mild weather is comfortable for people, but it can reduce the contrast a camera needs for building-envelope issues. A technician may need to plan around morning conditions, HVAC operation, solar loading, or a room's exposure.
What a trained technician looks for
Patterns tell the story better than a single bright or dark spot. A reliable inspection considers:
- Shape and spread: Moisture often follows gravity, framing, or material seams.
- Location: A cool patch under a bathroom supply line means something different than a cool patch near a vent register.
- Context: A thermal anomaly near a skylight in Glendale suggests one set of possibilities. The same pattern beneath a second-floor laundry in Burbank suggests another.
- Confirmation tools: If the image suggests water intrusion, a technician should verify it with a moisture meter.
If your concern is a hidden plumbing issue, this page on thermal imaging for water leaks shows how infrared supports leak detection without guessing.
Thermal imaging works best when the operator understands both the camera and the building. The image alone isn't enough.
Top Issues a Thermal Inspection Uncovers in LA Homes
Some problems show up on nearly every block in Los Angeles County. Others are tied to neighborhood housing stock, past remodel quality, roof style, or aging electrical systems.
Hidden water intrusion behind walls and ceilings
A homeowner notices bubbling paint near a baseboard but can't find an active drip. The leak may be slow, intermittent, or traveling from another area entirely. In plaster and drywall assemblies, water rarely stays right where it entered.
In older homes around Sherman Oaks, I often see mystery moisture linked to aging supply lines, shower pan failures, or exterior wall penetrations that only leak during specific weather conditions. The camera helps narrow the target area so a moisture meter can confirm whether the material is wet.
Common examples include:
- Bathroom leaks: Around shower valves, niches, and drain lines hidden behind tile and wallboard
- Window and stucco intrusions: Especially where prior repairs sealed the symptom but not the pathway
- Ceiling anomalies: Below upstairs bathrooms, laundry rooms, or roof transitions
If you suspect a leak inside a finished wall, this guide on how to detect water leaks in walls explains the next steps.
Early mold conditions tied to moisture pockets
Thermal imaging doesn't confirm mold by itself, but it often helps locate the moisture conditions that allow mold to grow. A cool area behind drywall, inside a closet, or under flooring can signal a place that deserves further moisture testing and inspection.
That matters in Los Angeles because minor intrusions often go unnoticed in otherwise dry climates. A very small roof or plumbing issue can sit behind a wall long enough to create odor, staining, and microbial growth before anyone connects the dots.
If you smell something before you see something, that's often a clue to check concealed cavities, not just open surfaces.
Electrical hotspots in aging panels and connections
This is one of the most important safety uses of infrared. In older Burbank and Glendale properties, I've seen outdated panels, corroded connections, and overworked circuits create heat patterns that aren't visible in ordinary light.
According to NFPA 70B inspection guidance summarized by FLIR, electrical thermal imaging inspections are most effective when circuits are under at least 40% of their normal load. That matters because underloaded equipment may not produce enough heat difference for a meaningful reading.
A technician inspecting electrical equipment should pay attention to more than a hot spot alone. Good documentation usually includes the thermal image, a visible-light image, load conditions, and a comparison to a nearby reference component.
Roof and ceiling problems in flat-roof and low-slope homes
Flat and low-slope roof assemblies are common in parts of Los Angeles. They can leak in ways that fool homeowners. Water may enter at one penetration, travel along framing or membrane transitions, and show up several feet away as a subtle cool area on a ceiling.
In Glendale hillside properties and some post-war homes, that travel path can make visual diagnosis frustrating. Thermal scanning helps isolate the area that needs moisture confirmation and, if necessary, selective opening.
Insulation gaps and HVAC comfort problems
Not every anomaly means damage. Sometimes the issue is comfort and efficiency. Rooms that stay hotter than the rest of the house may have missing insulation, duct leakage, or uneven air delivery.
That's useful during home purchases too. Buyers often focus on visible finishes and forget concealed issues. Along with roof, moisture, and HVAC checks, many buyers also review WDI reports for home buyers to spot hidden conditions that don't show up in a casual walkthrough.
What to Expect During Your Onsite Pro Inspection
When a homeowner calls about a suspicious stain, odor, or possible hidden leak, the process should feel calm and organized. Nobody wants a technician rushing in, waving a camera around, and leaving behind confusing images.
The visit starts with context
Our team first asks practical questions. When did you first notice the issue? Has the stain changed? Did the odor begin after rain, after using a shower, or after the HVAC kicked on? Those details help narrow where a thermal anomaly is most likely to appear.
Then the technician performs a visual walkthrough. We look at building materials, room layout, probable moisture pathways, and any obvious signs of prior repair.
The scan itself is fast and non-invasive
The best part for most homeowners is that nothing gets torn open just to begin the search. The technician scans walls, ceilings, floors, or electrical components based on the complaint and the building's layout.
A typical inspection may include:
- Visual review: Existing stains, cracks, bubbling paint, warped trim, or rust marks
- Thermal scan: Targeted imaging of suspicious areas and adjacent surfaces
- Verification: Moisture meter readings where the thermal image suggests hidden moisture
- Documentation: Thermal photos, visible-light photos, notes, and recommendations
If you want to understand how restoration professionals handle the broader response after finding a hidden issue, the Onsite Pro process gives a useful overview.
Communication matters as much as the camera
A strong technician explains what the image means in plain English. That includes what the scan suggests, what it doesn't prove yet, and whether the issue calls for monitoring, drying, a plumbing evaluation, or a controlled opening.
In our experience treating water damage in LA homes, homeowners feel most relieved when they leave the inspection with a decision, not just a file of colorful pictures.
Reading the Rainbow Interpreting Your Thermal Report
Many homeowners often get stuck after receiving a thermal image with bright colors, cool colors, and temperature markings, wondering whether they're looking at a serious hidden leak or a harmless variation.
A thermal anomaly isn't the diagnosis
That point deserves emphasis. A cool patch on a ceiling may indicate moisture. It may also reflect insulation variation, air movement, or a change in material.
The MFE Inspection Solutions overview of thermographic inspection makes an important point: a common gap in understanding thermal reports is knowing how to act on subtle anomalies, and the most effective approach is to use thermal data as a map to guide further investigation with moisture meters rather than treating the image as a final diagnosis.
How to read the report like a homeowner
When you review a report, look for these practical elements:
- The location of the anomaly: Which room, wall, ceiling plane, or component is affected
- A comparison image: A normal nearby area helps show why the flagged spot stands out
- Visible-light photos: These tie the thermal image to the exact physical location
- Follow-up testing: Moisture readings, visual observations, or recommendations for targeted opening
- Action level: Monitor, repair source, dry materials, or call a specialist
A homeowner who understands how moisture meter readings work is in a much better position to interpret what comes after the scan.
Don't ask only, “What color is it?” Ask, “What did you compare it to, and how did you confirm it?”
When to monitor and when to escalate
A subtle anomaly with no increased moisture and no active source may call for monitoring. A repeating pattern after rain, a growing stain, or confirmed moisture in structural materials usually means faster action.
Use this simple decision guide:
| Situation | Best next step |
|---|---|
| Faint anomaly, no moisture confirmed | Monitor and recheck if conditions change |
| Anomaly plus elevated moisture | Identify source and plan drying or repair |
| Anomaly near electrical equipment | Get qualified electrical evaluation promptly |
| Odor, recurring stain, or repeated anomaly | Investigate concealed space before damage spreads |
For insurance, this approach matters. Carriers want documentation that connects the complaint, the findings, the confirmation testing, and the mitigation steps. A thermal image alone is helpful. A thermal image paired with moisture verification is much stronger.
The Power and Limits of Infrared Technology
Infrared is one of the most useful non-destructive tools in restoration and building diagnostics. It's fast, it helps narrow the search area, and it reduces unnecessary demolition.
It's also easy to overestimate if you've only seen marketing videos. The camera does not see through walls. It reads temperature differences at the surface. Reflective materials, sunlight, HVAC airflow, and recent weather can all affect the image.
What infrared does well
- Locates patterns quickly: Helpful for water migration, missing insulation, and some electrical issues
- Supports documentation: Especially when paired with visible-light images and field notes
- Limits guesswork: Better than opening multiple walls based on hunches
Where people misread it
Reliable scans depend on proper conditions. The Fastenal thermal imaging checklist notes that best practice for building diagnostics is a minimum interior-exterior temperature difference of at least 10°C (18°F) for several hours. Without that, moisture-related or insulation-related patterns can blend into normal variation.
That's also why one scan doesn't answer every mold question. If hidden moisture is suspected, the next step may involve moisture mapping, targeted inspection, and, in some cases, further evaluation of conditions associated with mold. For homeowners dealing with that concern, this page on mold testing and removal explains the broader response.
For general moisture prevention guidance, the EPA's moisture control and mold resources are worth reviewing.
Your Thermal Imaging Inspection Questions Answered
Is a thermal imaging inspection safe for my family and pets
Yes. The camera is passive. It reads infrared energy from surfaces and doesn't inject anything into your home. There's no drilling required just to perform the scan, and there's no exposure risk from the camera itself.
Can thermal imaging detect mold
Not directly. It detects temperature differences that may point to hidden moisture, and hidden moisture is often the primary driver behind mold growth. If the scan suggests a suspicious area, the next step is confirmation with other tools and inspection methods.
Does thermal imaging help with insurance claims
It can help a lot when it's used correctly. A clear report with thermal images, visible-light photos, moisture confirmation, and technician notes makes it easier to show where the problem is, how far it spread, and why mitigation was necessary.
Will it find termites or wood damage
Not reliably as a stand-alone answer. Some pest-related issues may create patterns, but pest inspection is its own discipline. If you're buying a home or suspect concealed wood damage, pair restoration diagnostics with a dedicated pest inspection.
What should I do if the report shows a subtle anomaly but no obvious leak
Don't ignore it, but don't panic either. Ask whether moisture was confirmed, whether the pattern matches plumbing or roof pathways, and whether the technician recommends monitoring, a plumbing check, or a controlled opening. The best decisions come from combining the image with context and confirmation testing.
A thermal imaging inspection gives Los Angeles homeowners a smarter way to respond to hidden damage. It won't replace experience, moisture meters, or repair expertise, but it does give you a fast, non-invasive way to find the right problem area before damage spreads.
If you suspect a hidden leak, moisture pocket, mold-related condition, or electrical hot spot, call Onsite Pro Restoration at 818-336-1800 for a thermal imaging inspection in Los Angeles, CA. Whether you're in Sherman Oaks, Burbank, Glendale, or nearby, the team can document the issue clearly and help simplify the insurance process.