Water is on the floor. Drywall is swelling. The smell of smoke or damp insulation is already setting in. If you're dealing with property damage in Los Angeles, insurance claim documentation starts right now, not after the panic settles.
The fastest way to protect your home and your claim is to document the scene as found, stop further damage if you can do so safely, and start building a file that includes visual proof, a detailed loss list, mitigation records, and a written communication trail. If you need a broader overview of the claim timeline itself, this breakdown of the home insurance claim process is a useful companion.
Your Guide to Flawless Insurance Claim Documentation
In Los Angeles homes, the damage often gets worse while the owner is still deciding what to do first. A burst supply line in Sherman Oaks can soak cabinets and subflooring fast. A roof leak in Glendale can move from ceiling stain to insulation damage before the adjuster ever sees the house. Fire damage creates a different problem. Soot spreads farther than often understood, and smoke contamination doesn't wait for an appointment.
That's why insurance claim documentation needs to be treated like a workflow, not a stack of random photos.
You need several kinds of proof working together:
- Immediate scene evidence showing the loss as it appeared when discovered
- A room-by-room inventory showing what was damaged
- Mitigation records proving why emergency work was necessary
- A communication log showing what was said, requested, and promised during the claim
What works is orderly, dated, specific documentation. What doesn't work is cleaning first, throwing items away, and trying to rebuild the story later from memory.
The strongest claim files usually answer four questions clearly: what happened, what was affected, what had to be done right away, and how the claim was handled from that point forward.
Practical rule: If an item, condition, or conversation might matter later, document it now while it's still easy to prove.
First Steps to Secure Your Property and Your Claim
The first hour matters most. Your goal is twofold. Protect people from danger and preserve the initial condition of the loss. If you do those two things well, the rest of your claim gets easier.
Handle safety before paperwork
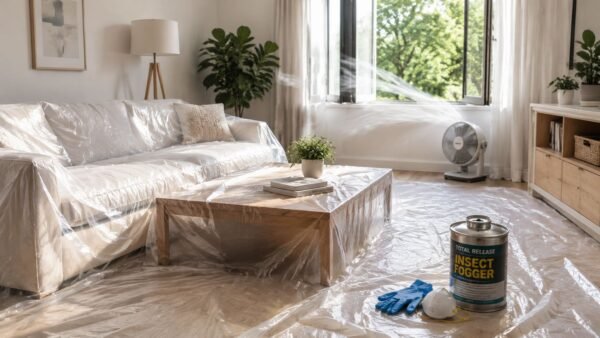
If water is active, shut off the supply if you can reach it safely. If outlets, appliances, or wiring are near standing water, keep clear and shut power to the affected area if that can be done safely. If there's fire damage, smoke, or structural instability, get out and follow emergency instructions.
For water losses, many owners also benefit from understanding what emergency drying crews do. This short guide on water mitigation helps clarify the difference between stopping damage and performing full repairs.
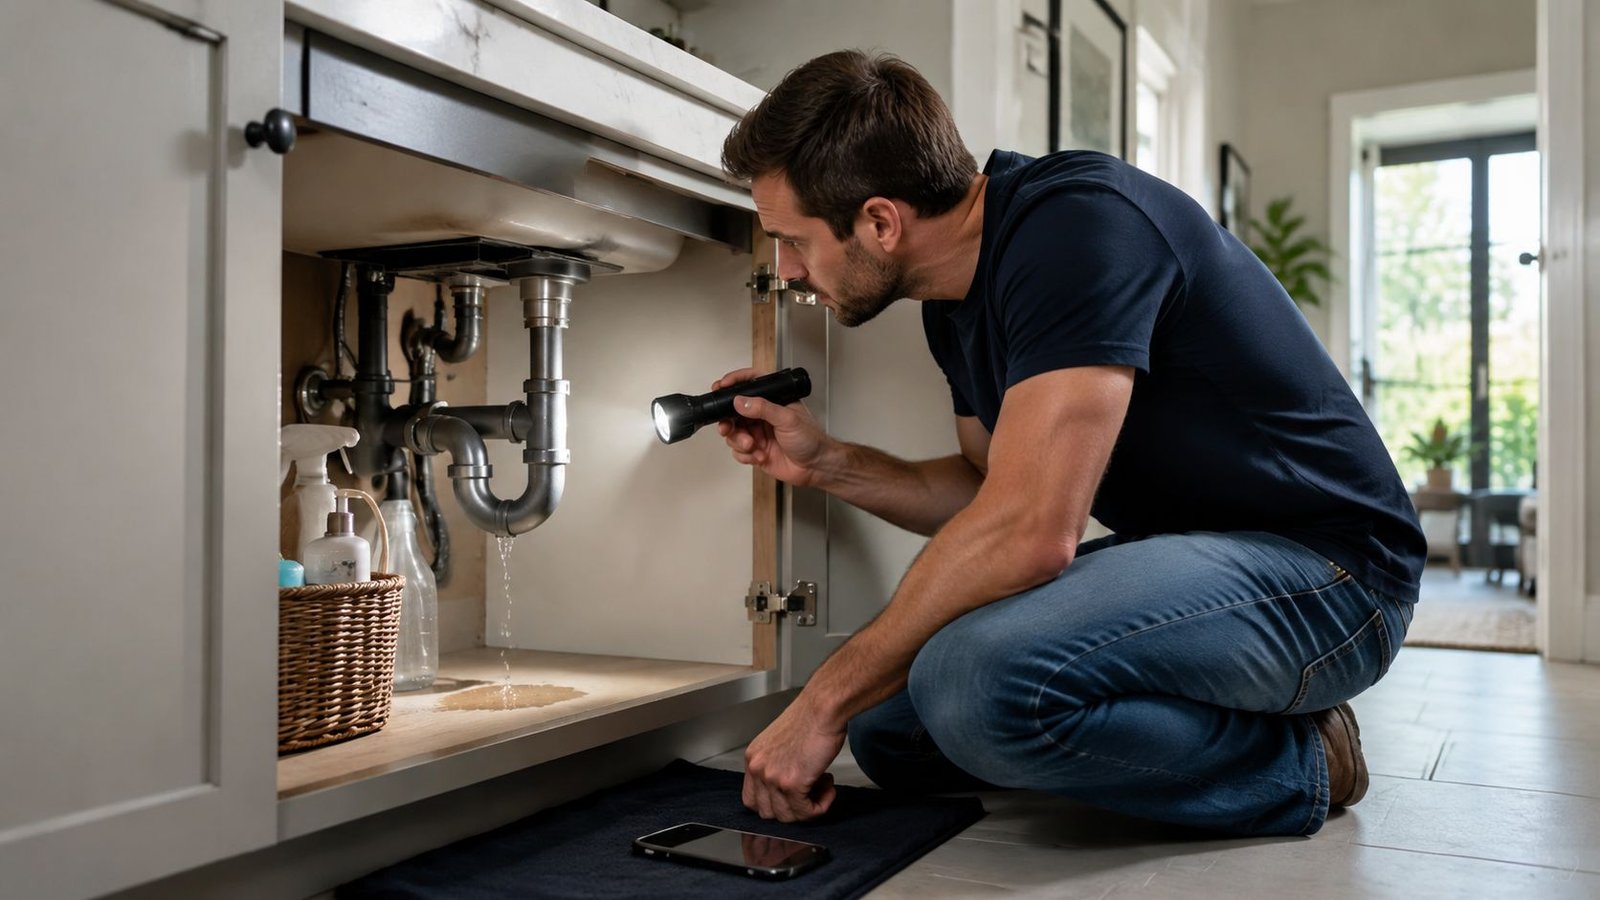
Capture the scene as found
Before you start moving boxes, pulling rugs, or mopping floors, take a quick visual record.
Start with:
- Wide room photos from doorways and corners
- A short walkthrough video that shows the full layout
- Visible source evidence, such as a failed supply line, roof opening, or charred area
- Secondary effects, including swollen baseboards, wet insulation, stained ceilings, warped flooring, or soot spread
Don't aim for perfect composition. Aim for completeness.
A lot of storm guidance from other regions follows the same principle. For example, this guide for DFW homeowners is focused on hail, but the early lesson applies everywhere. Secure the property, document first conditions, and avoid making the loss harder to prove.
Make the first calls in the right order
Once the scene is safe and minimally documented, contact the parties who need to know. That usually means your insurer, and if the damage is active, a qualified restoration company.
Use this simple checklist:
- Call the insurer and open the claim.
- Ask for the claim number and write it down immediately.
- Request the adjuster's contact information if available.
- Save the time and date of your report in your notes app or a notebook.
- Call a restoration team if water, soot, smoke, or contamination is still spreading.
What hurts a claim at this stage is delay, guesswork, and undocumented cleanup. What helps is calm, basic action with a record behind it.
Creating Undeniable Photographic and Video Evidence
Your phone is the most important tool you have in the early stage of insurance claim documentation. The adjuster may not see the property in its original condition. Your photos and video may end up being the clearest record of what existed before debris was removed or wet material was opened up.
Use a three-layer photo method
Random close-ups create confusion. A better approach is to photograph every affected area in three passes.
| Photo type | What to capture | Why it matters |
|---|---|---|
| Wide shots | Whole room, doorway view, corner-to-corner angles | Shows context and overall spread |
| Medium shots | Specific wall, vanity, appliance, ceiling section, flooring area | Connects the room to the damaged zone |
| Close-ups | Cracks, staining, bubbling paint, soot, wet materials, damaged contents | Shows severity and detail |
If you can safely identify the cause, photograph that too. A ruptured angle stop, an overflowing appliance line, a roof breach, or a fire origin area can be highly relevant.
A practical reference from outside restoration is this construction site photo documentation guide. It's not written for homeowners, but its core lesson is right. Photos are strongest when they create a clear sequence instead of a pile of disconnected images.
Make your video walkthrough useful
A short narrated video often fills gaps that still photos miss.
As you walk, say:
- today's date
- the room you're in
- what you see
- what smells or contamination you notice
- which items appear affected
- whether any emergency action has already started
Keep the camera steady. Move slowly. Open closet doors and film inside cabinets if the loss may have spread there.
A good walkthrough sounds plain and factual. “Kitchen sink cabinet is wet, flooring is visibly cupped, water appears to have traveled into the dining area.” That works better than emotional commentary.
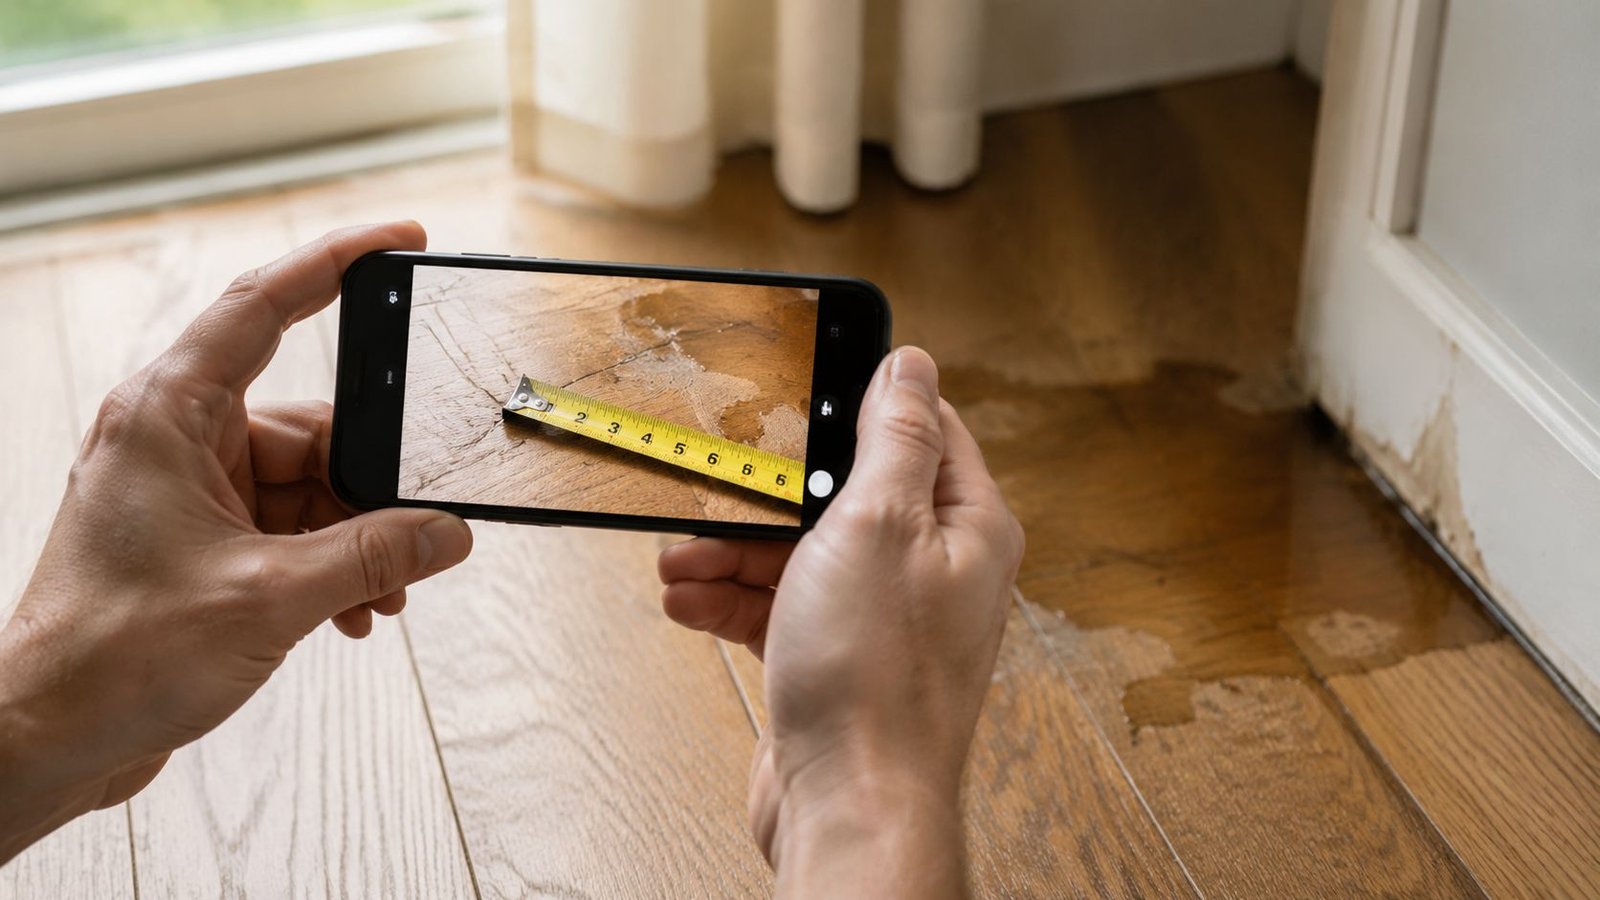
Add scale and preserve the originals
Close-up shots are more persuasive when they show size. If you have a tape measure, place it beside damaged flooring, drywall swelling, or a stained area. If not, use a familiar object only as a secondary reference and then take a wider shot for context.
If you want to understand how pros detect hidden spread that a photo alone might miss, this overview of thermal imaging is useful. It explains why wet wall cavities and ceiling migration often need more than surface observation.
A few habits make your file stronger:
- Keep original files rather than screenshots
- Back up everything to cloud storage immediately
- Sort by room or area so retrieval is easy later
- Avoid editing filters that change appearance or color
Blurry, dark, repetitive photos don't help much. Clear, organized visual evidence does.
Building Your Detailed Damage Inventory and Loss List
Photos prove the damage exists. Your inventory proves what the damage affected and what that loss is worth.
Many homeowners fail to fully account for their losses. They remember the large items and forget the everyday contents that add up. In a water loss, that might mean under-sink supplies, rugs, small appliances, and boxed goods in lower cabinets. In a fire loss, it often means smoke-affected clothing, linens, upholstered items, and electronics in nearby rooms.
Build the list room by room
Don't try to recreate the whole house from memory in one sitting. Work one room at a time and write down every damaged or affected item you can identify.
Include these fields in a spreadsheet or table:
- Item description
- Room location
- Brand or model
- Approximate age
- Purchase price or replacement cost
- Valuation source
- Condition after loss
- Photo file name or folder reference
If you have receipts, attach them. If not, use product listings, order history, credit card records, owner manuals, packaging photos, or pre-loss photos from your phone.
Why detail matters on valuation
A strong loss list isn't busywork. It supports how the claim is valued.
According to the National Public Adjuster Authority, insurance claim documentation works best as a staged workflow: capture immediate post-loss evidence, then build an itemized inventory with age, brand/model, and purchase or replacement cost. This sequencing is crucial because the same documentation often has to support two separate valuation standards in property claims: replacement cost and actual cash value.
That's why “toaster,” “TV,” or “wood floor damaged” is weak documentation. “Samsung TV from living room, approximate age, model if known, pre-loss condition, and current comparable replacement listing” is much harder to dispute.
Include the structure, not just contents
Owners often focus on personal belongings and miss building materials.
Your inventory should also track property components such as:
- Drywall and paint
- Baseboards and trim
- Cabinets and vanities
- Hardwood, laminate, tile, or carpet
- Insulation
- Doors and built-ins
For a more formal view of the building side of the loss, a property damage assessment can help you understand how professionals separate cosmetic damage from materials that may require removal, drying, cleaning, or replacement.
If an item was affected but not obviously destroyed, don't leave it off the list. Mark its condition accurately and note why it may still require evaluation, cleaning, or replacement.
The best inventories are boring in the best way. Specific. Organized. Dated. Easy to follow.
Documenting Mitigation Work with Restoration Professionals
This is the part most homeowners struggle with. You've been told to document everything before cleanup, but the property may not be able to wait. Wet materials can sit too long. Smoke residue can spread. Emergency board-up or roof tarping may be necessary the same day.
That tension is real, especially in Los Angeles houses with older materials, layered remodels, and concealed cavities where moisture can travel fast.

The documentation and cleanup conflict
The NAIC advises homeowners to document all losses before cleanup and then take reasonable mitigation steps. It also advises keeping receipts. That sequence makes sense, but water and fire losses don't always cooperate. As noted by the NAIC, homeowners should document losses before cleanup and then take reasonable mitigation steps, but in urgent water or fire situations professional restoration companies can document in parallel with mitigation, helping address both needs.
That “in parallel” part matters.
If you wait too long to begin emergency work, the property may suffer additional harm. If you rush into cleanup with no records, you can erase evidence that supports the claim. Professional mitigation helps close that gap because the crew can preserve the record while doing the urgent work.
What professional mitigation records should include
When a restoration team documents properly, they don't just dry the structure. They create a third-party file.
That file often includes:
- Initial site photos taken before materials are moved
- Moisture readings from affected areas
- Drying logs that track conditions over time
- Equipment logs showing dehumidifiers, air movers, or specialty devices in use
- Scope of work documents describing what was necessary
- Demolition or removal photos showing why unsalvageable materials came out
- Work authorization and invoices
- Receipts for emergency protection, such as board-up or temporary repairs
In our experience handling water damage in LA homes, the most preventable disputes happen when emergency work was needed but poorly documented. A homeowner remembers the carpet was soaked. The insurer asks how far the moisture extended, what was removed, and why that step was necessary. If nobody kept readings, photos, and logs, the answer gets weaker.
What you should save from every contractor
Create one folder just for mitigation and emergency services. Save every version of every document.
Use a checklist like this:
- Signed authorization
- Initial inspection notes
- Daily or periodic updates
- Photos taken during drying or cleanup
- Revised scope if hidden damage was found
- Final invoice and payment records
Emergency work should leave a paper trail. If a contractor removed wet drywall, set equipment, or packed out contents, there should be documentation showing what was done and why.
That record supports necessity. It also shows you acted responsibly to prevent further damage.
Submitting Proof and Managing Adjuster Communications
By the time you're ready to send documents to the insurer, your file should do more than prove the property was damaged. It should also show that you responded promptly, preserved evidence, and kept track of the claim itself.
That last part is where many owners leave themselves exposed.
Organize the claim file before you send anything
Create one master digital folder and break it into subfolders such as:
- Initial photos and video
- Inventory and receipts
- Mitigation records
- Repair estimates
- Emails and letters
- Adjuster communications
- Inspection reports
- Versions of estimates or revised scopes
Name files so they're obvious on sight. “Kitchen ceiling stain east wall” is better than “IMG_4821.” “Living room smoke inventory draft 2” is better than “new list final final.”
Keep a written communication log
A communication log can become just as important as your damage photos.
As explained in this legal discussion of disputed claims files, a policyholder's own dated communications log, inspection reports, and estimate versions are vital because disputes can shift from proving the loss to proving how the insurer handled the claim.
That means you should track:
- Date and time of each call
- Who you spoke with
- What was requested
- What you sent
- Deadlines mentioned
- Any disagreement over scope, cause, or next steps
If you talk by phone, send a follow-up email summarizing the call in plain language. Keep it factual and short.
For example:
“Confirming our call today, you requested the revised mitigation invoice, drying logs, and the updated cabinet photos. You also advised that coverage review is still pending.”
Protect yourself if the scope starts moving
It's common for estimates to change as walls open up or cleaning reveals more spread. Save every estimate version, whether it came from the insurer, a contractor, or another consultant.
If you hit friction with scope or payment, this guide on how to negotiate with an insurance adjuster can help you stay organized and focused on documentation instead of emotion.
A well-run claim file provides an advantage without confrontation. You're not arguing from memory. You're pointing to dates, documents, and records.
Frequently Asked Questions About Claim Documentation
What if I already threw away damaged items
If the items are still retrievable and safe to handle, photograph them before final disposal. If they're gone, gather any proof you still have. Old listing photos, move-in photos, receipts, order confirmations, warranty cards, and credit card statements can all help establish ownership and condition.
Also add the item to your inventory with a note explaining why it was discarded, such as contamination, odor, or active health concerns.
How long should I keep my claim documentation
Keep everything until the claim is fully resolved, repairs are complete, and you're confident no follow-up dispute remains. After that, retain the file long term in cloud storage and one local backup if possible.
The practical rule is simple. If the claim file would be hard to rebuild later, don't delete it.
Do I need a public adjuster
Sometimes. Large, complex, or heavily disputed claims may justify outside help. But many homeowners can improve their position substantially by organizing their own documents well, keeping detailed records, and making sure mitigation and inspection paperwork is complete.
Good documentation fixes a surprising number of problems before they become formal disputes.
What if cleanup had to start right away
That happens often with water intrusion, smoke spread, or emergency board-up situations. Document as much as you safely can first, then preserve every record tied to the emergency work. The key is showing why immediate action was necessary and what condition existed when that action began.
Property damage moves fast in Los Angeles, but a claim doesn't have to spin out with it. If you need emergency help documenting, drying, cleaning, and stabilizing a loss, call Onsite Pro Restoration at 818-336-1800 for a free inspection and immediate assistance in Los Angeles, Sherman Oaks, Burbank, Glendale, and nearby communities.
SEO title tag: Insurance Claim Documentation Guide for LA Homes
Meta description: Insurance claim documentation for Los Angeles homeowners. Learn how to document damage, mitigation, and adjuster communications correctly.
Schema opportunity: FAQ schema, HowTo schema, LocalBusiness schema