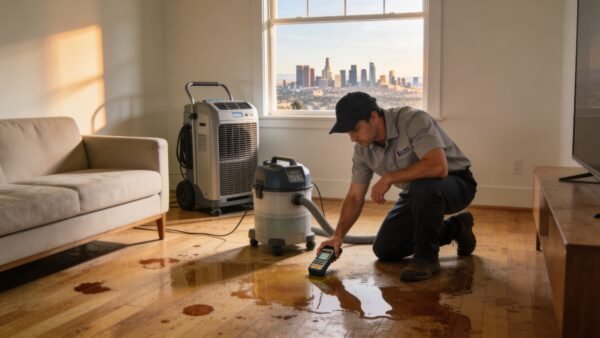
That sinking feeling when you spot mold is universal, especially in the humid pockets of Los Angeles. But before you grab the bleach, take a breath. The first step in effective removal of mold isn't to attack it—it's to assess the situation without making things worse. The goal is to figure out how big the problem is and, more importantly, find the water source feeding it. Without fixing the source, whether it's a leaky pipe in a Sherman Oaks bungalow or coastal fog seeping into a Santa Monica condo, any cleanup is just a temporary patch.
If you suspect a mold problem, don't wait for it to get worse. A professional inspection can identify the source and scope of the issue, ensuring your home is safe.
Get a Free Mold Inspection Now
The Hidden Dangers of Indoor Mold

Whether you’ve found discolored splotches behind a piece of furniture or can’t shake that musty, damp smell, the first step is always the same: understand what you're up against. A tiny spot of mildew on a shower tile is a world away from a large, dark patch spreading across the drywall in your basement after a heavy rainstorm.
Identify the Scope and Source
First, get a visual on the affected area. Is the mold contained to a small spot, maybe the size of your hand? Or does it stretch across a significant part of a wall or ceiling? The rule of thumb we use in the industry is pretty simple: if the mold covers more than 10 square feet, it’s time to call in the pros. Trying to tackle a large-scale mold problem yourself can backfire badly, releasing millions of spores into your home and turning a contained issue into a whole-house contamination.
Next, you need to play detective and find the water. Mold can't grow without moisture, so trace it back to the source. Look for:
- Obvious Leaks: Dripping pipes under the kitchen sink, water stains on the ceiling directly below a bathroom, or puddles near the water heater are common culprits.
- High Humidity & Condensation: Check for "sweating" on pipes or windows. Poorly ventilated areas like bathrooms, laundry rooms, and basements are prime real estate for this kind of moisture buildup.
- Hidden Moisture: If you smell that tell-tale musty odor but can't see any mold, it's likely hiding. The most common hiding spots are behind wallpaper, under flooring, or even inside your HVAC system.
Key Takeaway: Fixing the moisture source is non-negotiable. If you scrub away the mold but don't repair that leaky pipe or install a dehumidifier, you can bet the mold will be back.
Knowing When to Call for Help
The decision to DIY or call a professional is the most critical one you'll make. This isn't just about cleaning a stain; it's about protecting your home's structure and your family's health. The financial impact of mold is staggering—it destroys more wood in the U.S. each year than fires and termites combined. That alone should tell you how seriously to take it.
Here’s a quick guide to help you make the right call.
DIY vs Professional Mold Removal Assessment
| Scenario | DIY Approach (Under 10 sq ft) | Professional Remediation (Over 10 sq ft) |
|---|---|---|
| Visible Growth | Small, contained spots on non-porous surfaces (tile, glass, sealed countertops). | Widespread growth covering large areas of drywall, wood, or carpet. |
| Location | On surface materials that are easy to clean and access. | Hidden inside walls, ceilings, under floors, or within the HVAC system. |
| Moisture Source | A minor, easily fixed issue like condensation or a small spill. | A major leak, flood, sewer backup, or persistent high humidity. |
| Smell | No strong or persistent musty odor. | A strong, pervasive musty smell, even if you can't see the mold. |
| Health Concerns | Household members are generally healthy with no respiratory issues. | Anyone in the home has allergies, asthma, or a compromised immune system. |
This table should give you a clear starting point. When in doubt, it’s always safer and more effective to get a professional assessment.
An expert can do more than just look at the surface. For more on what a proper evaluation includes, check out our guide on professional mold inspection services. They have the tools and training to find out what kind of mold you have and determine if it has penetrated deep into materials like insulation or framing. Those situations require specialized containment and equipment to get rid of the problem for good.
Assembling Your Mold Removal Toolkit
Before you even think about scrubbing a single spore, you need to gear up. This isn't just about cleaning; it’s about creating a safe work zone and protecting yourself from inhaling the very stuff you’re trying to get rid of. Getting the right Personal Protective Equipment (PPE) and supplies together is non-negotiable.
Think of your PPE as your personal shield. A simple dust mask won't cut it. At a bare minimum, you need an N-95 respirator mask to filter out those microscopic spores, disposable coveralls to keep them off your clothes, and non-porous gloves (nitrile or rubber work best). And don't forget sealed safety goggles—your eyes are an easy entry point for irritants.
Essential Gear and Supplies
Beyond keeping yourself safe, you need the right tools for the job. Effective removal of mold takes more than a bottle of cleaner and some paper towels. You’ll want to arm yourself with the right gear to do this properly from start to finish.
- Stiff-Bristled Brushes: Grab a few different sizes. You'll need them to physically scrub mold from surfaces, and having a smaller one for tight corners is a lifesaver.
- Heavy-Duty Trash Bags: Don't use standard kitchen bags. All contaminated materials—from used rags and brushes to pieces of drywall—must be double-bagged in thick, 6-mil plastic bags for safe disposal.
- Spray Bottles: These are for applying your cleaning solution. Misting the moldy surface before you scrub is a key step that helps keep spores from going airborne.
- Duct Tape: This is your secret weapon. Use it to tape your gloves to the sleeves of your coveralls. It creates a perfect seal that spores can't sneak through.
Pro Tip: Once you're done for the day, treat your disposable PPE as contaminated waste. Roll up your coveralls, gloves, and mask and seal them in a bag immediately. Never reuse them, or you’ll risk spreading spores all over again.
Advanced Cleanup Tools
Getting rid of the visible mold is just one part of the battle. The final cleanup is where you win the war against what’s left behind, and that’s where specialized equipment makes a huge difference.
A HEPA (High-Efficiency Particulate Air) vacuum is absolutely critical for the final pass. A regular vacuum will just suck up spores from the floor and blast them right back into the air. A true HEPA filter, on the other hand, is designed to trap incredibly small particles—down to 0.3 microns—effectively pulling lingering spores from surfaces for good.
For larger jobs or when you know the airborne spore count is high, professionals bring in the big guns to clean the air itself. Learning about an air scrubber rental gives you a good idea of how experts guarantee air quality after a remediation job. These machines are built to run continuously, capturing airborne contaminants and ensuring the air in your home is actually clean when you're finished.
How to Contain and Remove Mold Safely
Alright, you’ve got your gear on and your tools are lined up. Now for the real work. Before you even think about scrubbing a single spot of mold, you have to get containment right. This is non-negotiable.
If you skip this step, you’ll turn a small, localized problem into a full-blown infestation throughout your house. I can't stress this enough.
Think of mold spores like glitter—once they're out, they get into everything. The goal here is to build a secure bubble around the contaminated zone. Start by turning off your HVAC system entirely. The last thing you want is your furnace or AC blasting spores from the basement right into your bedroom.
Next, seal off any air vents or returns in the room using thick plastic sheeting and good-quality duct tape. Use that same plastic sheeting to create a barrier over the doorway. You can slice a small opening for you to get in and out, but make sure you can seal it behind you. This single step is what separates a controlled, professional-style removal from a house-wide contamination disaster.
The Cleaning Process for Surface Mold
With the area completely isolated, it's time to physically remove the mold from hard, non-porous surfaces. The key here is to keep the spores from going airborne.
Never, ever dry-scrub a moldy area.
Instead, grab a spray bottle and lightly mist the affected surface with your cleaning solution. This simple trick dampens the mold, weighing down the spores so they don’t get kicked up into the air while you work.
You’ve got a few solid household options for a cleaning solution:
- White Vinegar Solution: A straightforward mix of equal parts white vinegar and water works surprisingly well. The acidity in vinegar is great at breaking down the structure of many common molds.
- Hydrogen Peroxide Solution: A 3% hydrogen peroxide solution, sprayed right on the mold, is another effective killer. Let it sit and bubble for about 10-15 minutes before you start scrubbing.
A lot of people reach for bleach first, but its power against mold is often misunderstood. While it might seem to work on a hard, non-porous surface, it's definitely not a magic bullet. For the full story, it's worth reading up on why bleach isn't always the answer for killing black mold—it can sometimes make the problem worse.
After spraying, get a stiff-bristled brush and scrub the surface mold away. Wipe the area clean with disposable rags, and don't be afraid to repeat the process if needed. Just remember, every single rag and brush you use is now contaminated. They need to go straight into the trash bag.
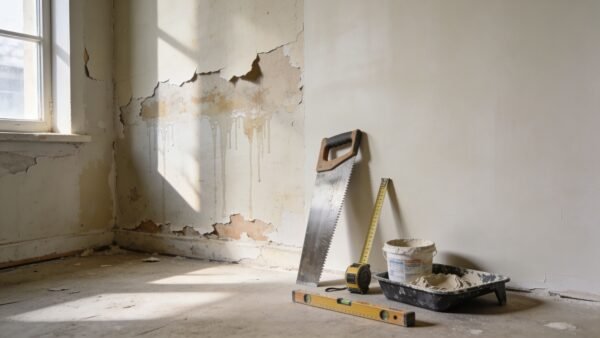
Handling Contaminated Porous Materials
Sometimes, just cleaning the surface isn't enough. Materials like drywall, carpet, and insulation are porous, which means mold can grow deep roots where you can't possibly scrub them away. If these materials are moldy, they have to go.
Before you start cutting, mist the area one more time to keep the dust down. Use a sharp utility knife to carefully cut out the affected section of drywall. Make sure to cut about 12 inches beyond the visible mold on all sides—this helps ensure you get any hidden growth that's lurking behind the wall.
This infographic shows you the bare minimum protective gear you need for a job like this.
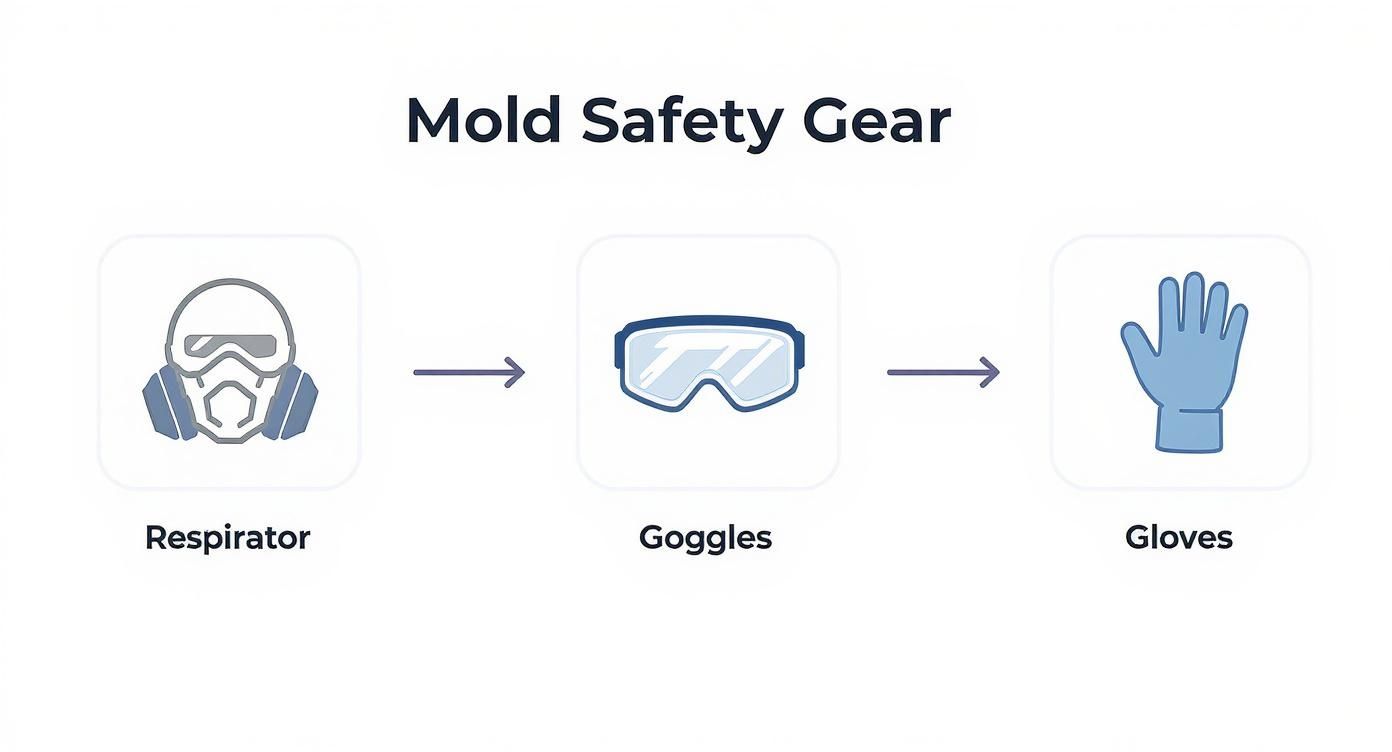
As you can see, a respirator, goggles, and gloves aren't suggestions; they're essential for your safety.
Place all the contaminated debris directly into heavy-duty, 6-mil plastic bags. Seal that first bag up tight with duct tape, then put it inside a second bag and seal that one, too. This double-bagging technique is critical for preventing spores from escaping. Finally, give your local waste management company a call to ask about their specific rules for disposing of mold-contaminated construction materials.
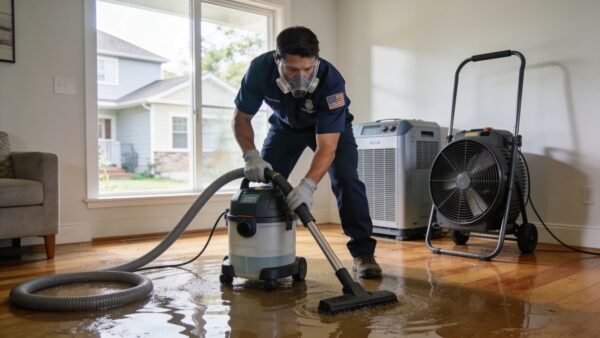
Drying and Cleaning for Lasting Results
Just because the visible mold is gone doesn’t mean your job is done. Honestly, this is the most critical stage in any successful removal of mold, and skipping it is the single biggest reason I see mold problems return with a vengeance. The goal now is to knock out the two things that let mold thrive: residual moisture and microscopic spores.
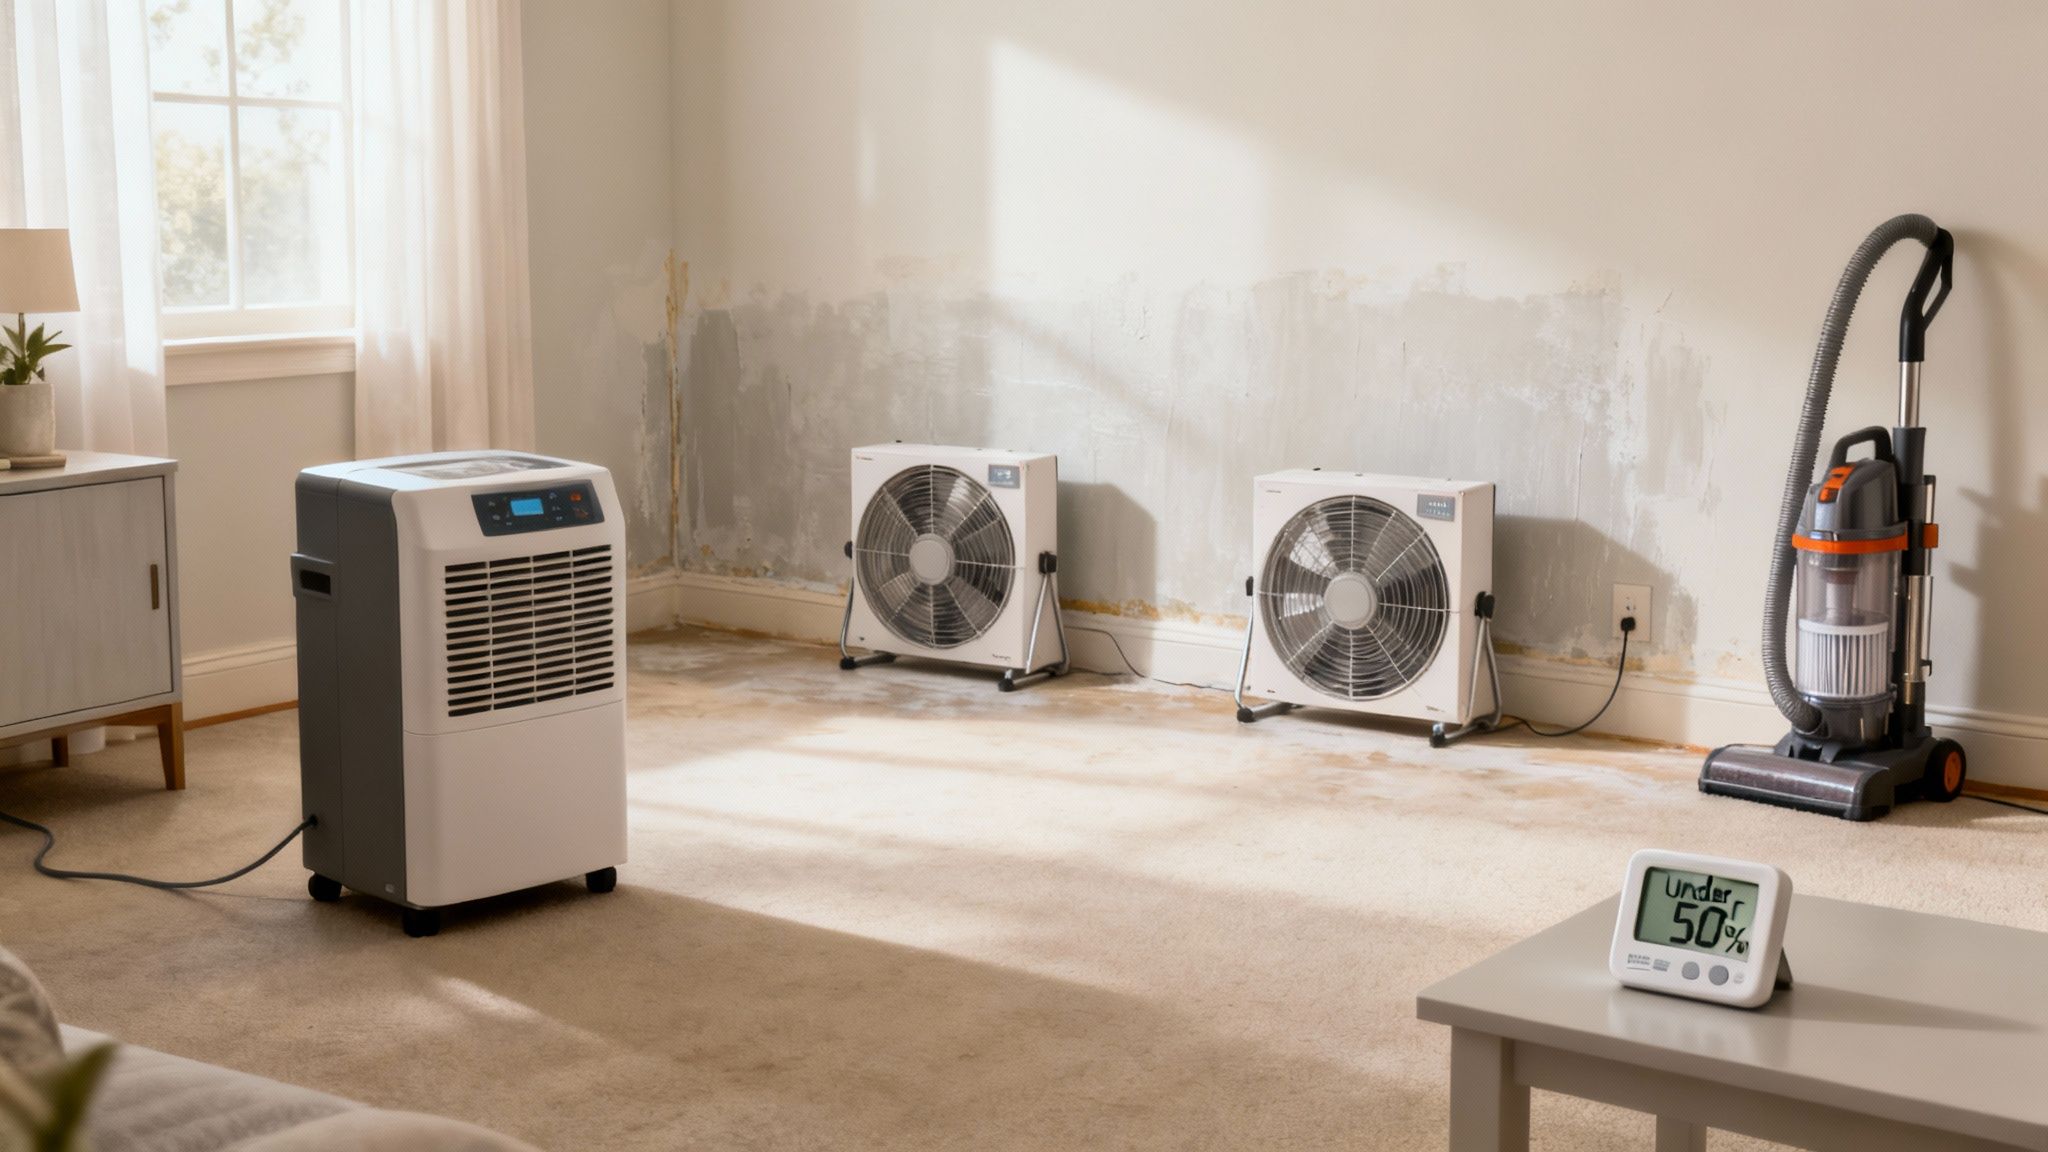
First things first, you have to get the area bone-dry. Bring in high-volume fans and a dehumidifier to aggressively pull moisture from the air and surrounding materials like wood studs and subflooring. This isn't a quick process; it really requires patience and constant monitoring.
Achieving Optimal Dryness
You can't just guess when it's dry enough. You’ll need a hygrometer to measure the relative humidity inside the contained area. Your target is to get that humidity level consistently below 50% and keep it there for at least a full 24 hours.
This step is vital for making sure the underlying structure is completely dry. If you want to dive deeper into the science behind this, our guide on the fundamentals of structural drying for homeowners gives you a more detailed look at the equipment and techniques we use in the field.
The Final HEPA Cleanup
Once you can verify the area is dry, it's time for the final deep clean. This is all about capturing any lingering spores that settled on surfaces while you were working.
Start by methodically vacuuming every single surface inside your containment zone. And it has to be a vacuum equipped with a HEPA filter, otherwise you're just blowing spores around. This includes:
- The plastic sheeting on the walls and floors
- Any remaining building materials
- Your equipment and tools before you take them out
After vacuuming, wipe down all those same surfaces with a damp cloth and a mild detergent. That little bit of dampness helps capture any final, stray spores. Let everything dry completely one last time.
Final Inspection Checklist: Before you even think about taking down those plastic barriers, do a final walkthrough. Look for any signs of remaining moisture, check for any visible dust or debris, and give the air a good sniff for any lingering musty odors.
After you've handled the visible mold, you might want to consider comprehensive mold VOC testing to uncover any hidden indoor air dangers and ensure you've gotten a truly lasting result. This is especially important because poor air quality has significant health implications. The World Health Organization (WHO) has linked 7 million deaths annually to air pollution, with indoor mold being a notable contributor.
Long-Term Strategies to Prevent Mold Growth
Getting rid of a mold problem is a huge win, but it’s only half the battle. If you don't have a solid plan to keep it from coming back, you're basically just waiting for the next bloom. The best approach is to stop reacting to mold and start proactively building an environment where it can't get a foothold in the first place.
At the end of the day, that boils down to one thing: controlling moisture. Think of your home as a tiny ecosystem. Mold needs water to survive, so if you manage that one key element, you can stop it for good. This isn't about constant bleaching and scrubbing; it's about smart, targeted upkeep that nips potential water problems in the bud.
Upgrading Your Home's Defenses
Your first line of defense is making sure moisture has a way to get out of your house, especially in humidity hotspots like bathrooms, kitchens, and laundry rooms. A bathroom that stays steamy long after a shower is a five-star resort for mold.
Good ventilation is non-negotiable. If your bathroom fan makes a ton of noise but the mirror is still fogged up ten minutes later, it’s not doing its job. It’s probably time for an upgrade. For a deeper look at what to look for, there are some great guides on understanding bathroom ventilation options that can walk you through choosing the right fan for your space.
Here are a few other proactive moves you can make:
- Run a Dehumidifier: In basements, crawl spaces, or any area that just feels perpetually damp, a quality dehumidifier is your best friend. Set it and forget it, aiming to keep the relative humidity consistently below 50%.
- Maintain Your Gutters: Make sure your gutters are clear of leaves and debris, and check that your downspouts are dumping water at least five feet away from the foundation. Clogged gutters are a classic cause of water seeping into basement walls.
- Go on Leak Patrol: Get in the habit of peeking under sinks, around toilets, and behind appliances like the dishwasher and fridge. A slow, tiny drip you catch today is a massive mold problem you prevent tomorrow.
Choosing Mold-Resistant Materials
When you're repairing water-damaged areas or planning a renovation, you have a golden opportunity to build back smarter. The building industry has come a long way, and there are now fantastic materials designed specifically to stop mold in its tracks.
Pro Tip: Remember, "mold-resistant" doesn't mean "waterproof." These products are a great second line of defense, but they won't help if you don't fix the underlying leak or moisture source first.
For your next project, think about using some of these:
- Mold-Resistant Drywall: Sometimes called "green board" or "purple board," this stuff has a paperless backing or is treated with antimicrobial agents. It makes it incredibly difficult for mold to find anything to eat.
- Mold-Resistant Paint & Primers: These paints contain special additives (fungicides) that prevent mold from growing on the surface. They're the perfect finishing touch for walls in bathrooms, basements, and kitchens.
- Waterproof Flooring: In below-grade areas like basements, stay away from carpet or hardwood. Instead, go with something that moisture can't ruin, like luxury vinyl plank (LVP), ceramic tile, or sealed concrete.
When to Call a Mold Remediation Professional
While tackling a small mold spot on your own can feel empowering, knowing your limits is the most important part of any successful removal of mold. Some situations are simply too large, complex, or hazardous for a DIY approach.
Recognizing these red flags is crucial for protecting your health, your family, and the structural integrity of your home. The decision to call in a certified professional isn't an admission of defeat; it's the most responsible choice a homeowner can make when faced with a serious contamination.
The industry-standard rule is straightforward: if the mold covers an area larger than 10 square feet (roughly a 3×3 foot patch), it's time to stop and call for help. A large infestation indicates a significant underlying moisture problem that requires professional equipment to resolve.
Attempting to clean extensive mold growth yourself can release an overwhelming number of spores into the air, turning a contained issue into a whole-house problem.
High-Risk Scenarios Demanding Expert Help
Certain situations automatically elevate a mold problem to a professional level, regardless of the size. These are scenarios where the risks of cross-contamination and health impacts are simply too high for DIY methods.
You should immediately contact a professional if you encounter any of these conditions:
- Contamination from "Black Water": If the mold growth is the result of a sewage backup or flooding from a natural disaster, the area is contaminated with dangerous bacteria and pathogens. This requires specialized biohazard cleanup protocols.
- Suspected HVAC Contamination: If you see mold growing on or around air vents, or if a persistent musty smell gets stronger when your heat or AC kicks on, the mold is likely inside your ductwork. Cleaning this requires professional tools to avoid spreading spores to every room.
- Health Concerns: If anyone in your household has a compromised immune system, asthma, severe allergies, or other respiratory conditions, you should not attempt any level of mold removal.
Expert Insight: Professionals don't just clean what you can see. They use advanced containment methods, negative air pressure machines, and commercial-grade air scrubbers to ensure spores from the work area don't escape into the rest of your home.
The growing awareness of these risks is reflected in the market for professional services. The global demand for mold remediation was valued at approximately USD 1,282 million in 2024 and is projected to grow substantially. This highlights the value homeowners place on getting the job done right. You can discover more insights about the mold remediation market and its expected growth.
Ultimately, certified technicians provide peace of mind. Their process includes post-remediation verification testing to prove the area is truly clean and the air quality is safe. For a detailed look at what this entails, you can learn more about our professional mold remediation service and how we ensure a safe, lasting solution.
FAQs About the Removal of Mold in Los Angeles
Even after you’ve cleaned up a mold problem, it's natural to have a few nagging questions. Getting clear on the details helps you know you did the job right and how to handle things in the future. Here are some of the most common things Los Angeles homeowners ask us about the removal of mold.
What’s the Difference Between Mold and Mildew?
Think of mildew as mold’s less-destructive cousin. It’s a surface-level fungus that usually looks like a flat, powdery patch of gray or white. You’ll typically find it on damp surfaces like bathroom grout, and it’s generally pretty easy to clean off. True mold, on the other hand, is a much bigger problem. It can be fuzzy or slimy and come in a whole rainbow of colors. The real danger is that it grows into porous materials like drywall and wood, causing serious structural damage. While both are fungi, a widespread mold issue demands a far more aggressive removal strategy.
Can I Just Paint Over Mold?
Absolutely not. We see this mistake all the time, and it only makes things worse. Slapping a coat of paint over mold just hides the issue while trapping moisture against the surface. This creates the perfect buffet for mold, allowing it to feast on the drywall paper behind the paint. The mold will keep thriving underneath, eating away at your wall, and will eventually push its way right back through your fresh paint job. You have to eliminate the mold completely—and fix the moisture source—before you even think about picking up a paintbrush.
Is Bleach a Good Idea for Killing Mold?
Contrary to what many people think, bleach is the wrong tool for this job. In fact, major organizations like the EPA no longer recommend using it for routine mold cleanup. Sure, bleach might kill surface mold on non-porous materials like glass or tile. But on porous surfaces like wood or drywall, it’s useless. The chlorine in bleach can’t penetrate deep enough to kill the mold’s "roots," so the problem always comes back. For DIY jobs, safer and more effective options include simple solutions like vinegar and water.
How Long Does Professional Mold Remediation Take?
The timeline really depends on the size and scope of the infestation. A small, contained spot in a bathroom, for example, might only take 1-3 days for a professional crew to handle from start to finish. However, if you're dealing with a major problem—like mold that has spread throughout a basement or inside walls after a flood—you could be looking at a week or even longer. A proper remediation job involves a full assessment, setting up containment, removing all contaminated materials, deep cleaning, and drying everything out before a final air quality test gives the all-clear.
Why is mold such a common issue in Los Angeles homes?
Los Angeles's unique microclimates contribute significantly. Coastal areas like Santa Monica and Venice experience persistent fog and high humidity, creating ideal conditions. Inland, older homes with poor ventilation or flat-roof leaks, common in areas like Sherman Oaks, are also highly susceptible, especially after infrequent but heavy rainstorms.
What should I do if I find mold behind drywall?
Immediately stop using the area, avoid disturbing the material, and contact a licensed restoration company to assess the risk. Mold behind drywall often indicates a much larger, hidden problem with a potential water leak. Attempting to remove it yourself can release a massive amount of spores into your home's air, creating a more hazardous situation.
Tackling the aftermath of mold damage can feel overwhelming. If you need a professional to assess the situation or need immediate help, Onsite Pro Restoration is here to restore your property and your peace of mind.