
Why Mold Removal Is Crucial for Los Angeles Homes in 2026
That musty smell you can’t quite place after a minor plumbing leak? It’s easy to write it off. But for

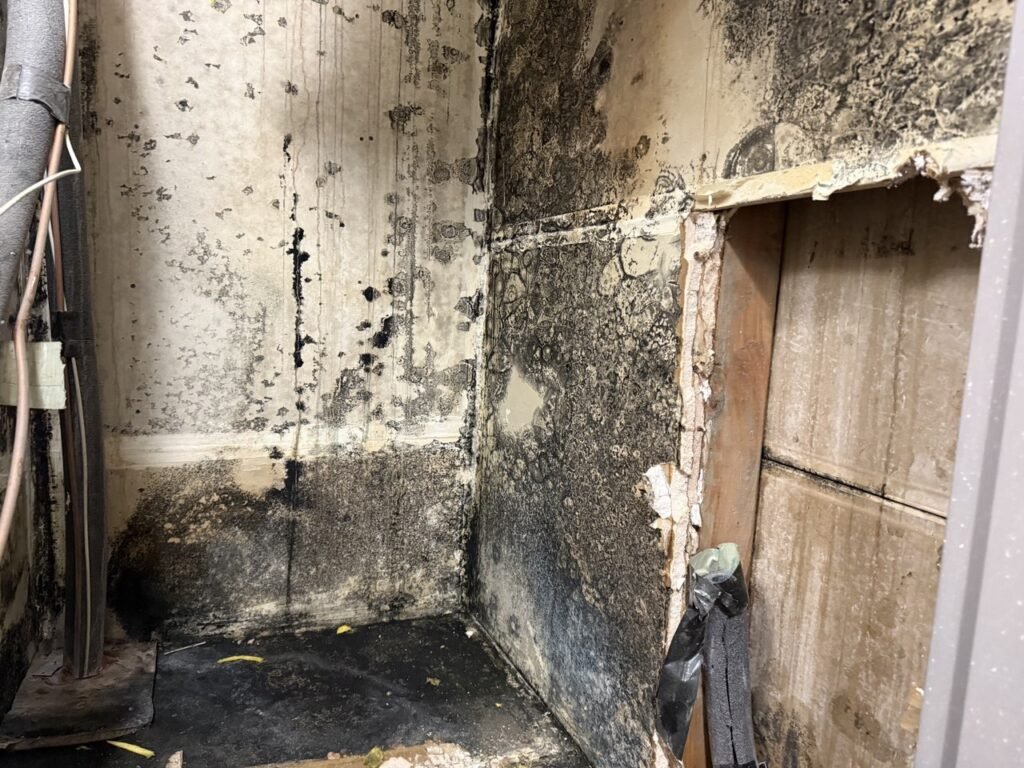


That musty smell you can’t quite place after a minor plumbing leak? It’s easy to write it off. But for
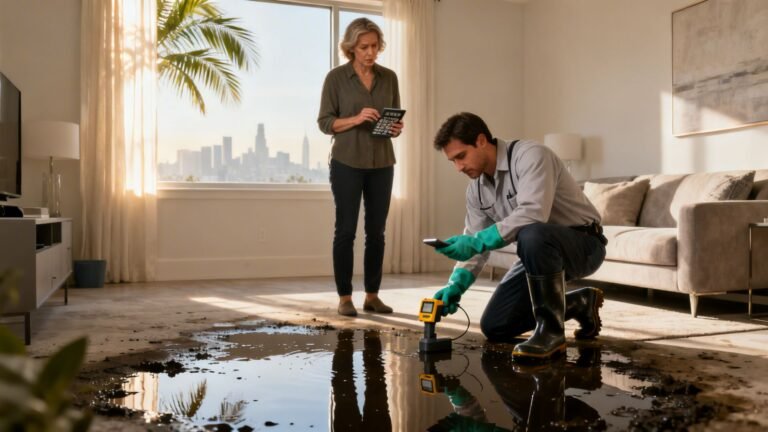
When a sewer line backs up into your Los Angeles home, the first thing that hits you is the smell.
Getting rid of cigarette smoke odor for good is a lot more involved than just spraying some air freshener and