When you're dealing with water damage in your Los Angeles home, time is not on your side. To beat mold, you have to move with a sense of urgency. The entire process of how to prevent mold after water damage comes down to this: stop the water source, get rid of any standing water, and kick off the drying process within the first 24-48 hours.
Honestly, this rapid response is the single most important thing you can do to keep mold spores from settling in and making your house their home. For homeowners from Sherman Oaks to Santa Monica, acting fast can mean the difference between a simple cleanup and a costly, complex remediation project.
Get a Free Mold & Water Damage Assessment Now
The Critical First 48 Hours to Stop Mold Growth
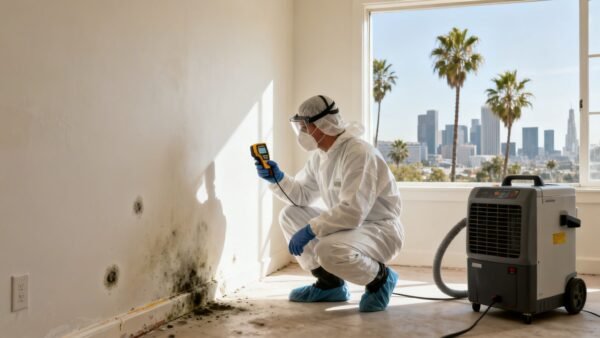
The moment water gets loose in your home—whether it's a busted pipe under the kitchen sink or a leak from a classic Los Angeles downpour—a biological clock starts ticking. You've got a very small window to act before a simple water issue morphs into a full-blown mold infestation.
This initial phase isn't about getting everything back to perfect; it's about quick, decisive action to stop the bleeding and set yourself up for a smooth recovery.
Your Immediate Action Plan
Before you do anything, think safety. If there's water anywhere near electrical outlets or appliances, head straight for the breaker box and shut off the power. Don't even think about stepping into a room with standing water if the electricity is on.
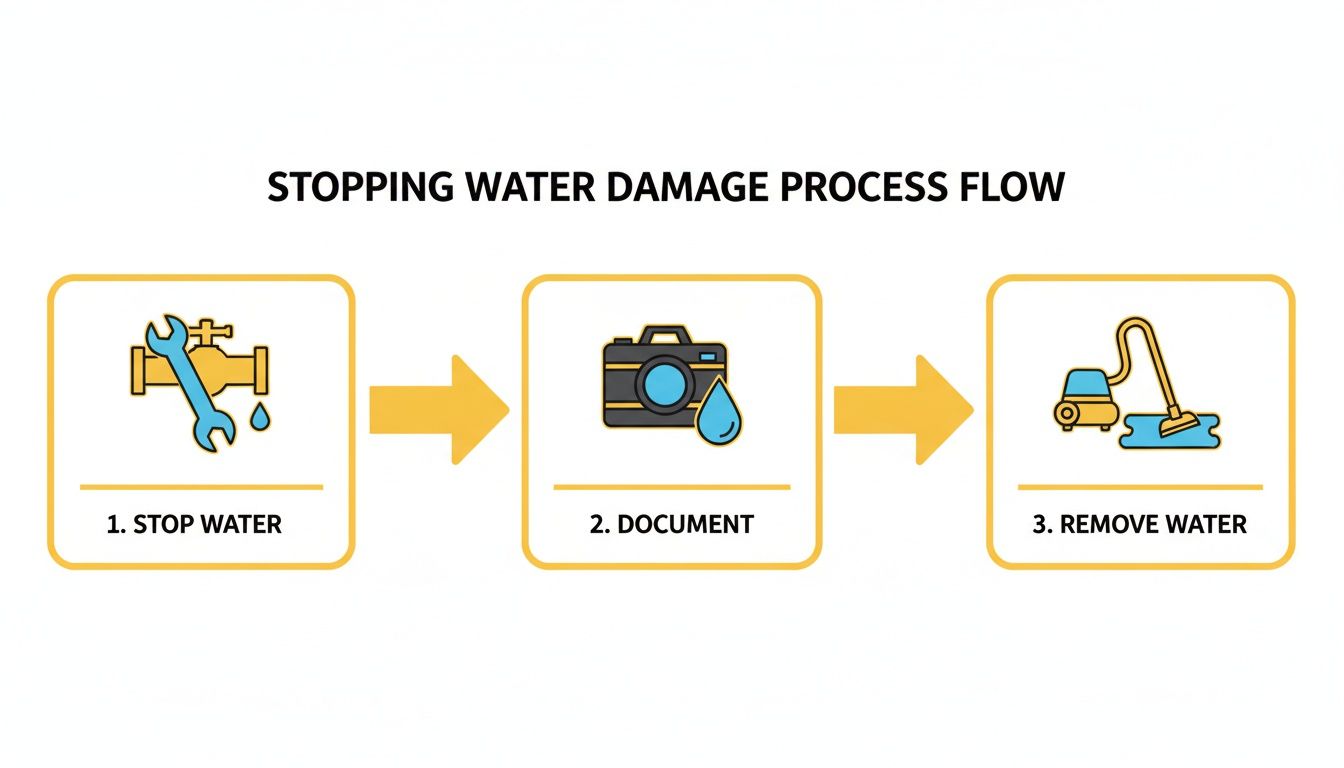
Once it's safe, your mission is laser-focused on three tasks: stop the water, document everything, and start getting the water out.
This simple flow is the bedrock of a solid response that cuts down your long-term risks significantly.
To make this crystal clear, here’s a quick-reference table for what to do in those first critical hours.
Your Immediate Water Damage Action Plan
This table breaks down the essential first moves. Pin it, save it, and use it as your guide if you ever find yourself facing a water emergency.
| Action Item | Why It's Critical for Mold Prevention | Recommended Timeframe |
|---|---|---|
| Turn Off Power & Water | Prevents electrical shock and stops more water from entering, which is the #1 priority. | Immediately (Minutes) |
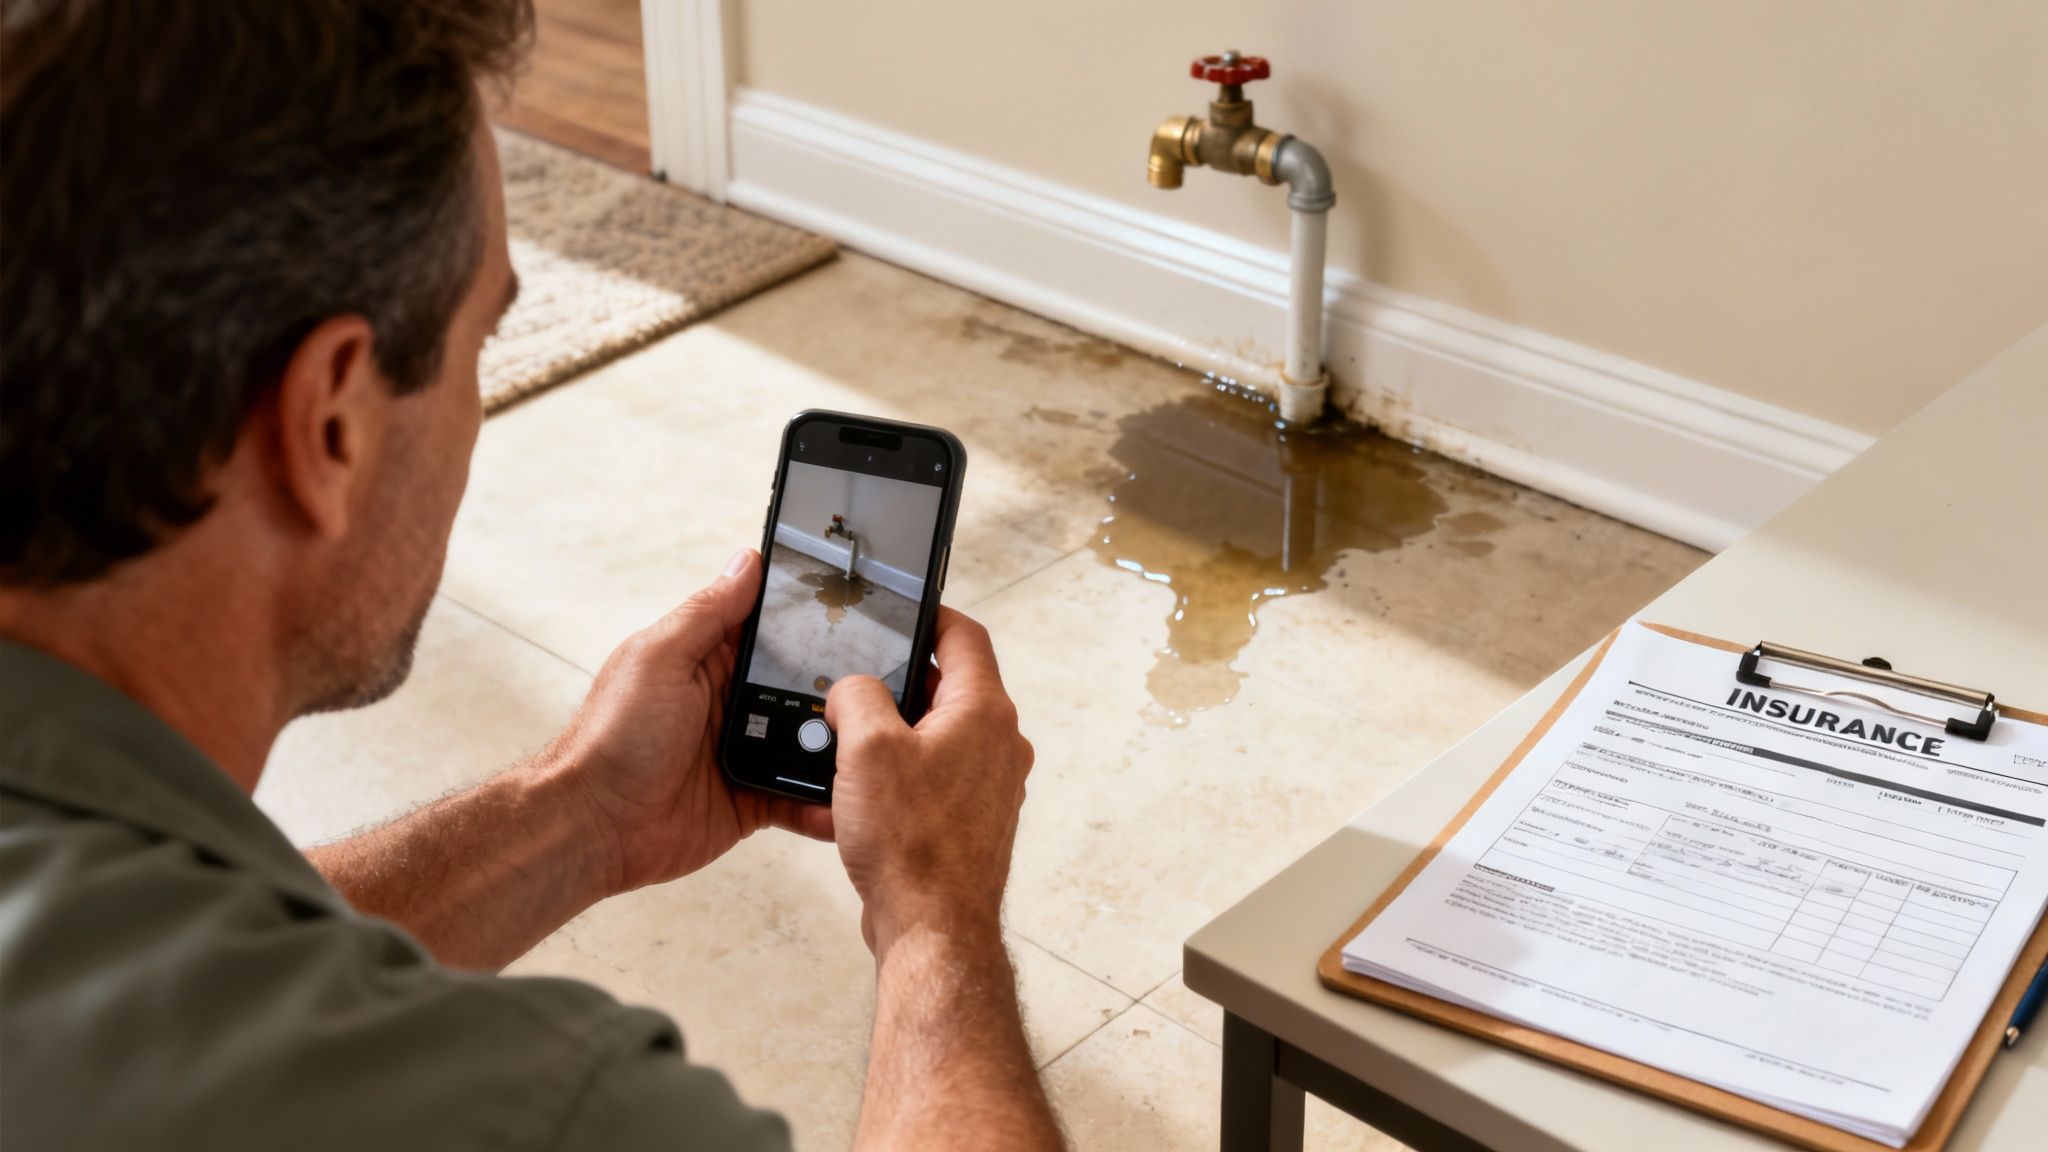
| Document with Photos/Video | Provides crucial evidence for your insurance claim, showing the initial extent of the damage. | First Hour |
| Contact a Pro Mitigation Co. | Professionals have the right equipment to remove water and moisture far faster and more thoroughly. | Within the First Hour |
| Remove Standing Water | Reduces moisture levels and prevents water from seeping deeper into building materials. | Within 12 Hours |
| Set Up Air Movers/Dehumidifiers | Begins the active drying process to pull moisture from drywall, flooring, and structural elements. | Within 24 Hours |
Following these steps methodically will dramatically improve your outcome and make the entire restoration process smoother.
The Science Behind the Urgency
So why is this 48-hour window so important? It's simple biology. Experts at the EPA confirm that mold spores can start to grow on wet surfaces in as little as 24 hours. By the time you hit the 48-hour mark, you could be looking at visible mold, especially in warm, humid Southern California weather.
This tight timeline is exactly why you see a spike in mold-related insurance claims when cleanup gets delayed.
For most homeowners, the sheer amount of water is just too much to handle with a shop vac and some towels. While you're tackling the first steps, getting professional help on the way is a must. An emergency water cleanup service has the industrial-grade gear needed to pull out huge amounts of water way faster than you ever could.
Pro Tip: When you're documenting for your insurance company, leave no stone unturned. Get wide shots of the entire room, then zoom in for close-ups of damaged furniture and belongings. Take videos where you walk through and show how far the water traveled. Always note the date and time. This level of detail is gold when it's time to file your claim.
Remember, the goal in these first few hours is all about damage control. By taking these initial steps, you're not just cleaning up a mess—you're creating a safer environment and preventing the secondary wave of damage that mold always brings.
Mastering Moisture to Create a Mold-Free Zone
Once the standing water is gone, the real work begins. The biggest threat is the moisture you can't see—the dampness that’s already soaked into drywall, subfloors, and even the studs behind your walls. This hidden moisture is exactly what mold spores need to activate and spread.
Winning this battle is all about taking aggressive control of your home’s indoor environment, particularly the relative humidity. Just pointing a few box fans at a wet spot and calling it a day is a recipe for a mold problem down the road. You need a strategic combination of high-volume air movement and powerful dehumidification to create an environment where mold simply can't survive.
The Science of Strategic Drying
Think of it as a one-two punch. First, you need high-velocity fans, what we in the industry call air movers, blasting air across every wet surface. This isn’t just about circulation; this forces moisture to evaporate out of materials like carpet padding and drywall and into the air.
Once that moisture is airborne, the second part of the strategy kicks in: commercial-grade dehumidifiers. These machines are the workhorses of any water damage job. They pull in that damp, heavy air, condense the water out of it, and pump out dry air, aggressively lowering the room's overall humidity. This is how you make the space truly hostile to mold.
Setting Up Your Drying Equipment
Where you place your equipment is just as important as what you use. You're not just trying to fill a room with fans; you’re trying to create a vortex of circulating air that hits every surface.
- Air Mover Placement: Position your air movers at a 45-degree angle to the walls. This creates a powerful circular airflow that reaches every nook and cranny, especially those tricky corners.
- Dehumidifier Location: Place at least one large-capacity dehumidifier in the center of the wettest area. This gives it the best shot at drawing in moist air from all directions.
- Focus on Hidden Spaces: If a wall got wet, you’ll probably need to remove the baseboards. This lets you direct airflow into the wall cavity itself—a small step that makes a huge difference in preventing mold from growing behind the drywall.
Humidity is the silent partner of mold. The goal is to keep your indoor relative humidity below 60%, but the ideal target is somewhere between 30-50%. For especially vulnerable areas like basements, you can find more tips in our guide on effective basement dehumidification strategies.
Key Takeaway: The ultimate goal is to hit a "drying standard." This just means the moisture content of the wet materials has returned to its normal, pre-damage level. You can't guess at this; you have to measure it.
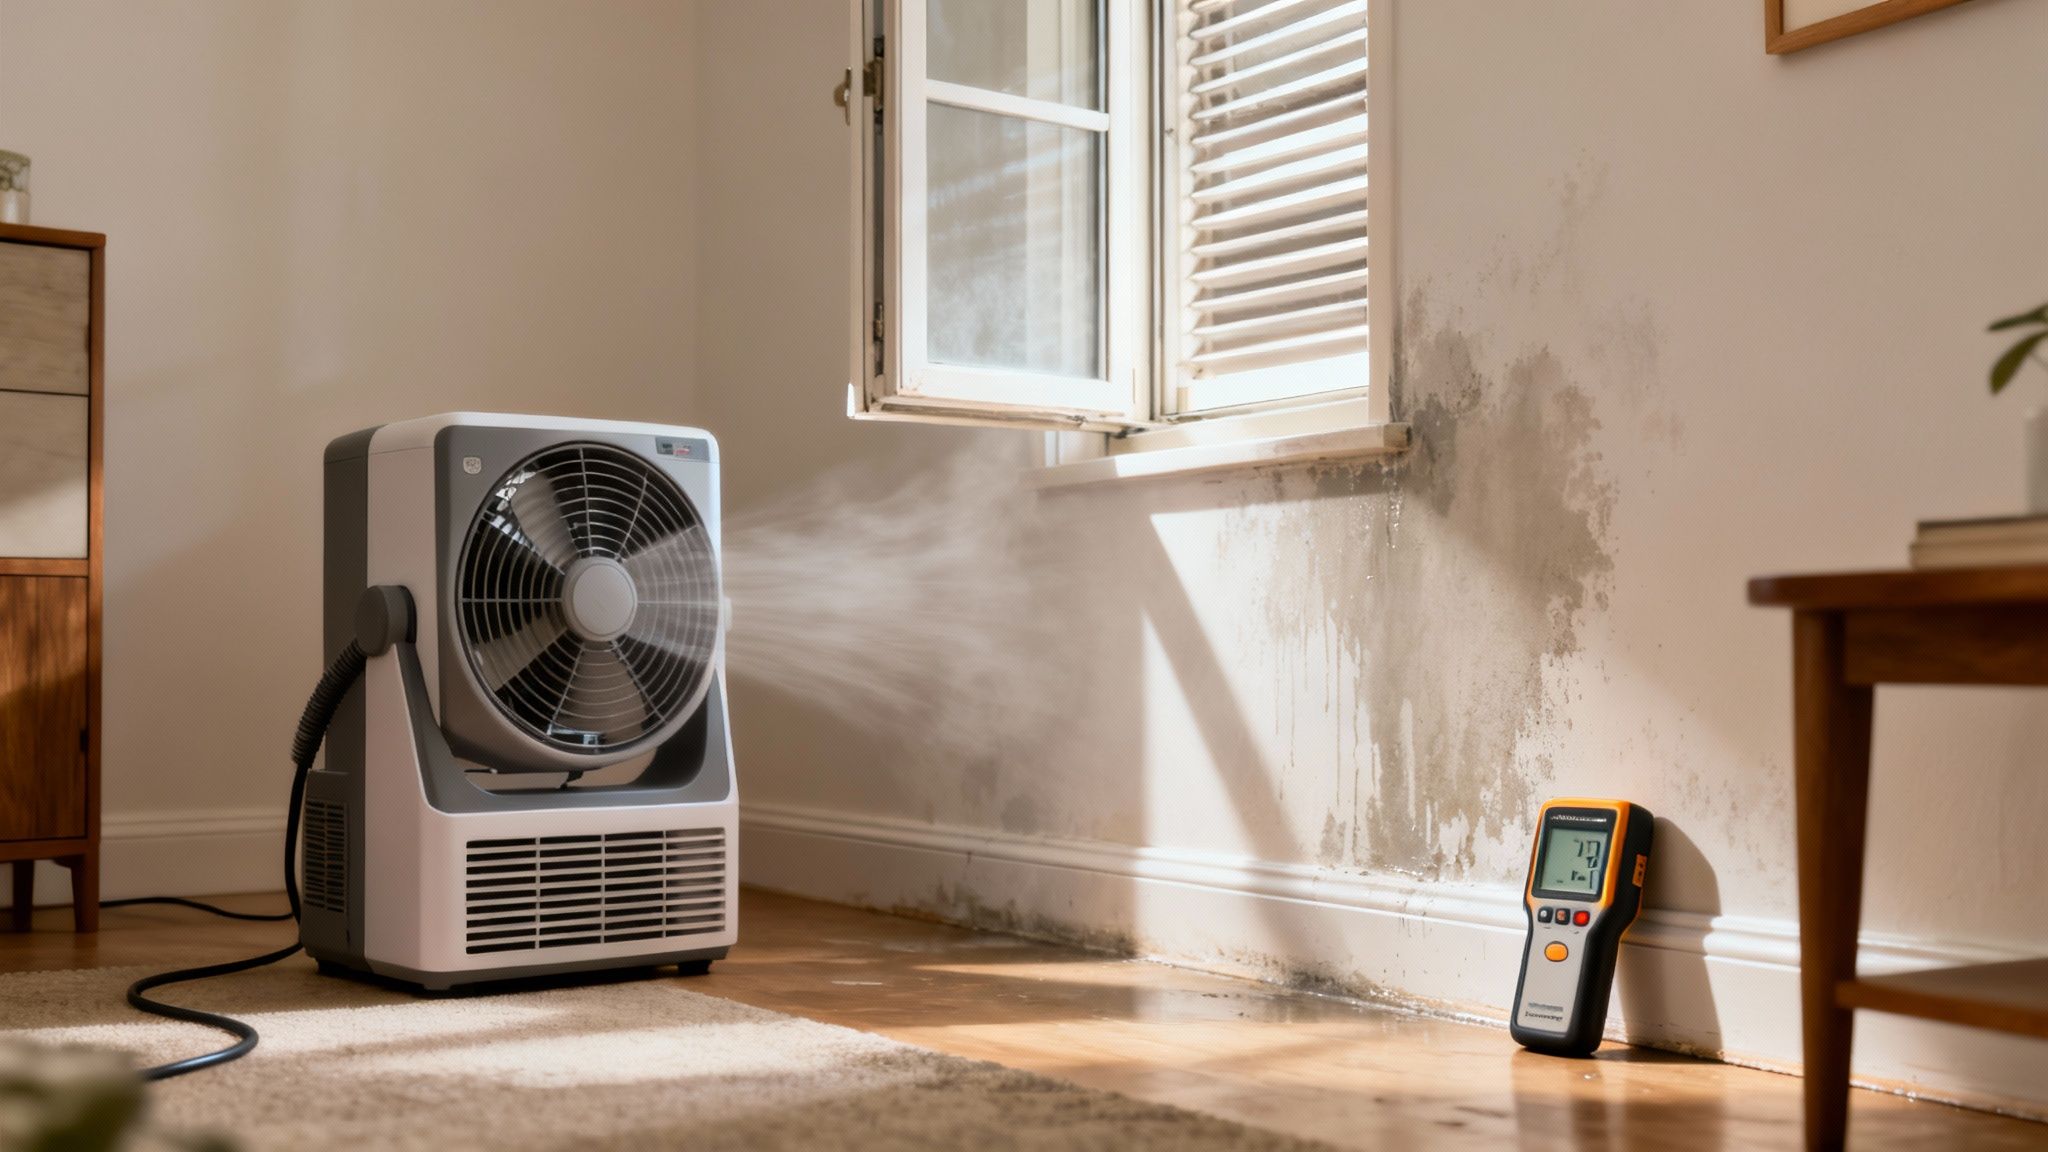
Verifying Dryness with a Moisture Meter
Don't trust your hands. A surface can feel bone-dry to the touch while the material underneath is still completely saturated. A moisture meter is the only tool that tells you the truth about whether your wood, drywall, and insulation are actually dry.
It’s a simple process. Go to an unaffected, dry area of your home and take a reading to establish a baseline. Then, compare that number to readings from the water-damaged spots. The job isn’t done until the wet materials match that dry baseline.
Of course, the best way to deal with water damage is to prevent it from ever reaching your foundation in the first place. A solid outdoor drainage system is your first line of defense. It's worth looking into expert drainage solutions for yards to see how a proactive approach can be the ultimate form of mold prevention.
Tearing Out Contaminated Materials and Sanitizing Surfaces
Once everything is finally dry, the next phase begins. This is where you have to make some tough calls about what stays and what goes—a non-negotiable step if you want to prevent mold after water damage. Some materials are simply impossible to dry out completely. If you leave them, they become a permanent buffet for mold.
Your mission here is to be ruthless, especially with porous items that got soaked. Think of them like sponges; they trap moisture deep inside where even the best drying equipment can't reach.
Knowing What Has to Go
Figuring out what to throw away is your first line of defense in a proper cleanup. If you can't get it totally dry and disinfected, it has to be removed from your home. Period.
- Drywall and Insulation: If drywall got wet, it's a goner. The paper backing is basically mold food, and the insulation behind it will stay damp for weeks. You need to cut out and discard every affected section.
- Carpeting and Padding: The carpet might feel dry on top, but the padding underneath almost never is. The safest bet is to pull up both so the subfloor can be properly cleaned and dried.
- Upholstered Furniture and Mattresses: Trying to save soaked couches or mattresses is a tough battle. The cost of professional cleaning is often more than they're worth, and the risk of spores hiding deep inside is just too high.
Tossing these items isn't just about cleaning up the mess. It's about cutting off the fuel supply for any future mold colonies. For a closer look at how the pros handle this, a good guide on the removal of mold shows the safety and precision required.
Cleaning and Sanitizing What's Left
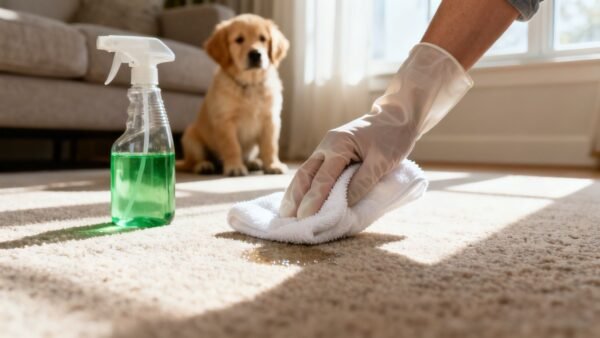
After you’ve stripped out all the compromised materials, it’s time to focus on what you can save. Hard, non-porous surfaces are usually salvageable. We're talking about things like tile, vinyl flooring, metal, and some plastics.
You don’t need a fancy cleaning solution. Often, a simple mix of mild detergent and warm water is enough to handle the initial dirt and grime. For disinfection, a commercial antimicrobial cleaner works well, or you can make your own by mixing one cup of household bleach with one gallon of water.
Safety First: Don't even think about starting this phase without the right Personal Protective Equipment (PPE). You'll need an N-95 respirator, safety goggles, and heavy-duty gloves to protect yourself from airborne contaminants and strong cleaning chemicals. Also, make sure to keep windows open for good ventilation.
Once everything is scrubbed down, wipe all surfaces with a clean, damp cloth and let them air dry completely. This thorough sanitizing process kills off any lingering mold spores, giving you a clean slate to start rebuilding. This hands-on cleanup is your best shot at a full, mold-free recovery.
Deciding Between DIY Cleanup and Professional Remediation

After you've stopped the water, the next big question hits you: Can I clean this up myself, or do I need to call in the pros? Making the right call here can save you thousands of dollars and a lot of headaches down the road. The honest answer depends entirely on the size and source of the water damage.
For a tiny, contained spill—say, a tipped glass of water on a tile floor that you wipe up instantly—a DIY approach is perfectly fine. Generally, if the affected area is less than 10 square feet, you caught it right away, and it's from a clean water source, you can likely handle it with some towels, fans, and elbow grease.
But the moment things get more complicated, the scale tips heavily toward professional help. Trying to tackle a serious water issue without the right training or gear can actually spread mold spores throughout your home, leaving you with a much bigger, more expensive problem than you started with.
When DIY Is Not an Option
Some situations are immediate red flags. Trying to manage these on your own isn't just a bad idea; it can be downright dangerous for your health and your home's structural integrity.
- The Damage Is Widespread: If water has soaked into multiple rooms or saturated deep into drywall, subflooring, or insulation, you're out of your league. Only industrial-grade equipment can properly dry a structure that wet.
- Sewage Is Involved: Any cleanup involving "black water" from a sewer backup is a serious biohazard. Professionals need full protective gear and specialized protocols to handle this safely. Don't risk exposure.
- You Suspect Hidden Mold: Think mold is growing inside your walls, under the vinyl flooring, or in your HVAC system? You need experts who can find it without blasting spores everywhere.
- It's Been Wet for Over 48 Hours: If an area has been damp for more than two days, you can bet mold has already started to grow, even if you can't see it yet. The clock is ticking.
Expert Insight: Professional remediation is so much more than just cleaning up a mess. It's a science. We use tools like infrared cameras to find hidden moisture pockets and moisture meters to confirm when materials are truly dry. This methodical approach is the only way to guarantee the problem is solved for good.
The Professional Advantage
So what does a certified restoration team bring to the table? An entire arsenal of equipment that you just can't rent at a hardware store. We set up containment zones with negative air pressure to trap spores, use powerful air scrubbers to purify the air, and deploy fleets of commercial dehumidifiers and air movers that can dry a building in days, not weeks.
This is what it takes to truly know how to prevent mold after water damage. The precision and power of a professional response ensure the moisture source is eliminated and your home is brought back to a safe, dry, healthy state.
DIY vs Professional Remediation: When to Make the Call
Deciding whether to tackle a cleanup yourself or bring in a certified team can be confusing. This table breaks down common scenarios to help you make a safe and effective choice.
| Cleanup Scenario | Feasible DIY Action | When You Must Call a Professional |
|---|---|---|
| Small, Clean Water Spill | If under 10 sq. ft. and caught immediately on a non-porous surface like tile or vinyl. | If it soaks into drywall, carpet pad, or subfloor. |
| Leaky Pipe Under a Sink | Wiping up a small puddle in a contained cabinet. Placing a bucket to catch drips temporarily. | If the cabinet wood is saturated, water has seeped into the wall, or mold is visible. |
| Appliance Overflow | Mopping up water from a dishwasher or washing machine on a hard surface floor. | If water gets under flooring, behind baseboards, or affects adjacent rooms. |
| Sewage Backup | None. Do not attempt to clean this yourself. Stay out of the affected area. | Immediately. This is a biohazard (Category 3 water) requiring specialized gear and protocols. |
| Musty Odor or Visible Mold | You can clean a tiny spot (smaller than a dinner plate) on a hard, non-porous surface. | If the moldy area is larger than 10 sq. ft., if it's on drywall, or if you smell mold but can't see it. |
| Widespread Flooding | Moving furniture to higher ground and removing standing water with a wet vac (if safe). | Immediately. For any multi-room flooding or when water is deeper than an inch or two. |
Ultimately, while the DIY spirit is admirable, mold and water damage are unforgiving. If you have any doubt, calling a certified restoration professional is the safest bet for your home and your family. It's an investment in getting the job done right the first time.
Your Long-Term Strategy for a Mold-Proof Home
Getting your home dry after a water incident is a huge win, but let's be clear: the work isn't over. The real goal is to shift from reactive cleanup to proactive prevention. A long-term strategy is your best defense against future mold problems, making sure a one-time crisis doesn’t become a recurring nightmare.
This means turning a critical eye toward the vulnerable parts of your home and establishing a routine that keeps moisture in check, year-round. It’s all about building good habits that protect your investment and your family’s health.
Routine Inspections in High-Risk Areas
Mold loves dark, damp, undisturbed places. So, the most effective way to keep it out is to make sure those places don't stay damp for long. I recommend setting a calendar reminder to perform quick inspections of these key areas every few months.
- Basements and Crawl Spaces: Check for musty smells, damp spots on walls, or any condensation beading up on pipes.
- Attics: Look for dark stains on the underside of the roof sheathing, especially after a heavy rain. Make sure your vents aren't blocked by insulation or debris.
- Under Sinks: Both kitchen and bathroom sinks are notorious for slow, hidden drips. A quick peek with a flashlight can catch a small problem before it causes thousands in damage.
- Around Windows: Check for condensation between the panes or dampness on the sills. This can be a sign of a failing seal that lets moisture creep in.
A big part of a mold-proof strategy involves maintaining your home's envelope. For commercial property owners, understanding the principles behind the repair, restoration, or replacement of commercial roofs offers valuable perspective on tackling major water intrusion points at their source.
Pro Tip: Your nose is one of your best mold detection tools. A persistent, earthy, or musty smell is a major red flag that moisture is hiding somewhere. Don't ignore it—investigate until you find the source.
Control Humidity and Improve Ventilation
Controlling your home's indoor environment is a game-changer. Mold simply can't thrive without high humidity. Your goal is to keep the relative humidity consistently between 30% and 50%.
Make it a habit to use exhaust fans in bathrooms during and after every shower. Run the vent hood in your kitchen when you're cooking, especially when boiling water.
If you live in a humid climate, a whole-home or even a good portable dehumidifier is an excellent investment. Proper ventilation exchanges stale, moist air for fresh, dry air, making your home far less hospitable to mold spores. By staying vigilant with these simple maintenance tasks, you create a home that is truly resilient against water intrusion and mold growth.
Frequently Asked Questions About Preventing Mold
How quickly does mold grow after a water leak in Los Angeles?
Faster than you'd think. In the right environment—with moisture, a food source like drywall, and the warmth common in Southern California—mold can start growing in just 24 to 48 hours. That’s why your immediate response is everything. You might not see visible green or black spots for several days, but the microscopic growth kicks off almost right away once a surface gets soaked.
Can I use bleach to kill mold on drywall?
This is probably the biggest myth in restoration, and the EPA actually advises against using bleach on porous materials like drywall or wood. While bleach can kill surface mold, its water base soaks deep into the drywall, often feeding the mold's root system you can't see. For hard, non-porous surfaces like bathroom tile, a bleach solution is fine. But for drywall, the only way to truly solve the problem is to cut out and replace the damaged section.
What does a professional mold company do that I cannot?
The biggest difference comes down to specialized equipment, containment, and training. A professional crew brings in gear you simply can’t rent, including: commercial-grade air scrubbers with HEPA filters to capture airborne spores, thermal imaging cameras to "see" moisture hidden behind walls, and containment barriers with negative air pressure to completely seal off the work zone and prevent cross-contamination.
Is it safe to stay in my house after major water damage?
Your safety always comes first. Whether you should stay depends on the type and scale of the water damage. If the water came from a sewage backup (Category 3 or "black water"), you need to leave immediately as it contains dangerous bacteria. Even with clean water damage, it’s often safer to relocate if the damage is extensive, especially if anyone in your family has asthma, allergies, or a compromised immune system. A professional restoration company can test the indoor air quality and give you a clear answer on safety. It's also wise to understand if homeowners insurance covers mold and temporary living expenses.
If you're facing water damage and need a fast, professional response to prevent mold, Onsite Pro Restoration is ready to help 24/7. Call us for a free assessment and let our certified team restore your property and your peace of mind.