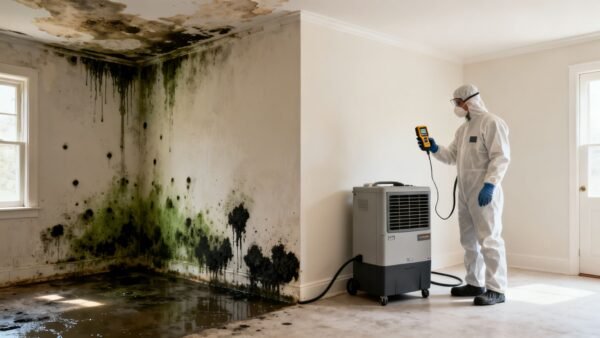
When you find water in your Los Angeles home, from a burst pipe in the San Fernando Valley to a slab leak in West LA, what you do in the first few minutes is everything. Acting fast is the single most important factor in a successful house water damage repair. Your immediate response dictates the extent of the damage, how much the restoration will cost, and whether you'll be dealing with long-term problems like mold, which thrives in our coastal climate.
This guide provides a clear, step-by-step plan for Los Angeles homeowners facing water intrusion. We'll cover everything from the crucial first steps to navigating your insurance claim.
If you're dealing with a water emergency right now, don't wait. Call our 24/7 team for immediate help.
Call (818) 336‑1800 for a Free Assessment
What to Do Immediately After Finding Water Damage
The moment you spot a puddle spreading from under the dishwasher in your Studio City kitchen or a dark stain growing on the ceiling of your Santa Monica bungalow, it's natural to feel a wave of panic. But take a deep breath. Following a clear set of priorities can turn a potential disaster into a manageable problem. The game plan is simple: safety first, then stop the water, then call for backup.
This isn't just about a little cleanup. Water damage and freezing pipes are responsible for nearly 29.4% of all home insurance claims, and the average payout hovers around $11,605. Basements are a magnet for these issues—studies show a staggering 98% of them will experience water damage at some point.
To get a handle on the situation fast, here's a quick checklist of what to do the moment you discover water.
Water Damage Emergency Action Checklist
This table breaks down the essential first actions to take. Following these steps in order will help protect you and your property from further harm.
| Priority | Action Item | Reason |
|---|---|---|
| 1. Safety | Shut off electricity to affected areas. | Water and electricity are a lethal mix. This prevents electrocution risk. |
| 2. Mitigation | Find and turn off the main water shut-off valve. | This stops more water from entering and making the problem worse. |
| 3. Professional Help | Call a certified water damage restoration company. | They have the expertise and equipment to start the drying process correctly and immediately. |
| 4. Documentation | Take photos and videos of the damage. | This evidence is crucial for your insurance claim. |
Once you've run through this checklist, you've successfully managed the immediate crisis and can move on to the next steps with a clearer head.
Prioritize Safety Above All Else
Before you even think about grabbing a mop, you have to make the area safe.
- Shut Off the Power: If you can get to your home’s circuit breaker box without stepping in water, kill the power to all the affected rooms. If the panel is in the flooded area, don't even try. Call an electrician or your restoration company right away.
- Watch Your Step: Wet floors, especially hard surfaces like tile or wood, are incredibly slick. Move carefully to avoid slipping and getting hurt.
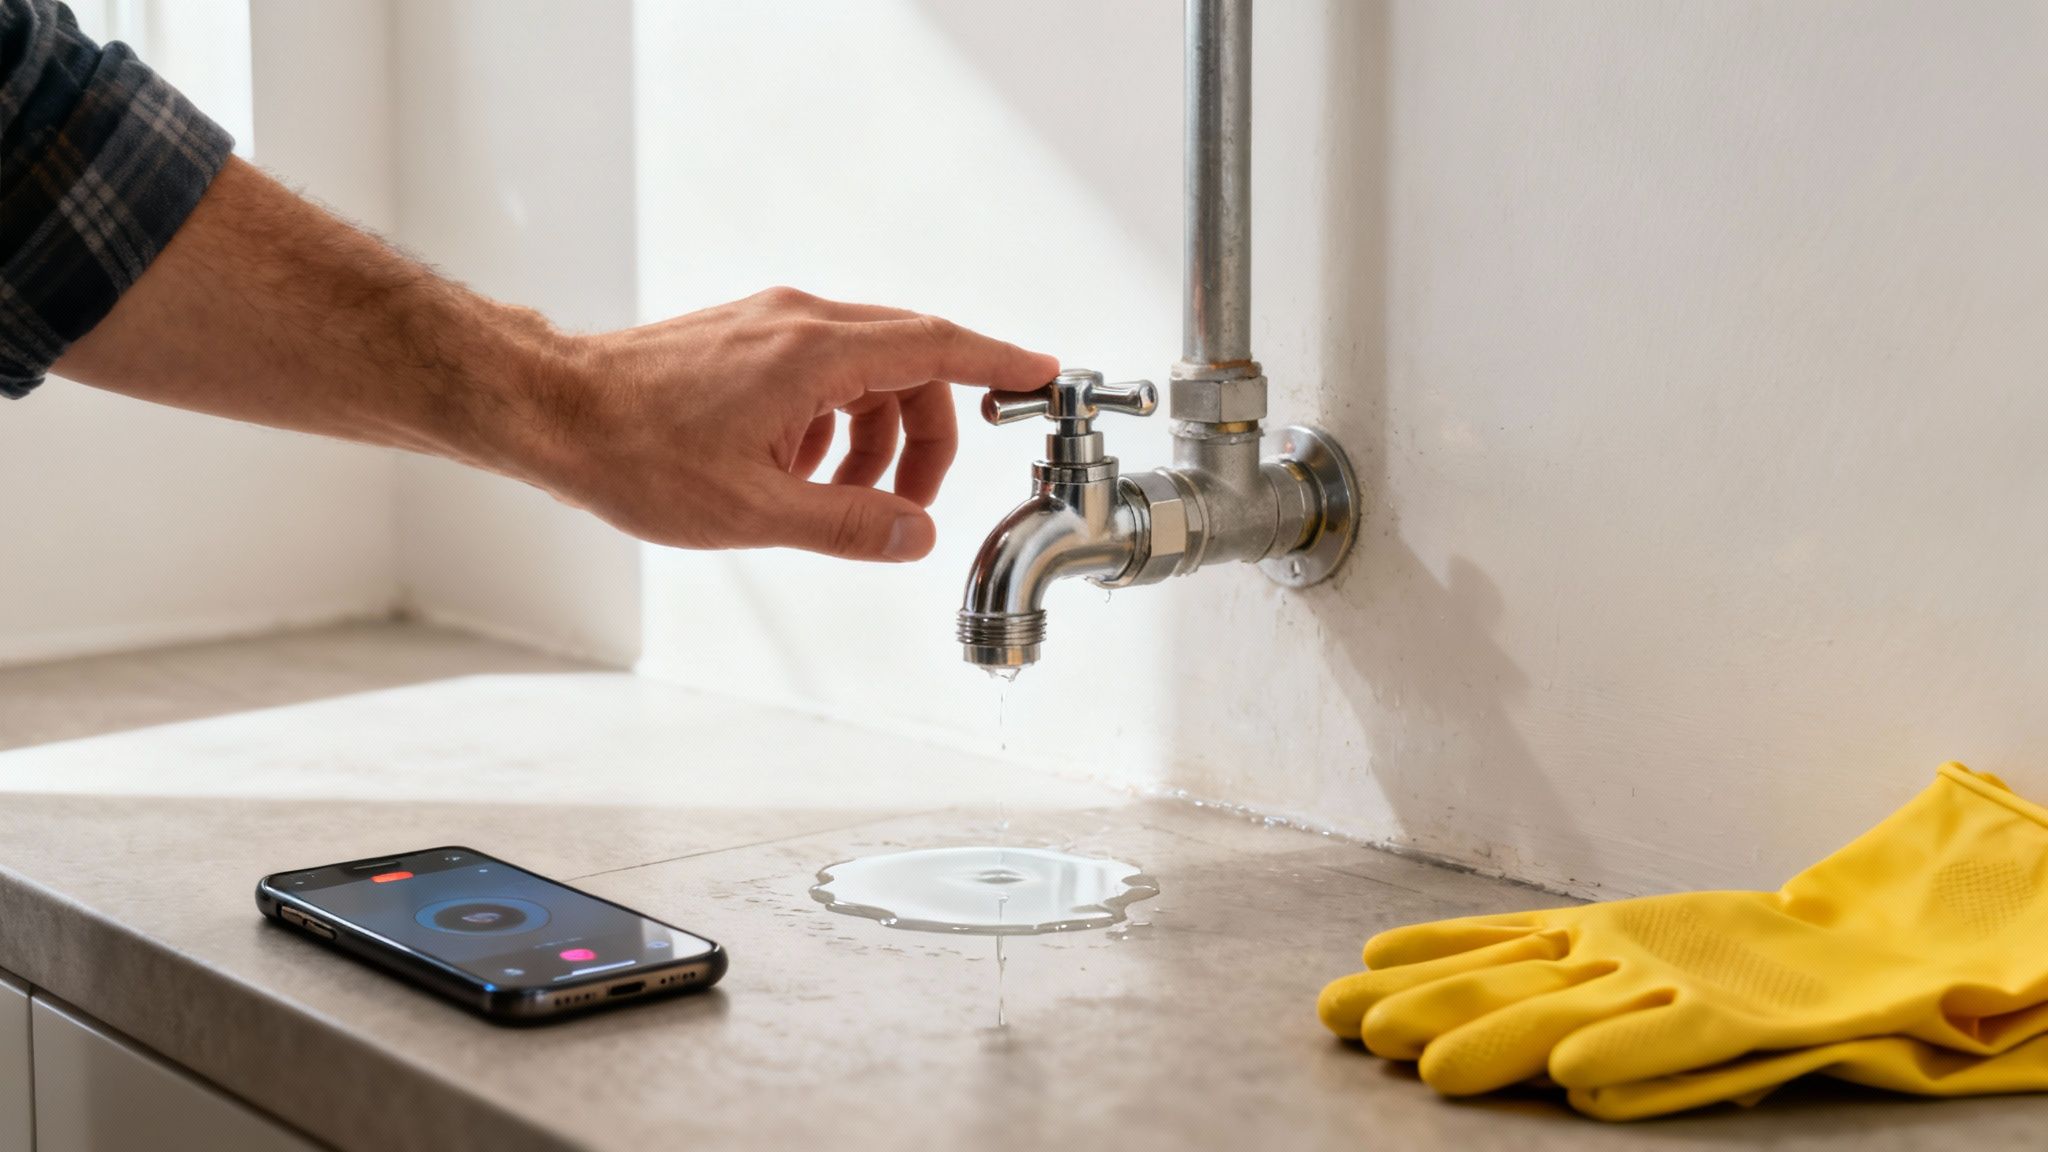
Stop the Water Source and Call for Help
With the electrical hazards handled, your next job is to cut off the water flow. If you see signs of water leakage through your ceiling, it's a race against time to prevent serious structural issues. You'll need to find your home's main water shut-off valve—it’s usually in the basement, a crawl space, or near the water heater. A firm clockwise turn should close it.
These first moves are critical for any homeowner facing a water emergency.
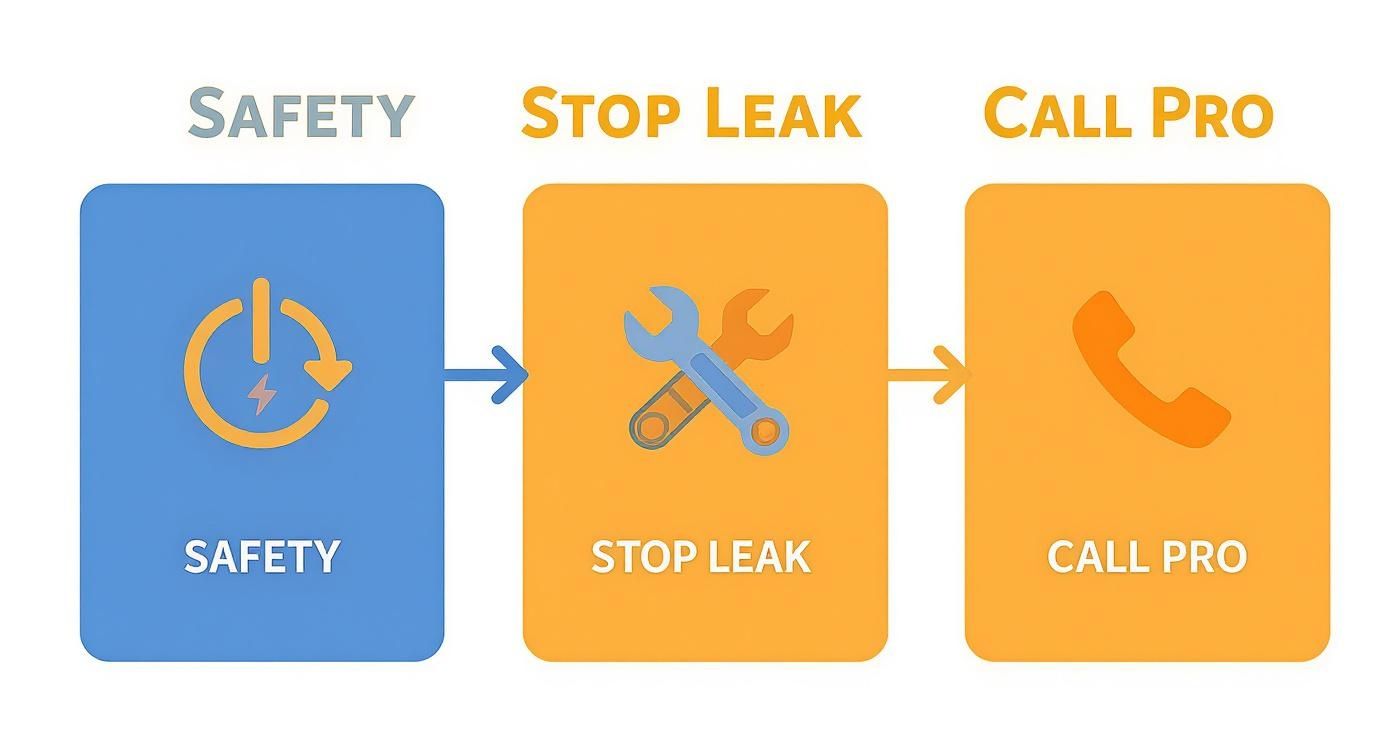
As this shows, it all boils down to three things: stay safe, stop the leak, and call in the pros. Once the immediate threat is contained, your next call should be to a certified restoration team. They can walk you through what’s next and get a crew on the way for emergency water cleanup.
How Professionals Assess the Full Extent of Damage
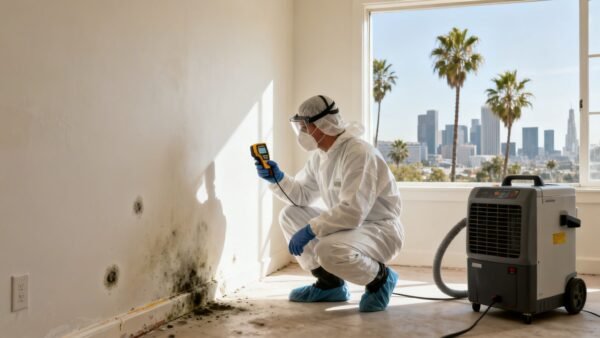
Once the immediate crisis is under control, the real work of house water damage repair begins with a thorough, professional assessment. This isn't just a matter of looking at a wet floor. It’s a scientific process of mapping out the full scope of the problem—including the moisture you can’t see.
One of the first things a restoration expert does is classify the water itself. This is a critical step because it dictates the entire cleanup strategy and ensures your family’s safety.
Understanding Water Damage Categories
In the restoration industry, we categorize water intrusions into three distinct types. Each one demands a completely different response.
- Category 1 (Clean Water): This is the stuff that comes from a sanitary source, like a burst supply line or an overflowing sink. While it's the least hazardous, don't get complacent. If it sits for more than 48 hours, it can degrade into a higher, more dangerous category.
- Category 2 (Grey Water): Now we're dealing with contaminated water that can make you sick. Think of overflows from washing machines or dishwashers—water that’s carrying detergents, dirt, and other contaminants.
- Category 3 (Black Water): This is grossly unsanitary water that poses a serious health risk. It includes raw sewage, toilet overflows with feces, and floodwater from rivers or streams.
Black water is a game-changer. It requires specialized handling, full personal protective equipment (PPE) for our technicians, and the immediate removal of every porous material it has touched. There is simply no safe way to salvage carpet or drywall saturated with Category 3 water.
Uncovering Hidden Moisture
The biggest danger in any water damage scenario is what lies beneath the surface. Water is incredibly invasive. It wicks up drywall, seeps under baseboards, and saturates the subflooring hidden from view.
This is where professional tools and experience become non-negotiable. Our technicians use specialized equipment to hunt down every last pocket of moisture. You can get a deeper look into how our expert team handles this by exploring the details of the First Onsite Restoration process.
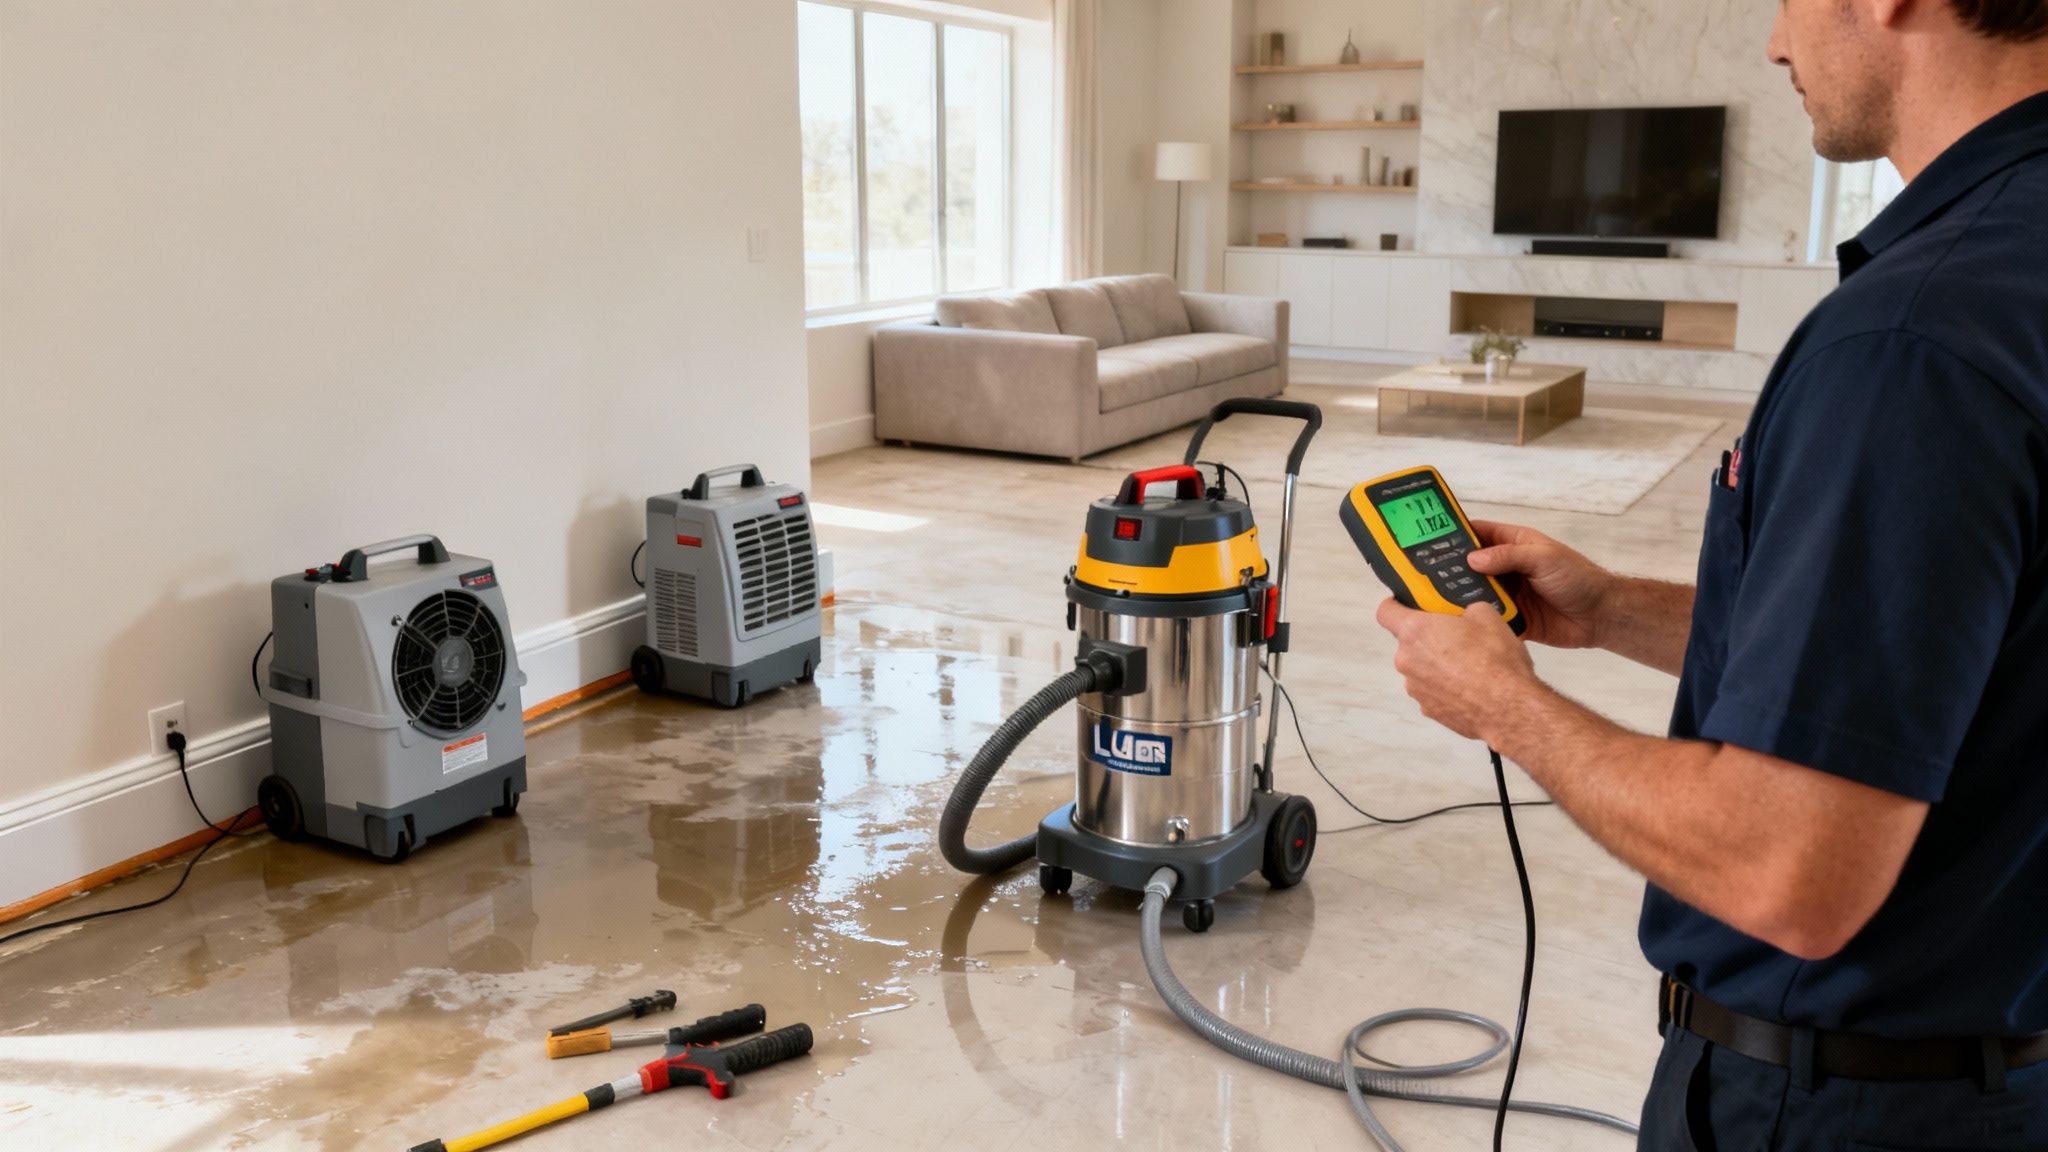
We bring in tools like thermal imaging cameras to see temperature differences in walls, which almost always point to trapped moisture. We also use non-invasive moisture meters to get precise readings from drywall and wood framing without having to tear things apart just to look.
This detailed moisture mapping is the foundation of an effective drying plan. Professionals are also trained to spot the various safety issues from plumbing leaks and water damage that homeowners might miss. A methodical approach like this is the only way to prevent secondary problems like mold growth and structural decay from creeping up on you weeks or even months down the road.
The Professional Water Extraction and Drying Process
Once we've assessed the situation, the real work of house water damage repair begins: getting everything bone dry. This is way more than just mopping up. It’s a scientific process designed to pull moisture from places you can't even see, which is absolutely critical for preventing long-term rot and mold.
Setting up a few box fans and cracking the windows won't cut it. In fact, that approach often makes things worse by just blowing moisture and contaminants around.
The first, most urgent step is always emergency water extraction. Our teams use powerful, truck-mounted and portable extraction units to remove standing water with incredible speed. These machines are leagues beyond any shop vac, pulling gallons of water from carpet, padding, and floors in a fraction of the time. You can see how this rapid-response system works in our guide to emergency water extraction services.
This speed is crucial because the cost of water damage explodes the longer it sits. Data shows that just a single inch of clean water across one floor can rack up about $11,000 in repairs. If that water hits one foot deep, the average cost skyrockets to nearly $29,000.
Strategic Drying With Advanced Equipment
After the standing water is gone, the focus shifts to the absorbed moisture in materials and the humidity in the air. This is where a strategic combination of industrial-grade equipment makes all the difference.
- High-Velocity Air Movers: These aren't your average fans. We angle them precisely to create a vortex of airflow across wet surfaces like walls, floors, and inside cabinets. This intense air movement accelerates evaporation, literally pulling moisture from deep inside materials out into the open air.
- LGR Dehumidifiers: Low-Grain Refrigerant (LGR) dehumidifiers are the undisputed workhorses of any drying job. They're engineered to yank massive amounts of moisture from the air, even when it's cool or humid—conditions where a standard dehumidifier would just give up. They work by chilling the air below its dew point, forcing water vapor to condense so it can be collected and pumped away.
Verifying Dryness With Precision Tools
So, how do we know when a structure is truly dry? We don't guess—we measure. Our technicians use specialized tools to get precise readings, ensuring every last bit of material is back to its normal, pre-damage moisture level.
A home might feel dry to the touch, but moisture can stay trapped inside drywall or wood for weeks. Using professional moisture meters is the only way to confirm that the structure is genuinely dry and safe from the threat of mold, which can start growing in just 24-48 hours.
We use both non-invasive and penetrating moisture meters to get readings from surfaces and deep within structural components like wood studs and subflooring. By creating a detailed moisture map and tracking the drying progress every single day, we can confidently declare the property dry and clear the way for the final restoration work.
Rebuilding and Restoring Your Los Angeles Home
Once everything is officially dried out and stable, the house water damage repair process pivots to the rebuilding phase. This is the moment things start to feel normal again—when your house begins to look like your home. Don't rush this stage; the work done here is every bit as critical as the initial drying for the long-term health and look of your property.
This part of the job is all about making smart decisions on what can be saved versus what needs to go. The goal isn't just a quick patch-up. It's about restoring your home to its pre-damage condition, and often, making it even better.
Deciding on Material Repairs
The first question we always tackle is what's salvageable. Take drywall, for example. If you had a clean water leak and the damage is minor, we might just need to cut out a small section and patch it. But if the water wicked more than a foot up the wall, or if it was contaminated (what we call Category 2 or 3 water), that entire section has to be replaced. No exceptions. It's the only way to be certain no mold gets left behind.
Wood framing is another huge focus. Even after drying, any studs or joists that were soaked need a very close look.
- Treatment: We almost always apply specialized antimicrobial sealants directly to the wood framing. Think of it as a protective barrier that stops any dormant mold spores from waking up down the road.
- Sealing: This step is non-negotiable in high-humidity zones like basements or bathrooms. It provides an extra layer of defense against any future moisture problems.
Flooring and Finishing Work
Flooring is one of the most common casualties in a water loss. How we handle it depends entirely on the material and just how saturated it got.
- Carpet and Padding: In nearly every scenario, both the carpet and the pad have to be discarded. The pad is basically a giant sponge; it's impossible to dry completely and becomes a perfect breeding ground for mold.
- Laminate and Vinyl: These materials often buckle, warp, or delaminate when they get wet. Water gets trapped in the seams and soaks the subfloor underneath. Tearing it all out is usually the only safe bet.
- Hardwood: Solid hardwood is the one exception that can sometimes be saved, but only if we get to it fast. It’s a painstaking process of controlled drying, sanding down any cupping or warping, and then refinishing it to blend seamlessly with the rest of your floor.
The final touches are what really bring the restoration together. One of the most important steps is using a high-quality, stain-blocking primer on any repaired walls or ceilings. This is what keeps those stubborn water stains from bleeding right back through your new paint job, ensuring the finish is flawless.
This isn’t just about making things look good. A thoughtful approach to rebuilding is about restoring the health, safety, and value of your home from the inside out.
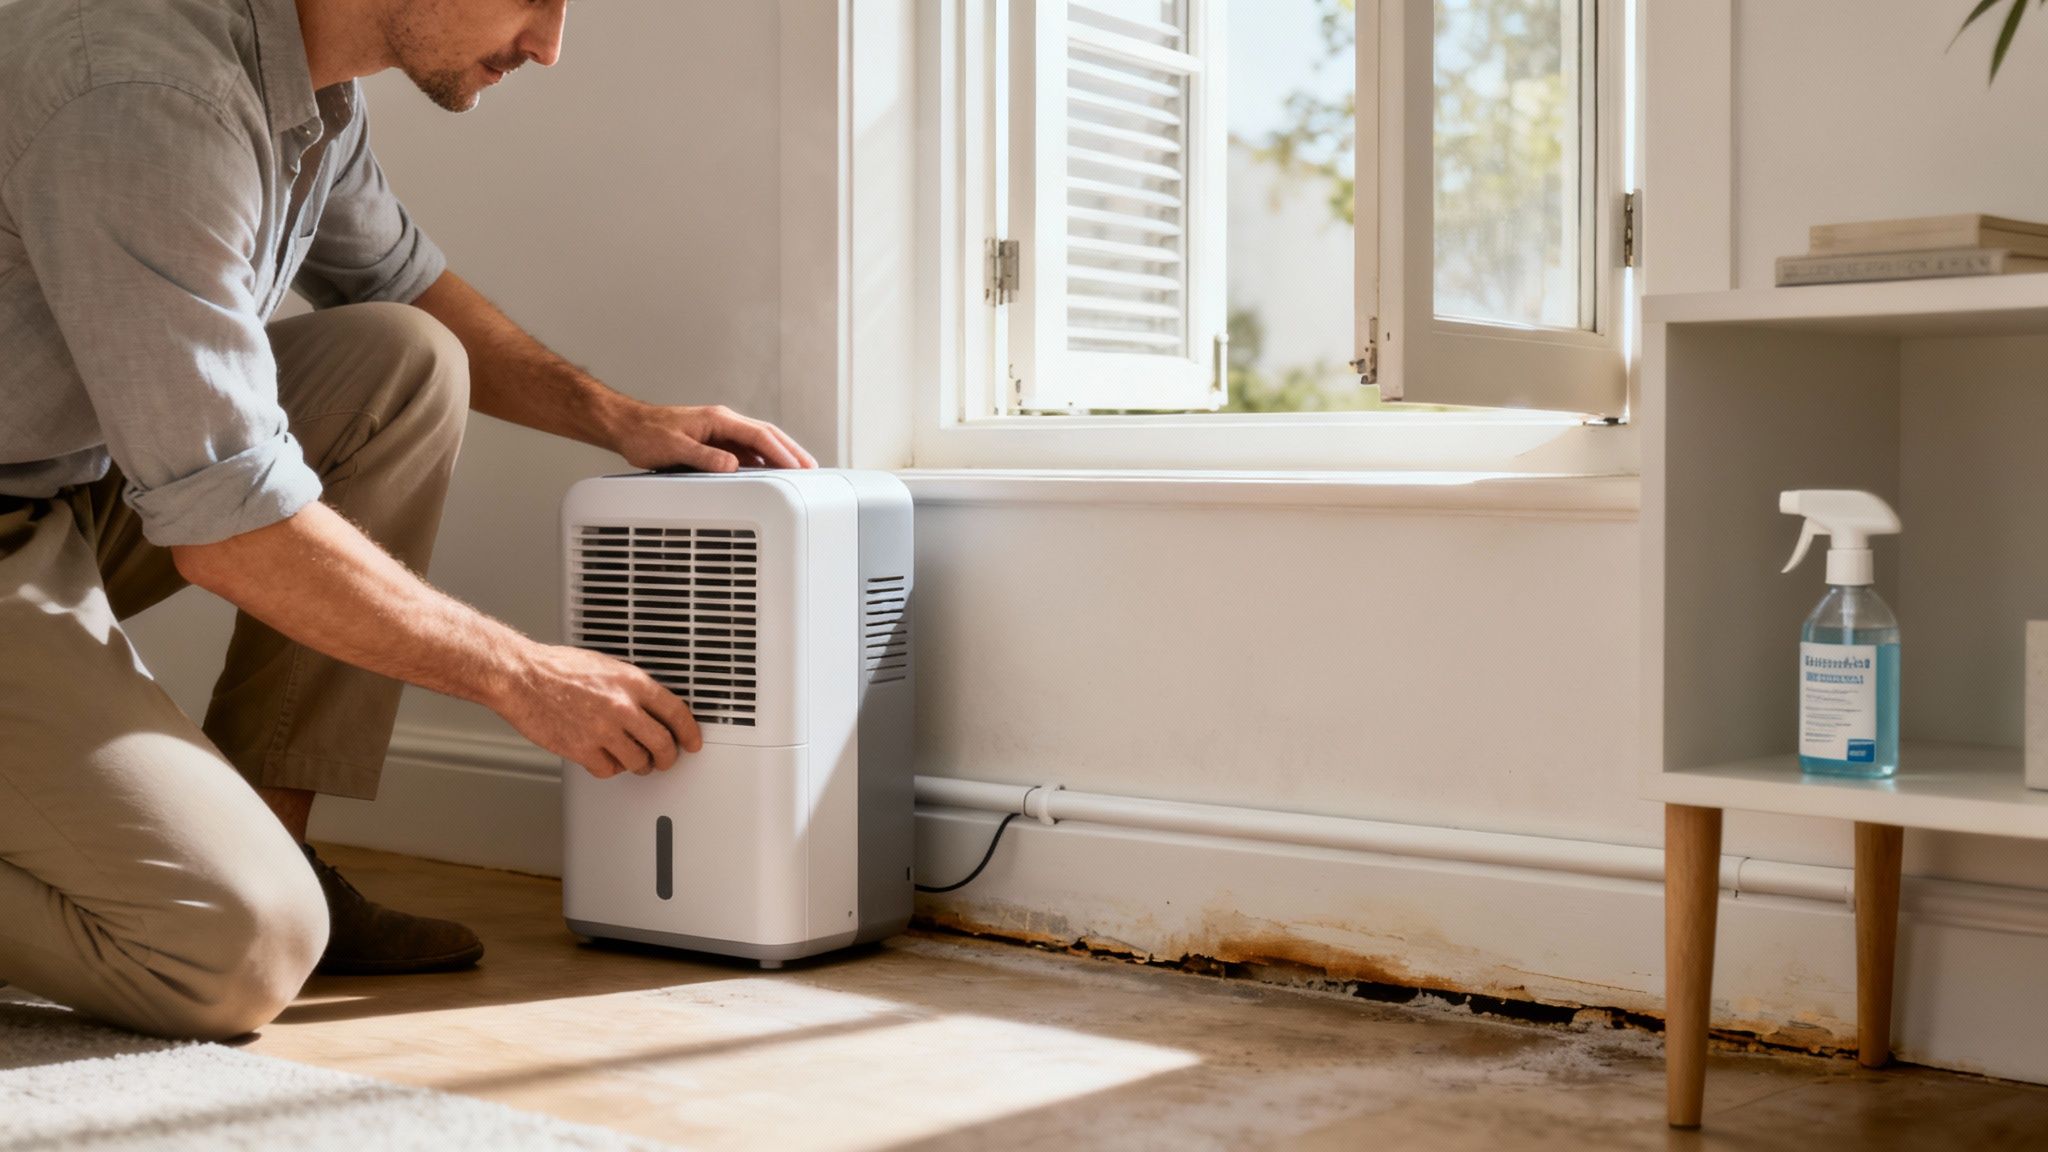
Preventing Mold Growth After Water Damage
When water gets in, the clock starts ticking. Seriously. Mold is the unwelcome guest that shows up after the party, and it can start colonizing damp surfaces in as little as 24 to 48 hours.
That tiny window of time makes mold prevention the single most important job after you’ve gotten the standing water out. It's a race against biology, and the only way you win is by being aggressive and thorough.
True prevention is more than just drying things out; it’s about sanitizing them. After the initial drying, we always apply a professional antimicrobial treatment. This isn’t some harsh chemical bath. It’s a targeted application that kills off any mold spores hanging around on surfaces like wood framing, subflooring, or inside wall cavities. This step is a non-negotiable part of a complete house water damage repair and acts as an insurance policy against future problems.
Long-Term Prevention Strategies
Once the immediate crisis is handled, your focus has to shift to long-term vigilance. Fixing the damage is a one-time event, but creating a healthier home means changing a few habits.
A few simple, consistent actions can make a huge difference in preventing future water issues and the mold that loves to follow.
- Boost Your Ventilation: Always run the exhaust fan in your bathroom for at least 20-30 minutes after a shower. This simple step pulls all that humid air out before it has a chance to settle and condense on your walls.
- Check Your Appliance Hoses: Make it a habit to inspect the water supply lines for your washing machine, dishwasher, and refrigerator. These hoses are notorious failure points and can cause a massive amount of damage when they go.
- Manage Your Exterior Drainage: Next time it rains, take a walk around your house. Is the ground sloping away from your foundation? Are your gutters and downspouts clear and pushing water far away from your home? These are critical checks.
Preventing mold is always, always cheaper and healthier than removing it. When you treat a water damage repair as a chance to beef up your home's defenses, you're investing in its long-term health and your family's safety.
If you have any doubts about hidden moisture or catch a whiff of that musty smell after a water event, don't just hope it goes away. Professional testing is the only way to know for sure. Understanding the process of mold testing in Los Angeles can give you the peace of mind that your home is truly safe. These final preventative steps are the last chapter in a successful restoration story.
Navigating the Homeowner Insurance Claim Process
After the initial shock of finding water in your home wears off, the thought of calling your insurance company can feel almost as stressful as the cleanup itself. But trust me, a well-managed claim is the key to a successful house water damage repair.
Your very first move? Notify your insurance agent immediately. Don't put it off. The sooner you get the ball rolling, the faster you can get your home—and your life—back in order.
And you're not alone. Water damage is a massive industry. The global market for disaster restoration was valued at $42.9 billion in 2025 and is expected to climb to $55.5 billion by 2030, which just goes to show how often this happens. You can dig into the market trends in this comprehensive market research report.
Document Everything Meticulously
From the second you find the damage, your best friends are your smartphone camera and a notebook. Before a single thing gets moved, dried, or thrown out, you need to document it all.
Here’s what I tell every homeowner:
- Take tons of photos and videos. Get wide shots of every affected room, then zoom in for close-ups of soaked drywall, damaged furniture, and the high-water marks on the walls. No detail is too small.
- Create an inventory list. Write down every single damaged item, from the big-ticket electronics and furniture down to the rugs and clothing. If you can, jot down the brand, model, and what you think it was worth.
- Keep a communication log. Every single time you talk to your insurance agent, an adjuster, or a contractor, make a note of their name, the date, and a quick summary of what you discussed. This can be a lifesaver later.
This detailed evidence is your proof. It protects you from disputes and makes sure nothing gets missed when the adjuster comes to assess your claim.
Understanding Your Coverage
It’s absolutely critical to know what your policy covers—and, more importantly, what it doesn't. A standard homeowner's policy will typically cover "sudden and accidental" water damage, like what you’d get from a burst pipe or a faulty washing machine hose.
However, most policies exclude gradual damage from slow leaks you should have fixed, as well as damage from sewer backups or overland flooding. These often require separate insurance riders or policies.
Figuring out the fine print can feel like a maze, but understanding your policy is non-negotiable. For a deeper dive, check out our guide on homeowner's insurance coverage for water damage. When you can advocate for yourself with clear documentation and a solid grasp of your coverage, you’re in a much stronger position to get a fair settlement and make your home whole again.
FAQs About Los Angeles Water Damage Repair
Even after the initial shock wears off and the cleanup is underway, you’re bound to have questions. It's completely normal. Here are some of the most common things Los Angeles homeowners ask us after they've dealt with a water disaster.
Q: How long does the water damage repair process usually take?
A: This depends entirely on the scope of the damage. A small, contained issue from a supply line leak affecting one room can often be dried and repaired in just 3-5 days. However, a major event, like a saturated basement or water that came through multiple floors, could take several weeks to allow for complete structural drying, dehumidification, and rebuilding.
Q: Can I handle minor water damage myself?
A: You can probably handle a tiny spill of clean water (Category 1) on a hard surface like tile if you dry it immediately. The real danger is when water soaks into anything porous—drywall, carpet padding, insulation, or wood. That’s when you need professional help to find hidden moisture with specialized meters and prevent long-term structural and mold problems.
Q: What is the difference between water mitigation and restoration?
A: People use these terms interchangeably, but they are two distinct phases. Water Mitigation is the emergency response: stopping the damage by extracting water, removing ruined materials, and setting up drying equipment. Water Restoration is the second phase: the repairs and rebuilding needed to put your home back together, like installing new drywall, painting, and flooring.
Q: Does homeowner's insurance cover all types of water damage?
A: Unfortunately, no. A standard policy covers sudden and accidental events like a burst pipe. It almost always excludes damage from slow, gradual leaks, sewer backups, and overland flooding from rain. These situations typically require separate insurance riders or a dedicated flood insurance policy.
When you're facing water damage in Los Angeles, you need a team that can respond fast and handle everything from cleanup to insurance. Contact Onsite Pro Restoration today for a free assessment and expert guidance.